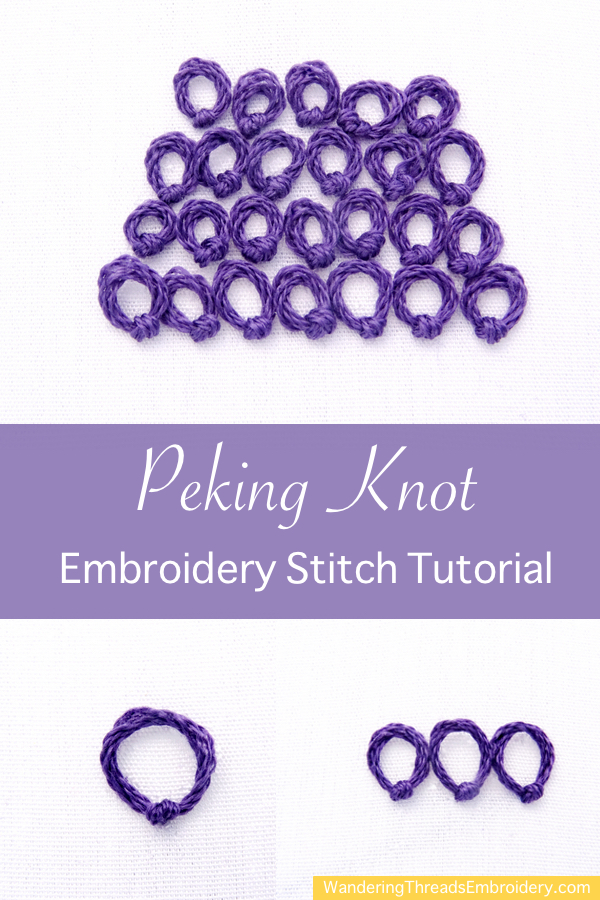
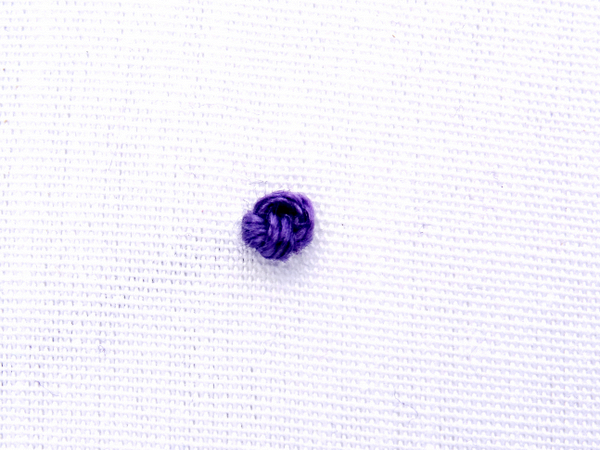
The Peking Knot is a traditional Chinese embroidery stitch not often used in modern embroidery. This simple stitch creates a loop secured by a knot. The loops are commonly stitched close together and used to fill in spaces.
The Peking Knot (also called the Chinese Knot, Forbidden Stitch & Blind Knot) can also be stitched as a tight knot that resembles a French Knot. The instructions for both variations can be found below.
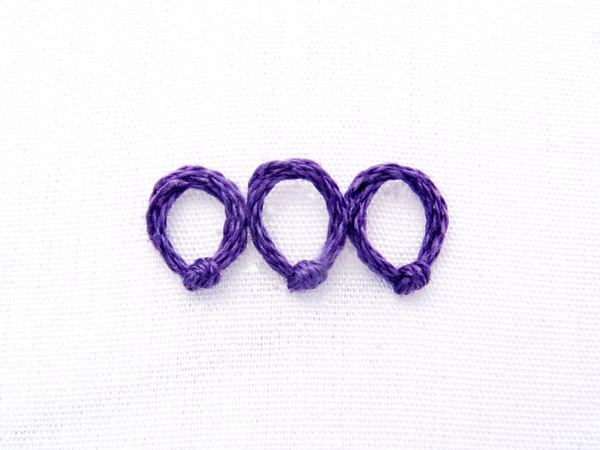
Peking Knot – Loop Variation
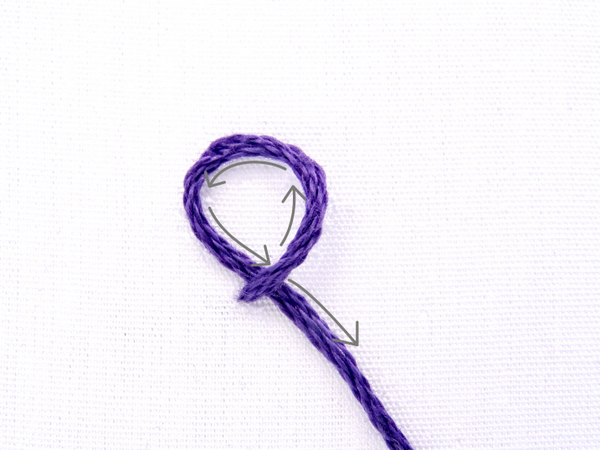
Make the first Peking Knot by bringing the needle and thread to the front of the fabric. Keep the needle to the right while you twist the thread into a loop. Following the arrows below, keep the working thread underneath the loop.
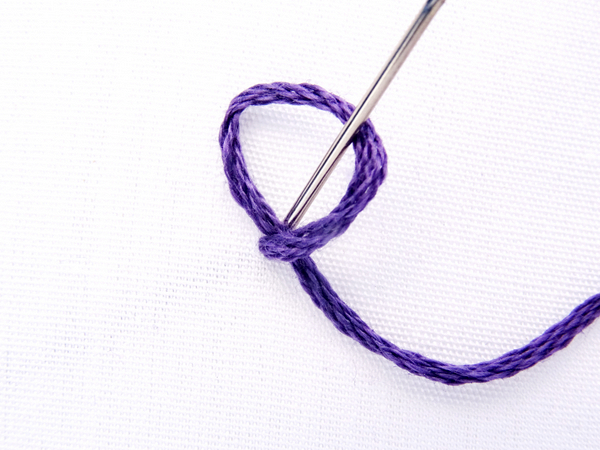
Next, take the needle and insert it inside the loop right next to the spot where you first brought the thread up and through the fabric.
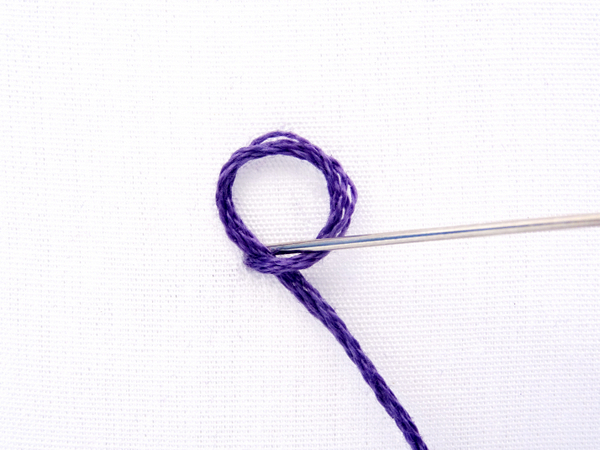
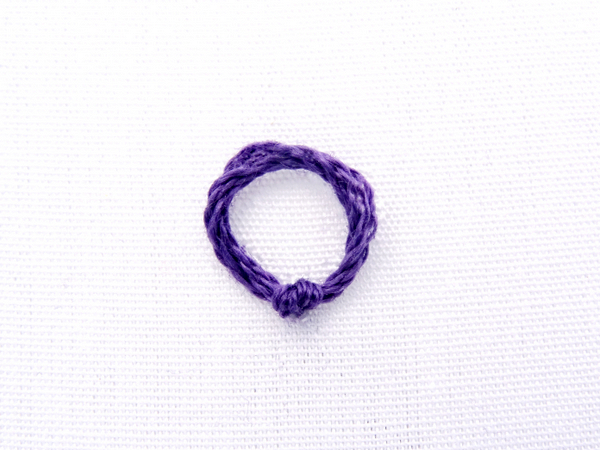
Adjust the loop to the desired size by pulling the loose end of the thread, then push the needle all the way through, creating a small knot to anchor the loop. You may find it useful to place a finger on the loop while securing the knot.
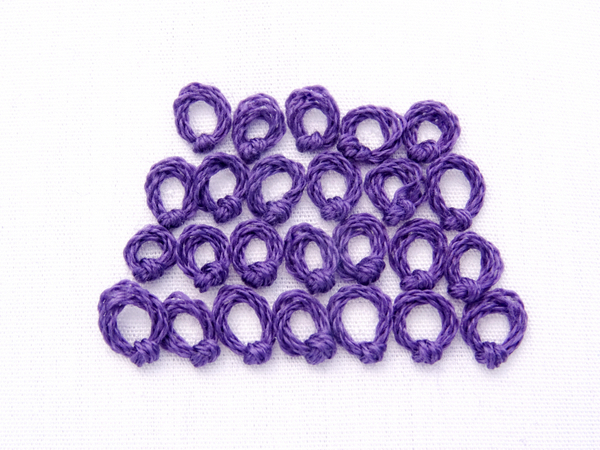
Most people find stitching a single Peking Knot easy. However, most people also find stitching a whole bunch of them in a tight pattern while keeping the loops the same size a bit more difficult. Here are a few tips for using the Peking Knot as a filler without going crazy:
- Place the loops closer together than you think you need to. When using the Peking Knot as a filler, it will always look better if the loops are placed close together than it will if they are spaced too far apart.
- Try to keep the loops roughly the same size.
- When you move from one loop to the next, avoid pulling too hard on the thread so your loop doesn’t accidentally turn into a knot.
- Practice, practice, practice.
- Give yourself permission to be imperfect. Every loop does not need to be exactly the same size.
Peking Knot – Knot Variation
The knot variation follows the first three steps as the loop. Come up through the fabric, create a loop with the thread, and insert the needle in the center.
Now, pull the loop until it is tight around the needle.
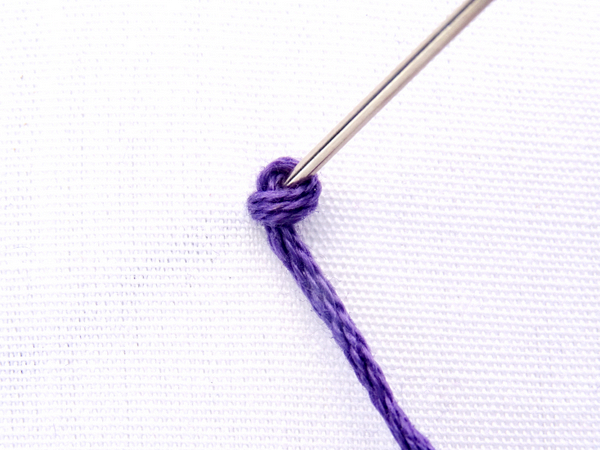
Then, pull the needle all the way through to create a small knot. I find it helpful to place a thumb or finger on top of the working thread while pulling the needle through.
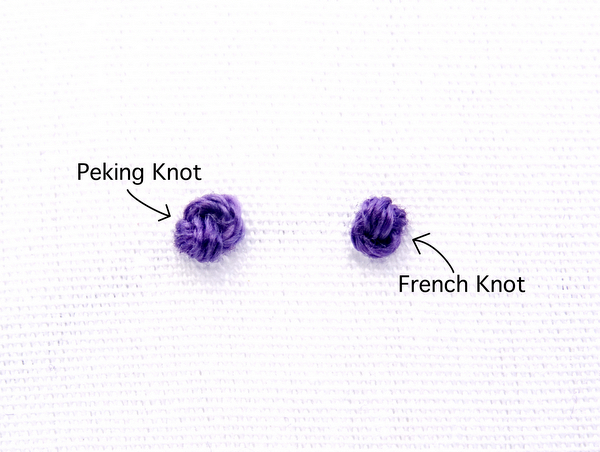
You will notice that this version of the Peking knot looks a lot like a French Knot. It’s only when examining the knots up close that you will notice that the thread is wrapped in different directions. In most cases, the two stitches can be used interchangeably.
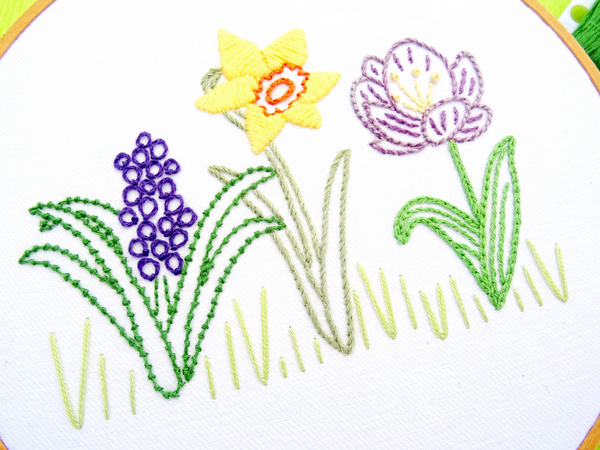
Free Practice Pattern
Want to practice stitching Peking Knots? This FREE pattern featuring a trio of spring flowers, uses a grouping of cute little knotted circles to stitch a hyacinth flower. You can download the PDF pattern HERE, or visit the Free Spring Flowers Post for complete stitching instructions.
Sherry Dedla
Beautiful