Blanket stitch is already known as a simple, versatile embroidery stitch used for everything from edging blankets to making an embellished border. But did you also know that you can make a pinwheel using blanket stitch? Follow along to learn the simple steps for making this interesting and easy embroidery shape.
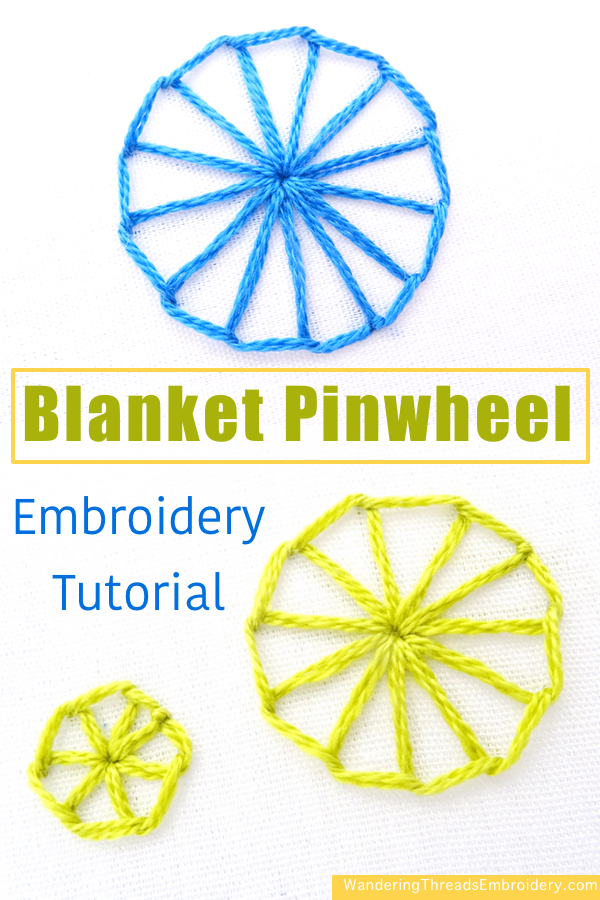
Blanket Pinwheel How-To
You will need to know the basic steps for Blanket Stitch to make the pinwheel.
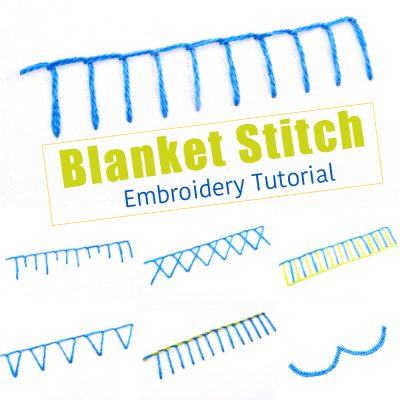
Blanket Stitch Embroidery Tutorial + 6 Variations
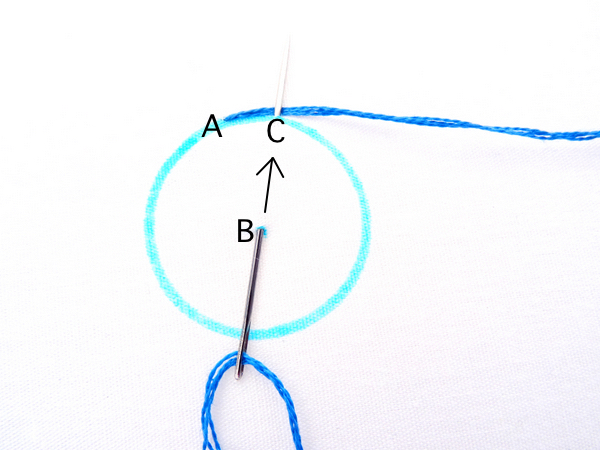
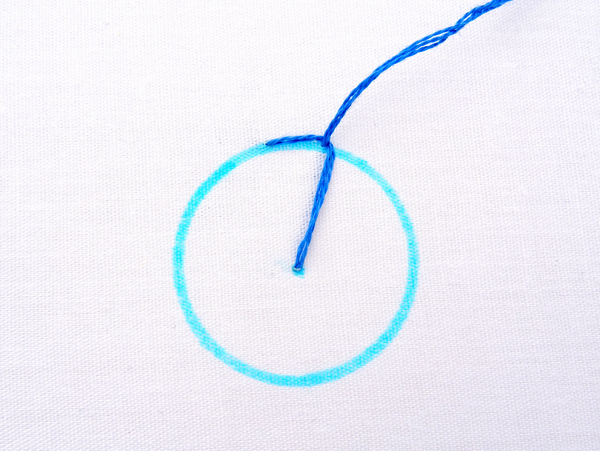
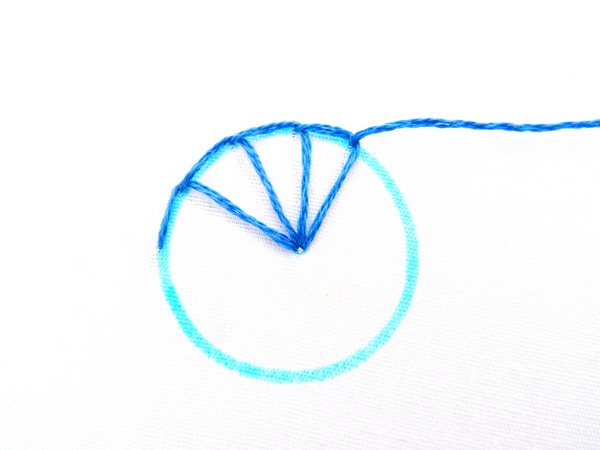
Start by drawing a circle and marking a single dot in the middle. Make a single blanket stitch by bringing the needle out at point A, in at point B, and back out at point C. Remember to keep the working thread behind the needle before you complete the stitch.
Next, insert the needle back into the center dot and make another stitch alongside the first.
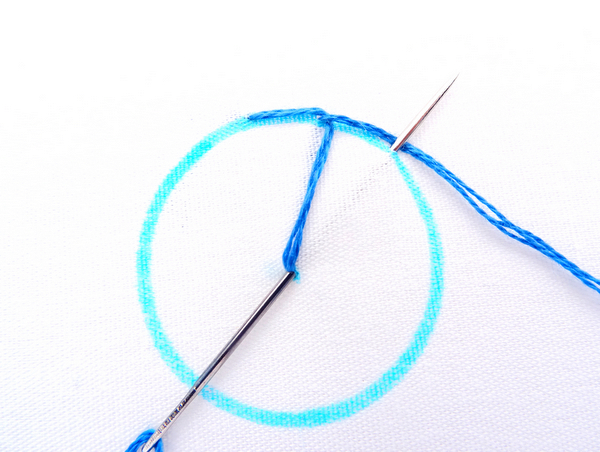
Work you way around the circle, making stitches that start in the middle and finish on the edge. Try to keep the distance between stitches as even as possible.
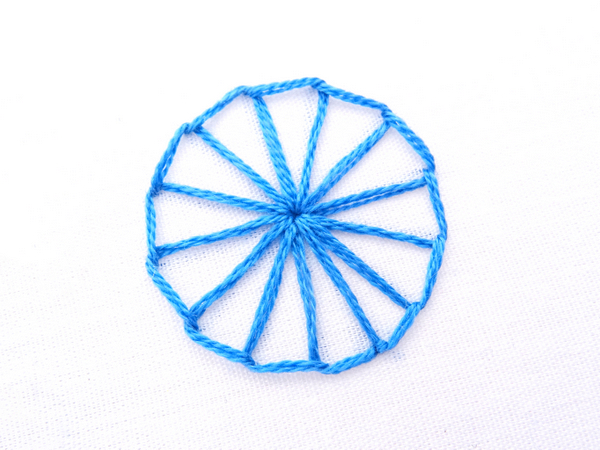
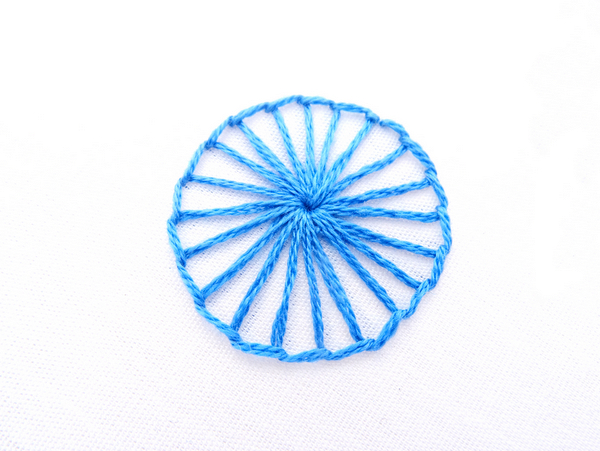
A completed pinwheel looks like this!
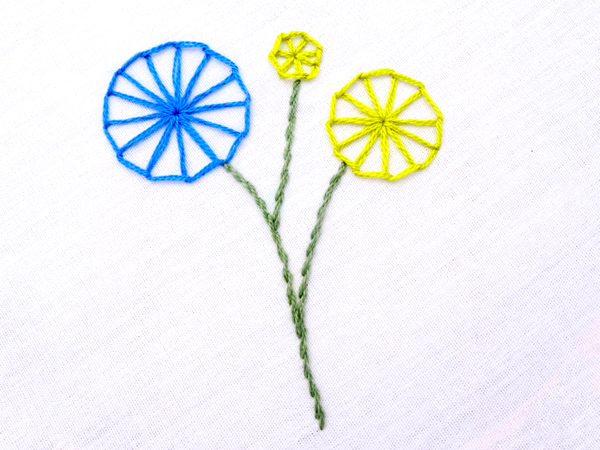
Blanket pinwheels can be big or small and made with widely or closely spaced stitches.
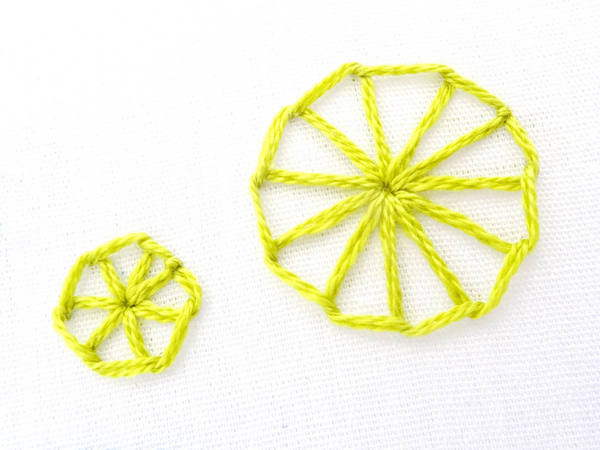
These super easy pinwheels look great on their own, or you can add a stem and make them into whimsical flowers. However you choose to use them, blanket pinwheels are a simple and fun embroidery addition.
Joanna
You are so talented and thank you for the tutorial and free patterns.
Amanda
Thanks Joanna. Glad you are enjoying the free patterns!
Erin
I love your tutorials! I’m a beginner but even I can understand your great explanations. Thanks so much!