If you like Herringbone stitch, then you will love Double Herringbone. It’s twice as much fun! The double layer of stitches adds a level of detail and intricacy to this already deceivingly fancy looking stitch. Follow along as we learn the simple steps for doubling those herringbones.
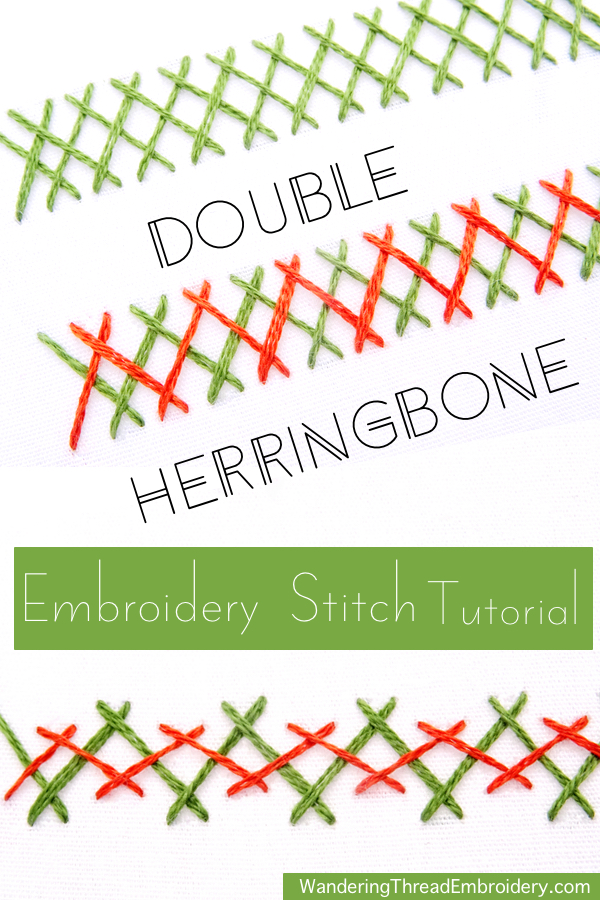
Double Herringbone Tutorial
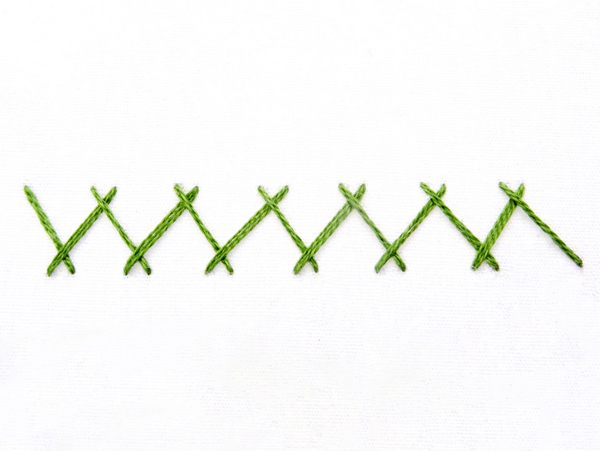
Start by making a row of single Herringbone stitch. You will be filling in the spaces between the stitches, so be sure to space them generously.
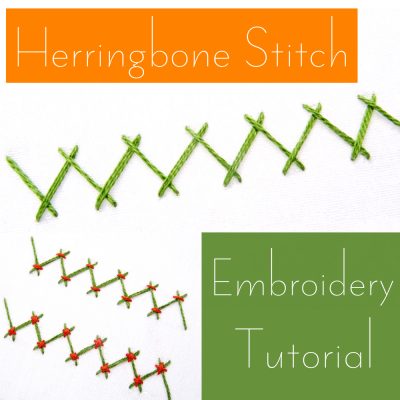
Not familiar with Herringbone Stitch? Master the technique by following my step-by-step tutorial: Herringbone Stitch Embroidery Tutorial
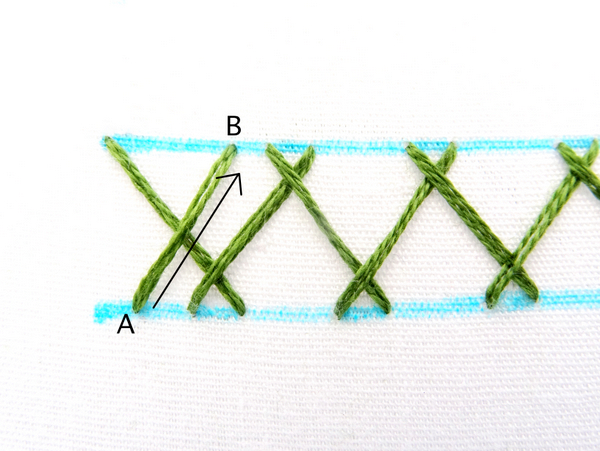
The basic idea of this stitch is to add a second layer of stitches on top of the first layer. Therefore, the steps for double herringbone are the same as the steps for single herringbone.
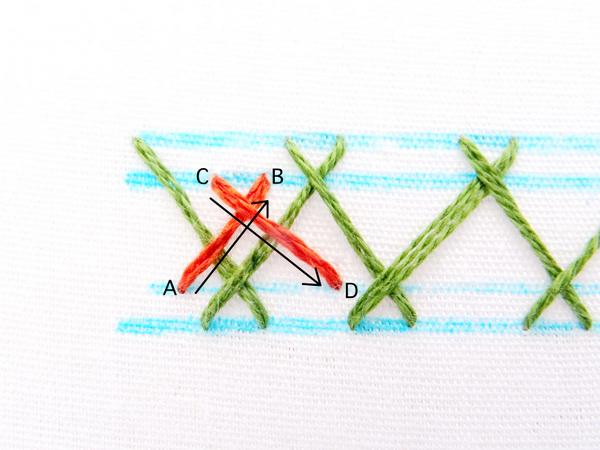
One change to note is that while the first stitch of single herringbone starts at the top of the marked lines, double herringbone starts on the bottom line with a single diagonal stitch from A to B. Determine the placement of point B by following the same 3/4 rule as for single herringbone .
Bring the needle back out at point C and make another diagonal stitch down to point D. You will notice that the angle of this stitch matches the angle of the first single herringbone stitch.
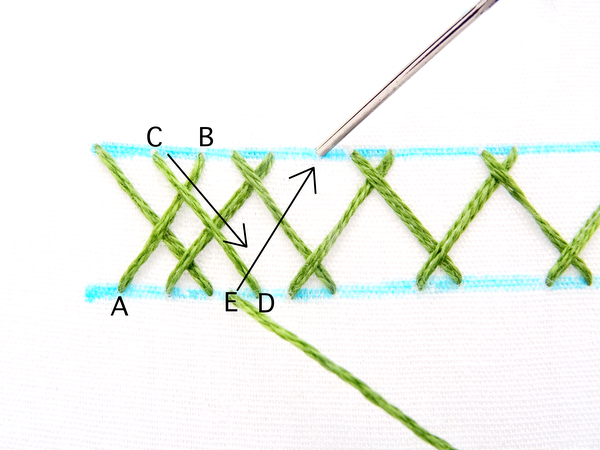
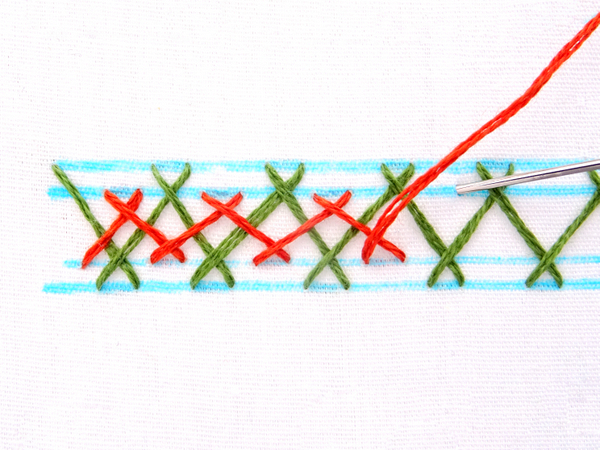
Continue stitching in this manner until you reach the end of the line.

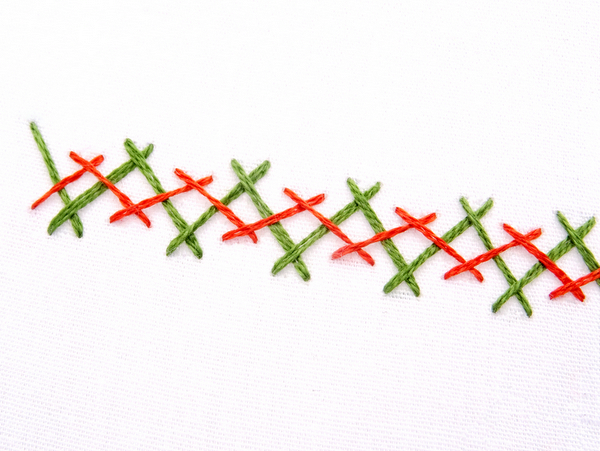
Double herringbone can be stitched with a single color thread, or with a contrasting color for the second row.
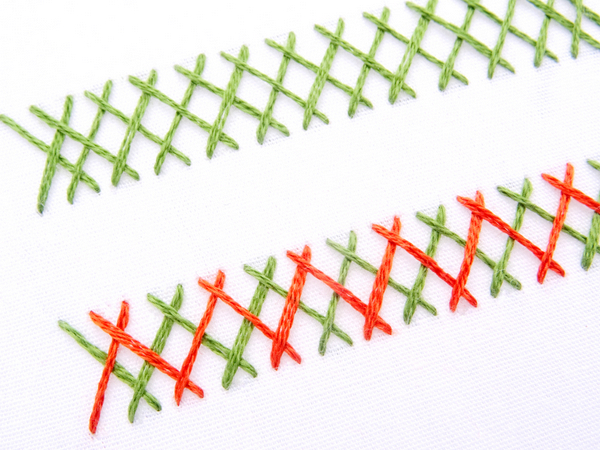
Irregular Double Herringbone
This variation of double herringbone produces an off-center row of smaller stitches on top of the first row.
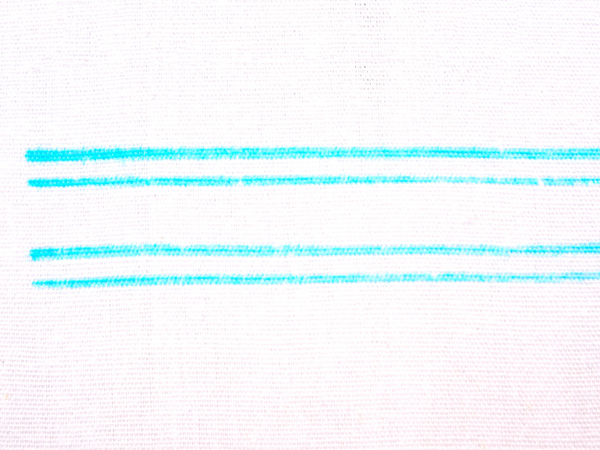
Start by marking four parallel lines that follow the pattern below. Exact measurements are not necessary, but the idea is to place the middle lines closer to the top and bottom instead of spacing the lines evenly.
Stitch a row of single herringbone using the top and bottom line as a guide. For this first row, the additional lines are not used.
Next, using a contrasting color thread, start stitching a second row of herringbone. The steps are the same as the double herringbone above, except the stitches start and end on the two marked middle guidelines.
You will notice that in this variation, the second row of herringbone does not match up with the first. That’s what makes it irregular!
Happy Stitching!
Leave a Reply