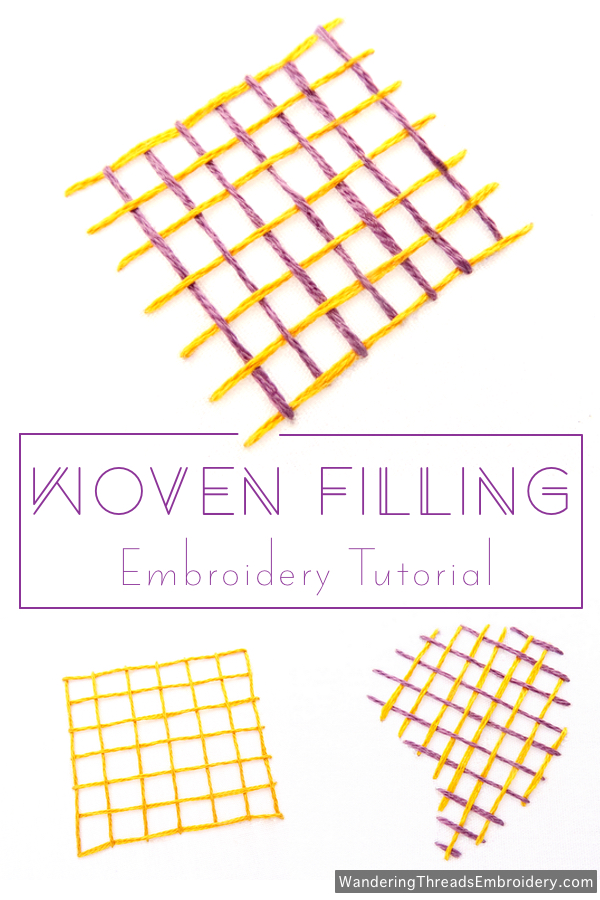
Woven filling stitch is an excellent way to fill shapes while adding texture, interest, and color. Follow the simple steps below to learn how to fill your shapes with a stitch that is fun and functional.
Woven Filler Step-by-Step
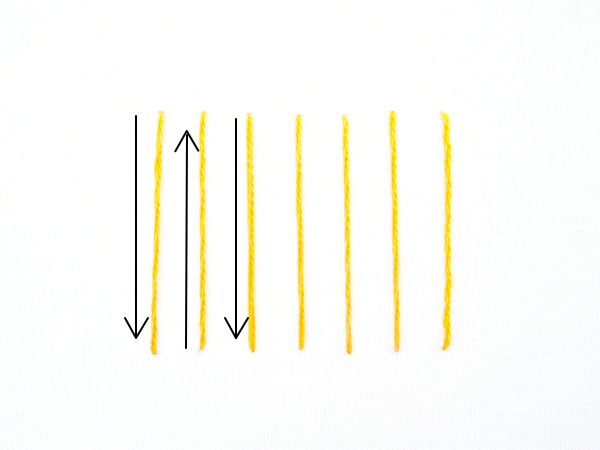
Woven filling stitch starts with a foundation of straight stitches. The distance between the lines is up to you, but the idea is to keep the space between the lines equal. You can achieve this by marking out a grid using a removable marking pen, or simply by eyeballing the distance.
When making the straight stitches, follow the guide below to avoid unnecessary long lines of thread on the back of your fabric.
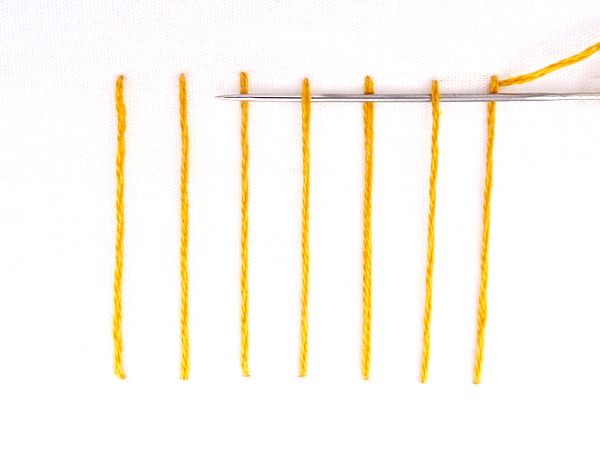
Once you have the foundation stitches in place. Bring the needle and thread up at top of the square and slide it under and over alternate stitches. It doesn’t matter if you start on the right or the left because the direction of the weaving changes with every row.
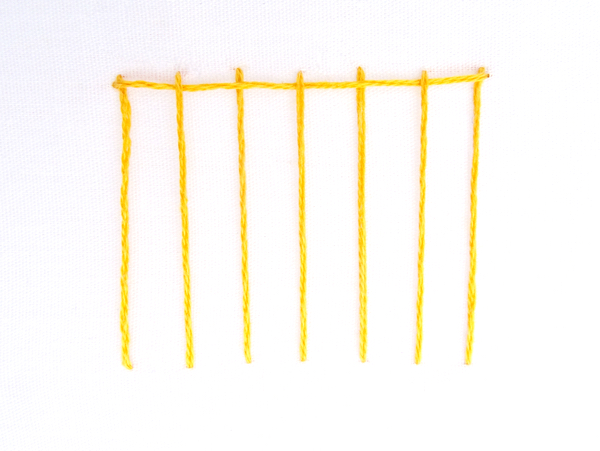
At the end of the row, take the needle down into the fabric and then bring it back up to begin the second row. This time, weave over and under the stitches in the opposite direction. When you reach the end of the row, once again bring the needle down and then back up to start the third row.
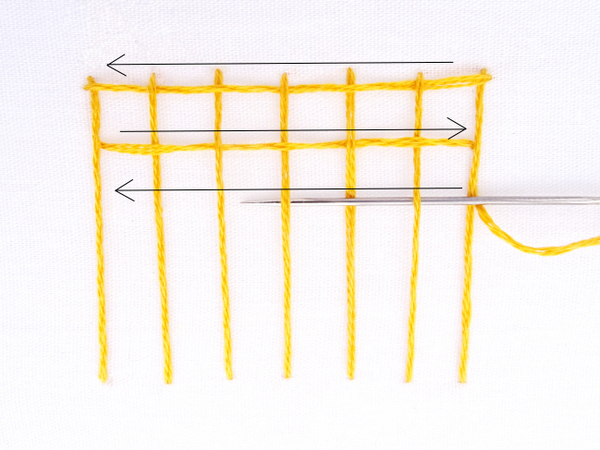
Continue weaving in alternate directions until you have woven through all the vertical lines.
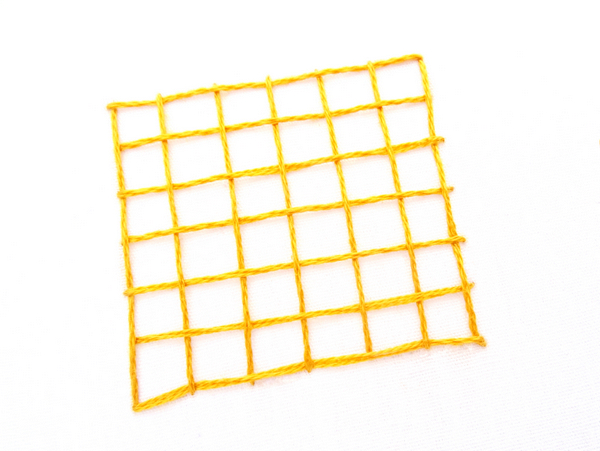
Woven Filling Variations
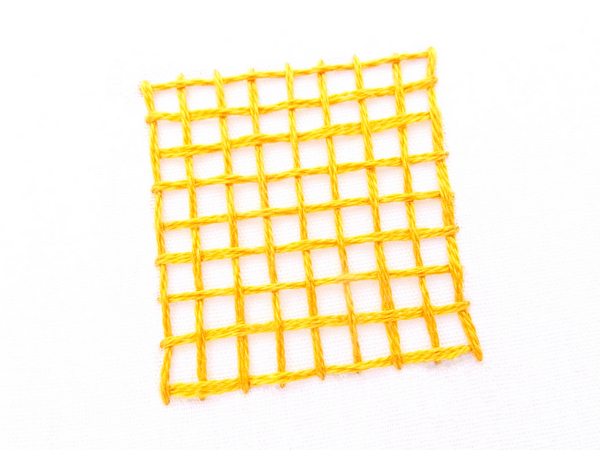
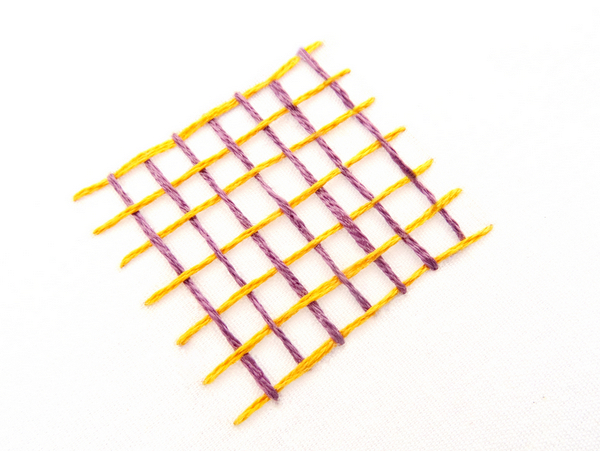
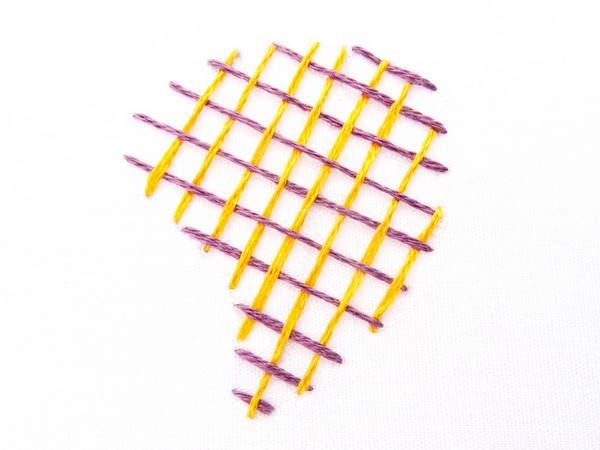
Woven filling stitch can be created in a variety of ways. The above example shows a widely spaced weave using a single color, but there are many variations to the basic technique. You can space the lines closer together to create a tighter weave, use more than one color, or even use it to fill irregular shapes. As long as you follow the basic weaving steps, the sky’s the limit when it comes to woven filling variations.

Leave a Reply