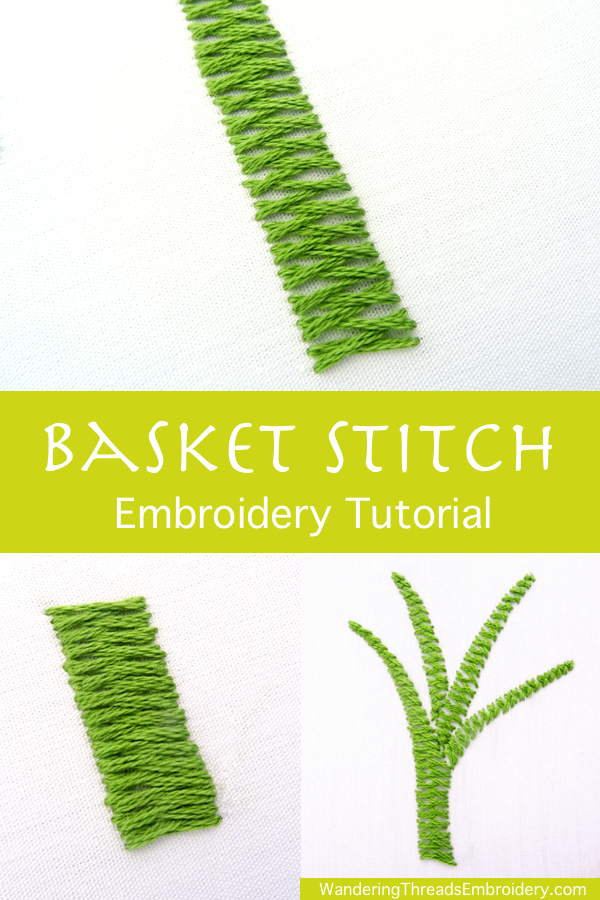
This is a beautiful stitch that creates a basket-like woven texture. It can be worked in an open fashion to show off the individual stitches, or close together to create texture. I love using this stitch for tree branches, wide stems or a thick border.
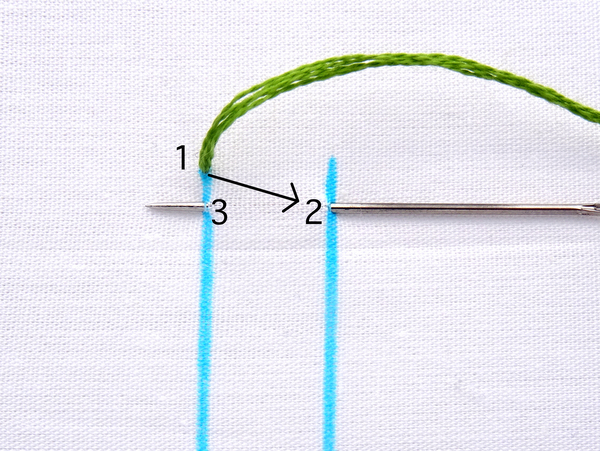
To begin, draw two parallel lines in a vertical orientation. I find it easier to work basket stitch vertically, but you can certainly work it from left to right if you prefer.
Take your needle up through the fabric at the top of the left line (1) and bring it down through on the right side (2). Note that point 2 is diagonal from point 1. Slide the needle behind the fabric and out at point 3 which is straight across from point 2.
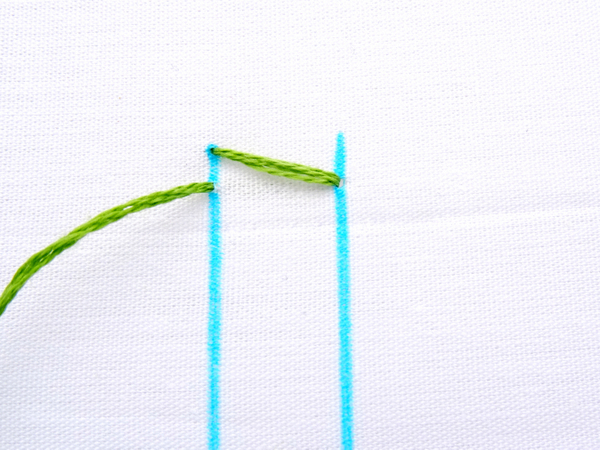
Pull the thread through. You now have a single diagonal stitch.
Next, bring the thread over to point 4, insert the needle, slide it behind the fabric, and then out at point 5. Just like for the last stitch, 3 and 4 are diagonal from each other, and 4 and 5 are straight across.
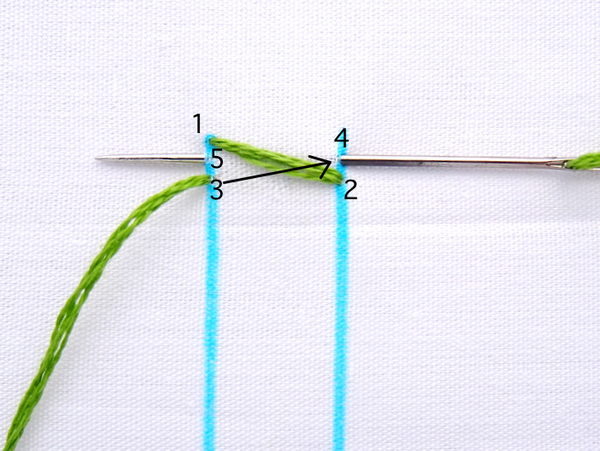
From here, simply repeat the actions of step one. Take the thread from point 5, go diagonally down to point 6, insert the needle, and come out at point 7.
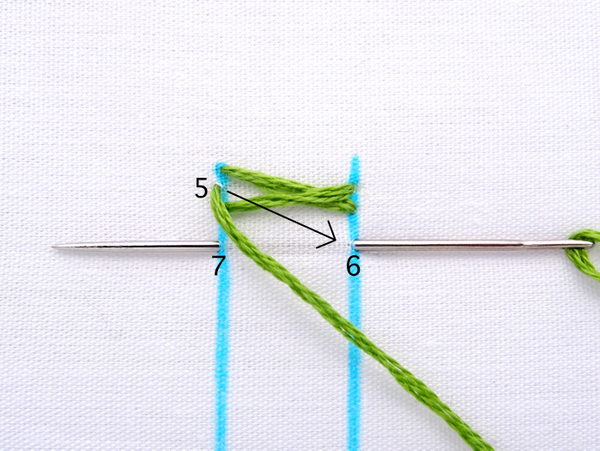
Keep repeating the pattern above: diagonal down, straight across, diagonal up, straight across. The final result is a row of woven stitches!
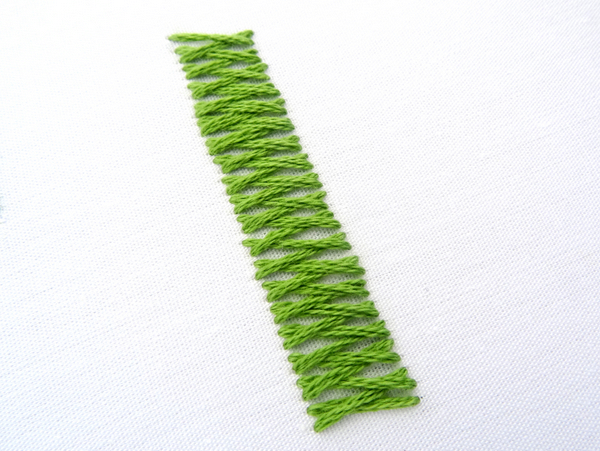
Basket Stitch Variations
There are several ways to modify this stitch. First, you can work the stitches close together to create a more textured woven look.
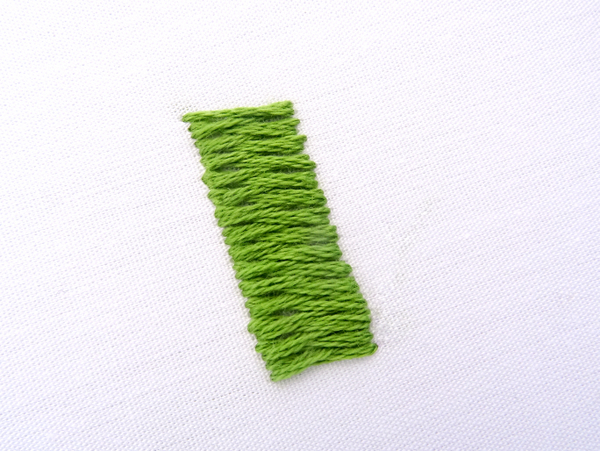
Second, you can work this stitch horizontally from left to right. While this doesn’t really result in a different look, it can be more intuitive for some stitchers.
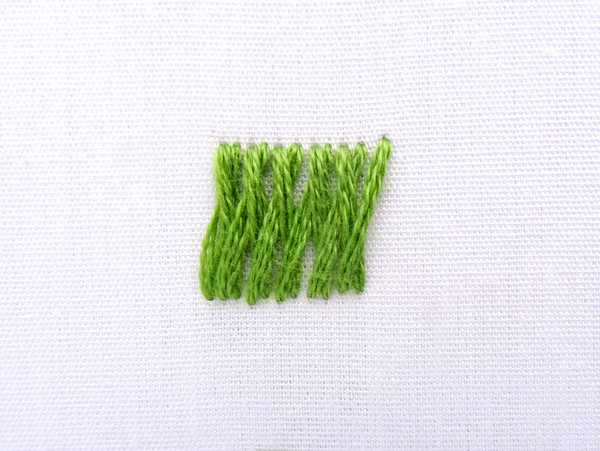
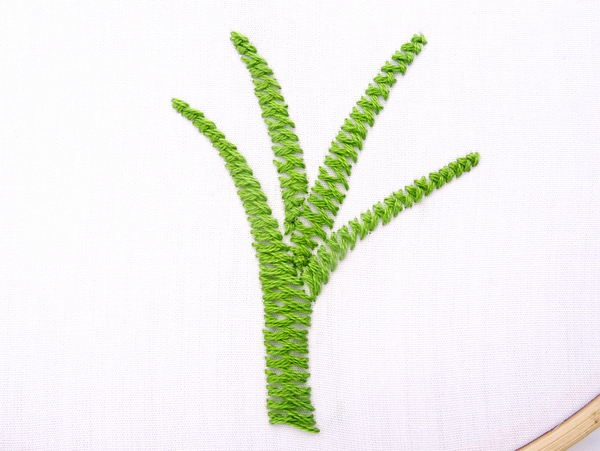
Finally, basket stitch can be used to create gentle curves. I am using the word “gentle” because trying to make this stitch work around sharp curves is not easy or advisable (trust me on this one). In the example below, you can see you how nicely the stitch flows around the soft curves of the tree trunk.


Leave a Reply