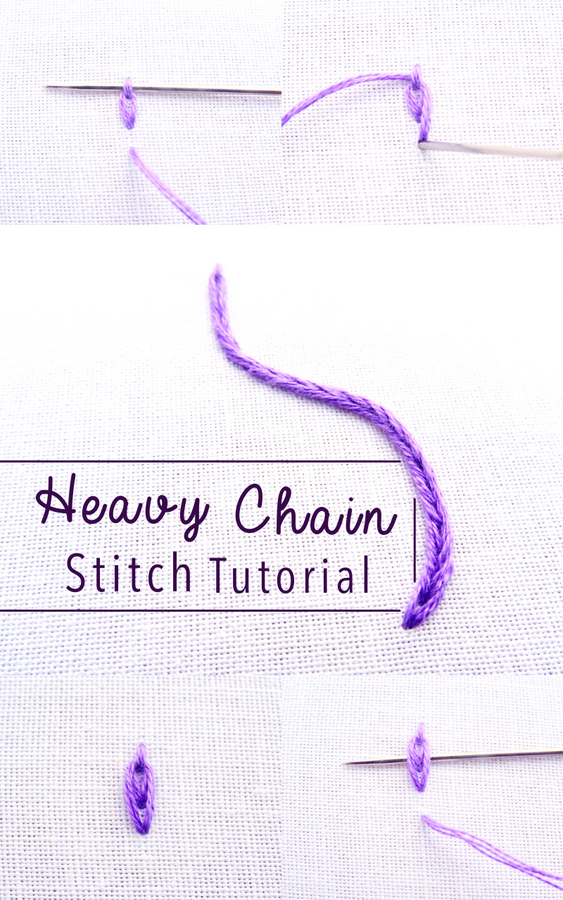
I don’t know about the rest of you, but I love chain stitch for its braided texture and ability to turn an ordinary border into something special. If you’re like me and think chain stitch is the best thing since silk floss (embroidery joke) then you’re really going to love this simple variation called heavy chain stitch. It’s similar to regular chain stitch, but it creates a wider, thicker band for those times when you want to make a bold statement.
Start your heavy chain stitch by making a small verticle stitch. Next, bring the thread back up one stitch length away and pass the needle under the first stitch without picking up any fabric.
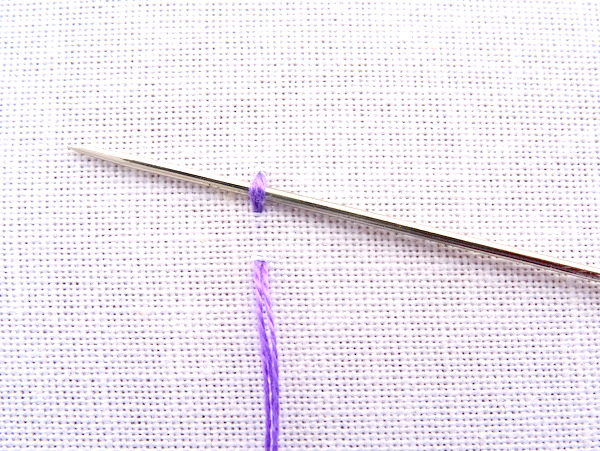
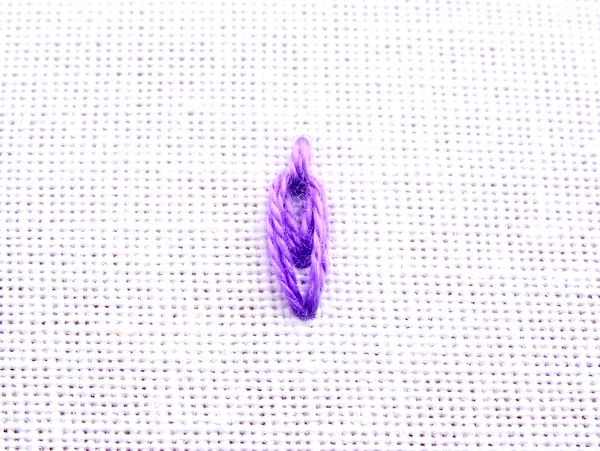
Put the needle back in where the last stitch came out. You now have your first link in the chain.

Move down another stitch length, come up through the fabric and slide the needle under the first stitch.
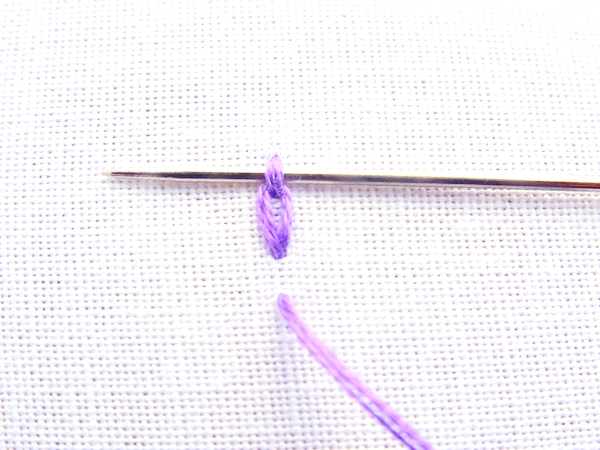
Once again, go back down in the same spot where the last stitch came up.
Now you have two chain links on top of each other which create a heavy chain.
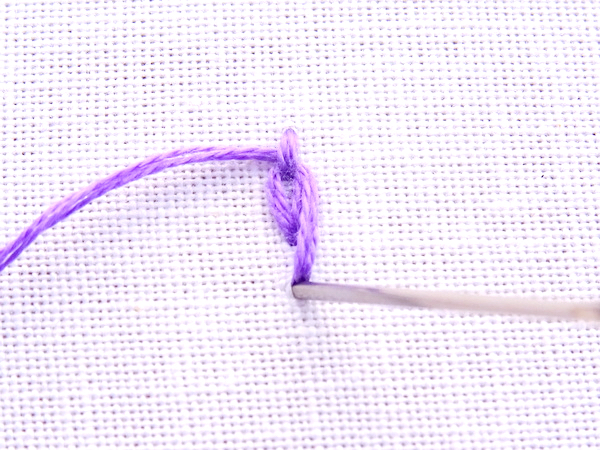
Come back up one stitch length away and then pass the needle through the last two loops.
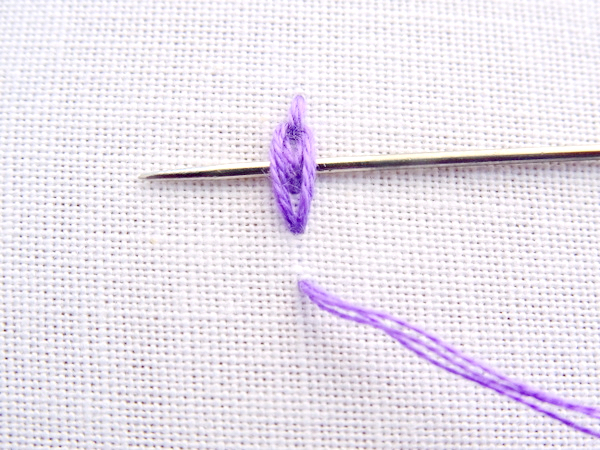
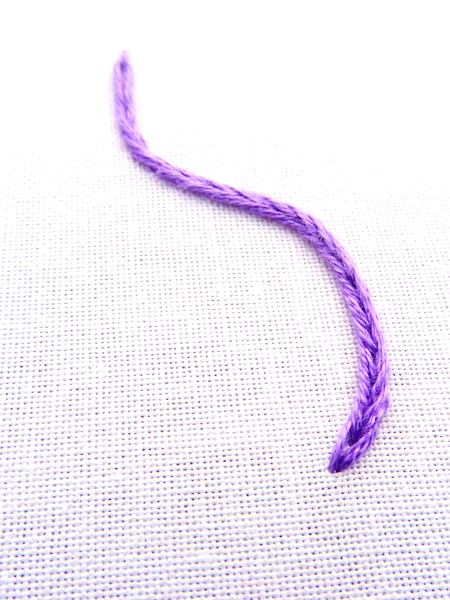
Keep following this method until you reach the end of your line. Always remember to always pass through the last two loops to create multiple chains that lie on top of each and make a bold, thick heavy line. Heavy chain stitch is excellent for creating a straight or curved border. Shorten your stitches slightly when rounding corners to achieve a uniform curve.
Leave a Reply