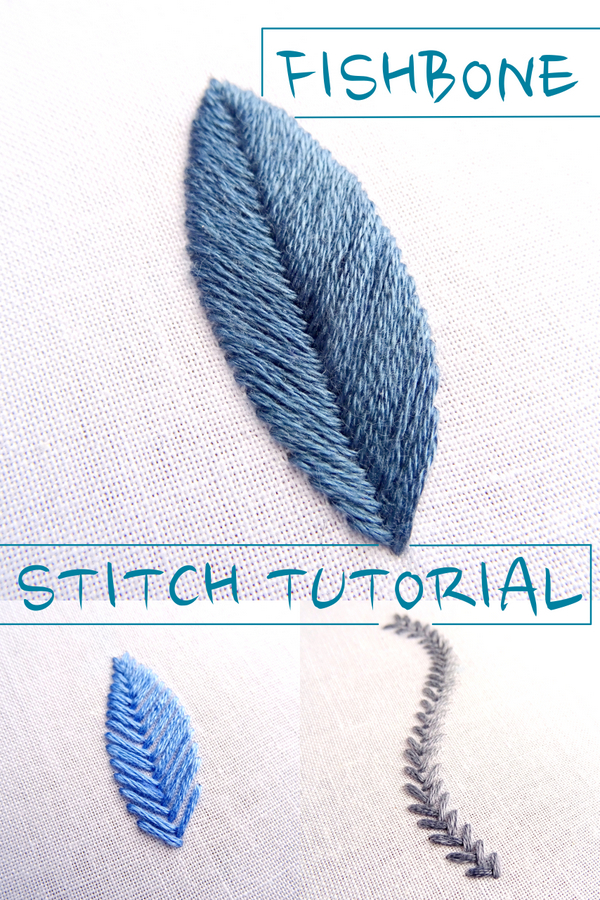
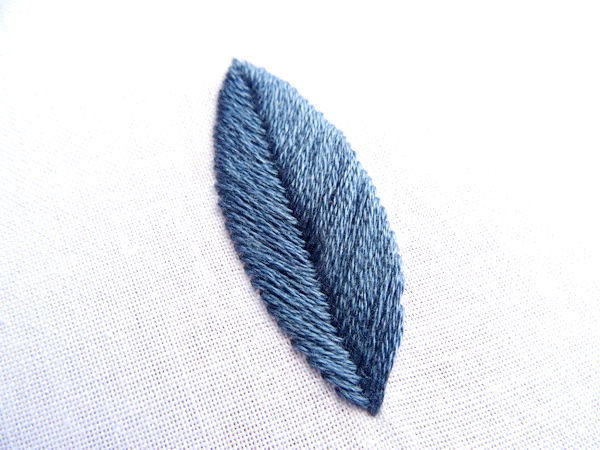
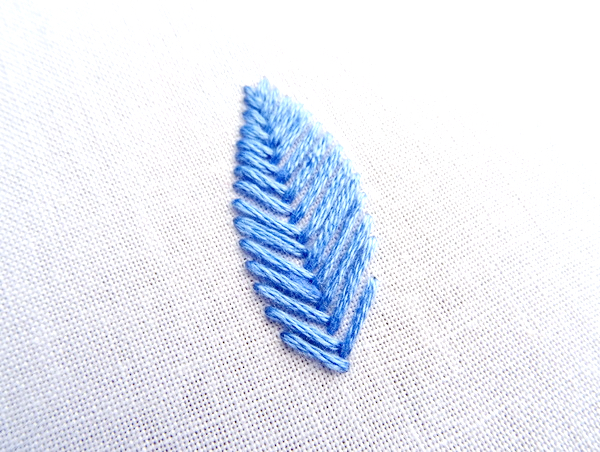
Fishbone Stitch is most often used to fill in shapes such as leaves and feathers. It consists of a series of slanted stitches that overlap in the middle creating a center spine. Fishbone stitch can be worked close to create a smooth satin-like finish, or spaced apart for a more open look that makes an interesting border stitch.
The very best thing about fishbone stitch is how simple it is. With no complicated knots or wrapping required, this stitch creates beautiful results with minimal effort.
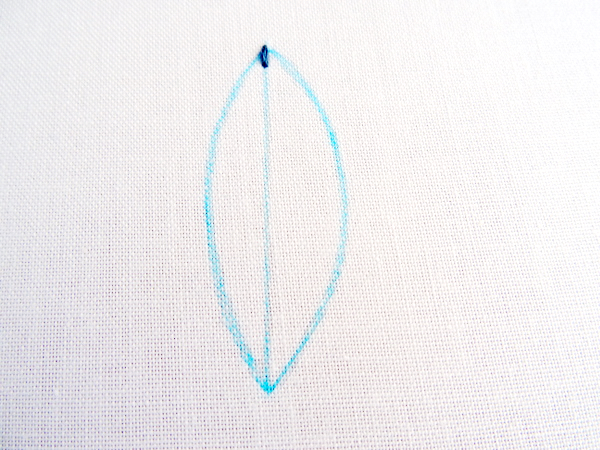
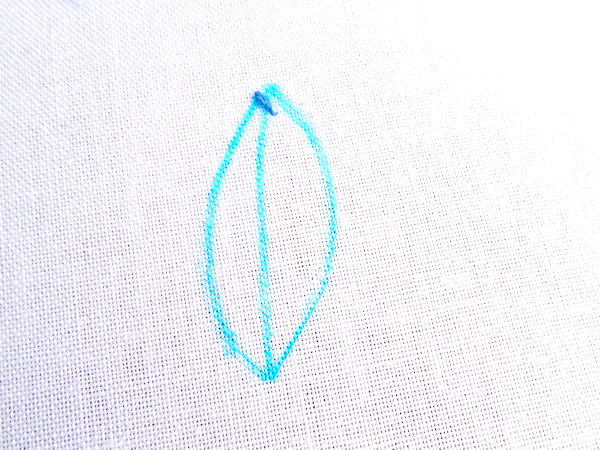
Let’s start with a leaf shape. It doesn’t have to be perfectly symmetrical. Draw a line down the center and make a small straight stitch from the top.
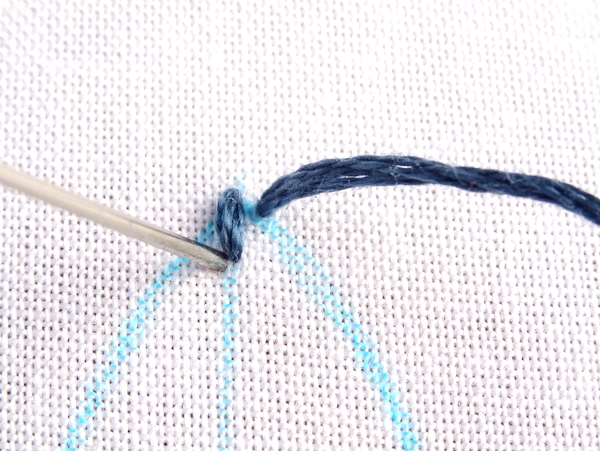
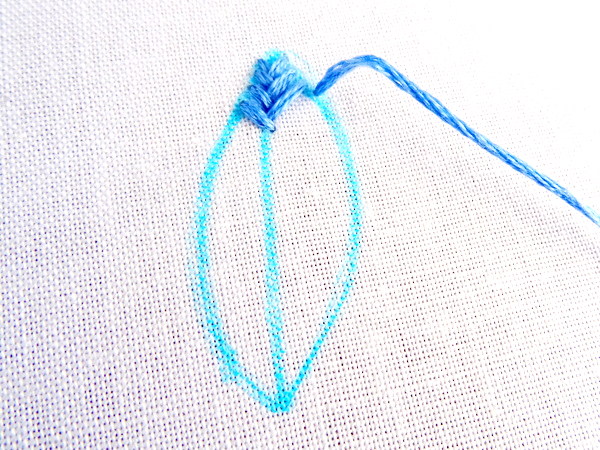
Come up next to the right side of the first stitch. Make a slanted stitch that ends just across the center line.
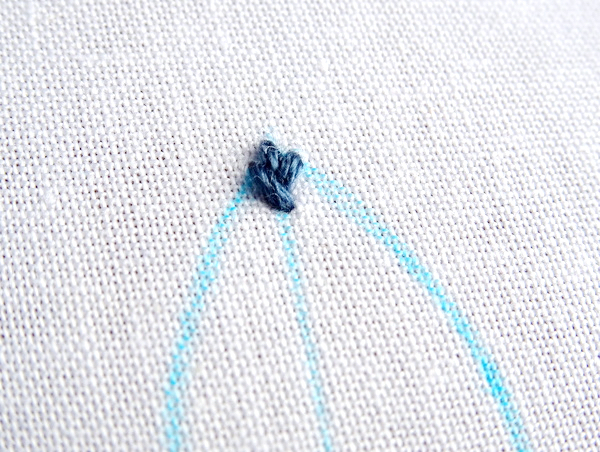
Come up on the other side of the first stitch and make another slanted stitch that ends on the opposite side of the line.
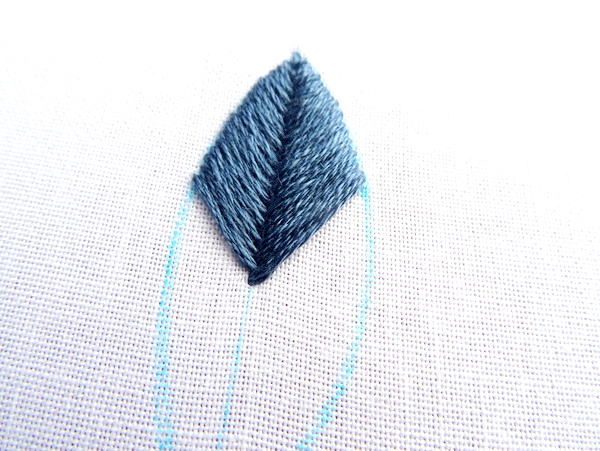
Continue stitching in this fashion, alternating sides. Each time you will come up right next to the previous stitch and make a slanted stitch that crosses the center line. As you stitch down the shape, the center spine forms and you can see the leaf shape emerging.
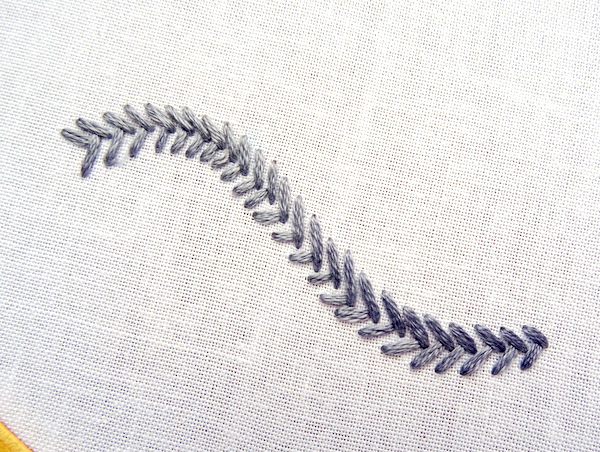
Open Fishbone Stitch
A simple variation of the basic stitch is called Open Fishbone Stitch. It’s worked in a similar fashion except the stitches are spaced farther apart. Start with a small slanted stitch at the top of the shape.
Using the same method as the standard stitch, create a series of alternating slanted stitches working down the shape. Instead of placing the stitches close together, leave some space between. How much space you leave is up to you.
Open Fishbone stitch can also be worked along a line to create a unique and interesting border.
Fishbone Stitch Patterns
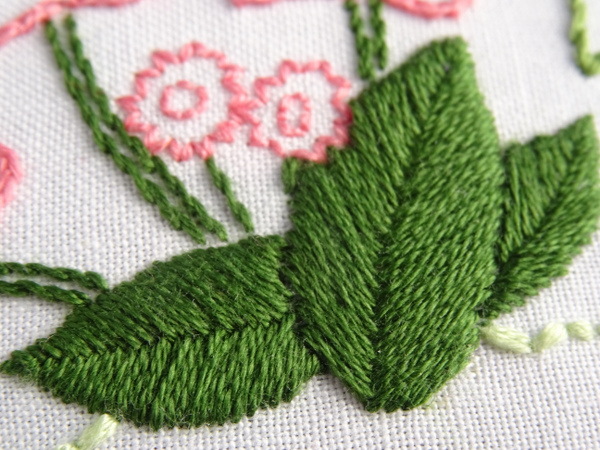
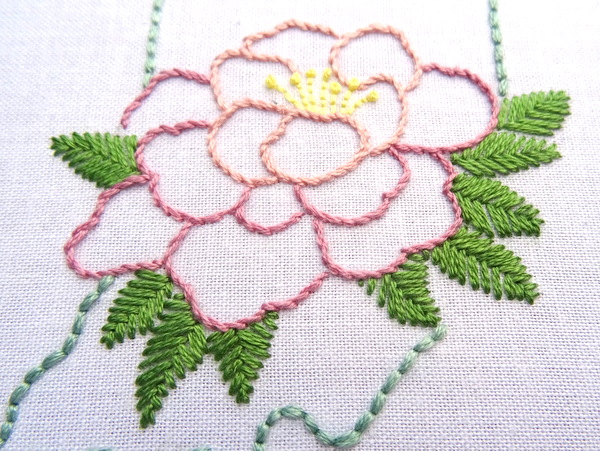
Since fishbone stitch is the perfect stitch for leaves, you will find it in several of the Wandering Threads patterns featuring leaves. Patterns like the Connecticut State Flower pattern with Mt. Laurel flowers adorned by a cluster of leaves.
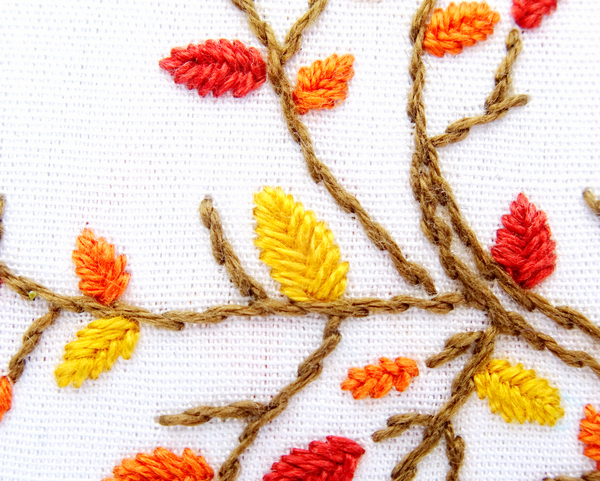
Or the Autumn Tree Pattern where several dozen small leaves are worked in fishbone stitch to create a mosaic of fall colors.
Open Fishbone also makes great leaves and can be found in the Indiana State Flower Pattern.
marsh
What is a Lazy Daisy stitch?
Amanda Watson
Lazy Daisy is a simple stitch composed of a series of loops that is commonly used to stitch flowers. Here is a link to the lazy daisy stitch tutorial: https://www.wanderingthreadsembroidery.com/lazy-daisy-embroidery-stitch-tutorial/
Margot Dawson
Thank you, your tutorial was so clear and easy to follow. I’m a beginner at embroidery, but your tutorials have given me confidence to try some new techniques. Im looking forward to lots of practice as we head into winter here in Tasmania!