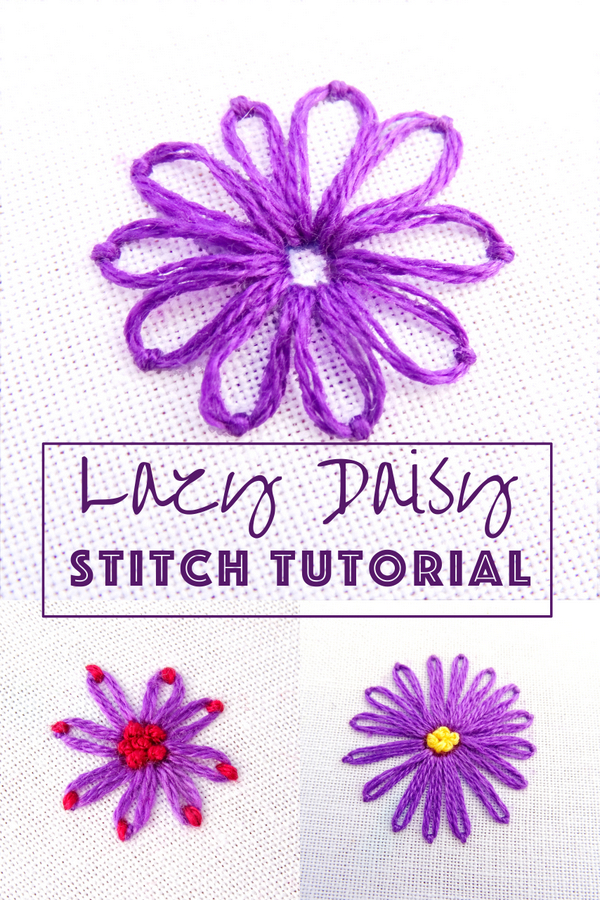
The name says it all. Lazy Daisy is arguably the simplest stitch for creating embroidered flowers. It can also be called the Detached Chain Stitch, but let’s face it, that name is not nearly as fun! Lazy Daisy stitch is nothing more than a simple loop arranged in groups to create flowers, combined in a line to make Chain Stitch, or worked individually to create leaves. There are also a number of variations for taking this simple stitch to the next level.
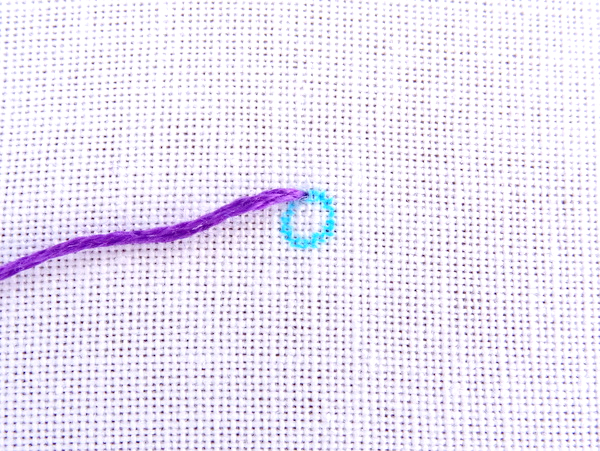
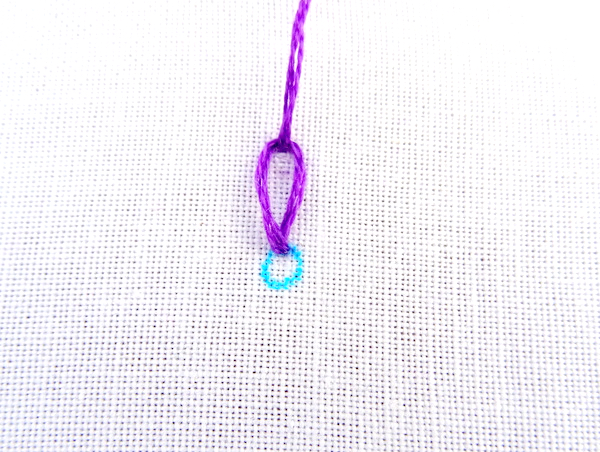
Let’s start this lesson by making a simple flower. You can draw the whole thing, or just a small center circle and work from there. Bring the needle and thread to the front at the edge of the center circle.
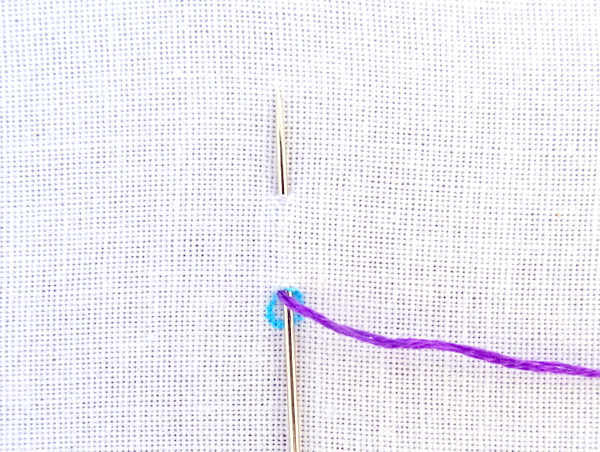
Put the needle back in right next to where you came out. Without pulling it all the way through, weave it up and out of the fabric a small distance away. This will be your stitch, or petal, length.
Now, take the thread and wrap it around the needle. If you’ve already learned Chain Stitch, this method will be familiar.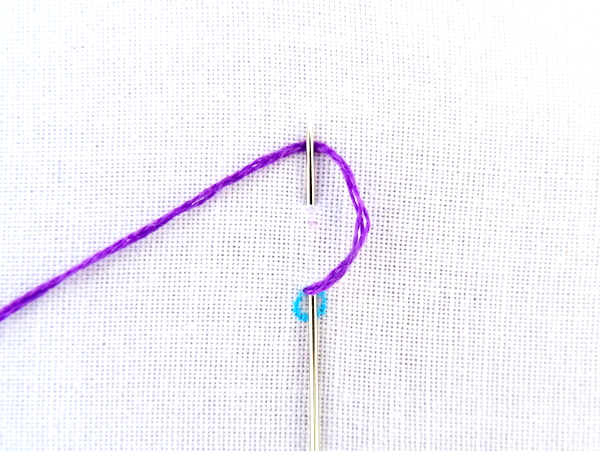
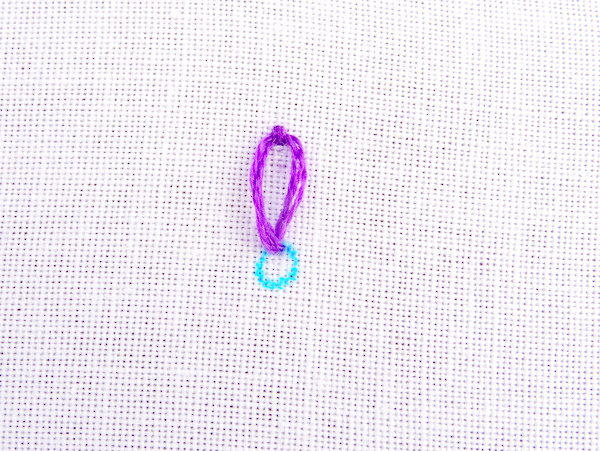
Pull the thread all the way through to create a loop. The tighter you pull, the narrower the loop will be.
Anchor the loop by bringing the thread back down just on the other side of the loop.
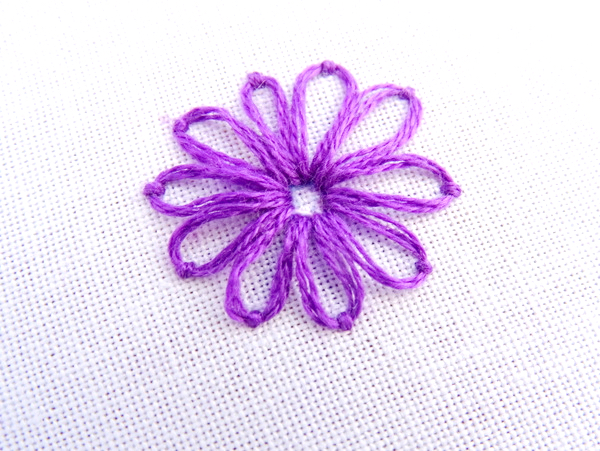
Continue working around the edge of the loop until you have a complete flower.
Lazy Daisy Stitch Variations
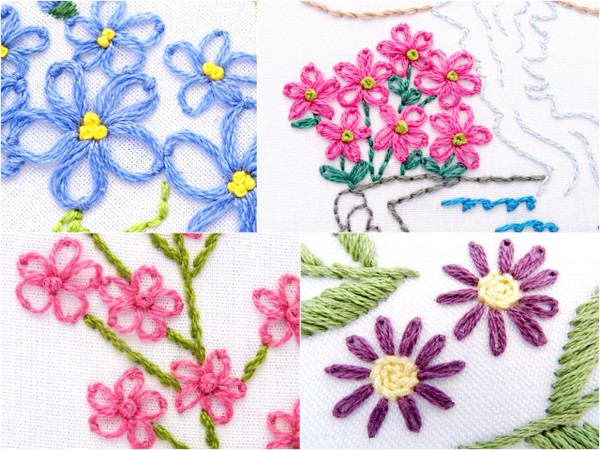
There are a number of variations on the basic Lazy Daisy stitch. For starters, you can make long thin petals with long stitches pulled tight. Or short rounded petals with short stitches left loose.

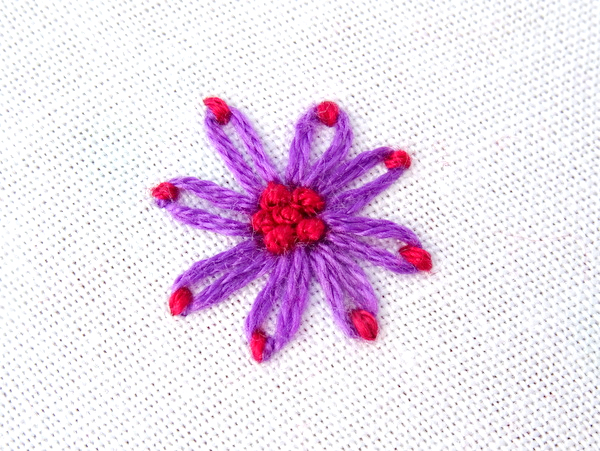
Lazy daisy can also be made with two thread colors. I find the simplest way to achieve this look is by adding a second thread color over the original anchor stitch. In this example, I also used the contrasting color to fill in the middle with French Knots.
How about a spider web lazy daisy? Simply follow the directions for Spider Web Stitch using a lazy daisy as the base.
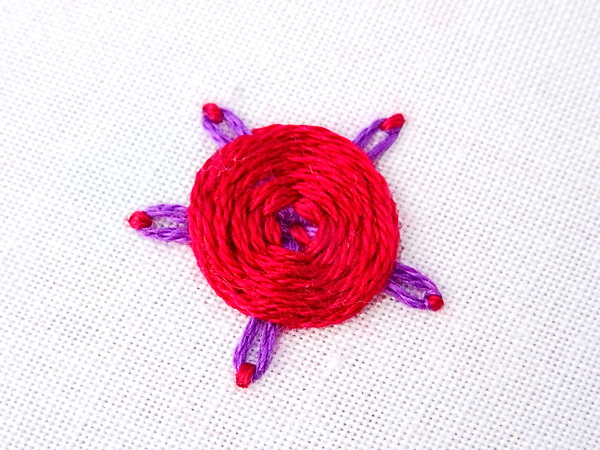
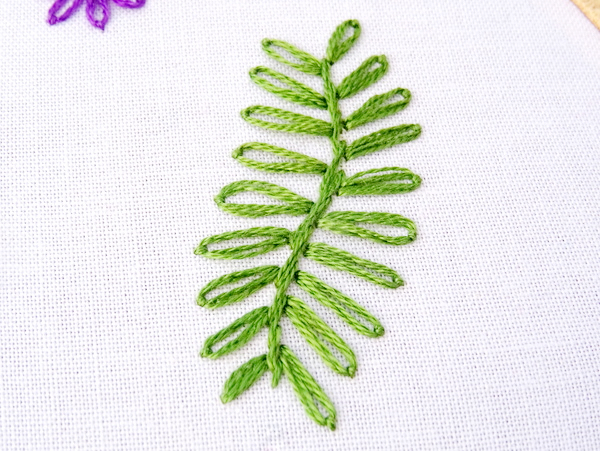
Finally, lazy daisy stitch is not limited to only flowers. You can place the loops in a line to make leaves, in a circle to make a border, or even by themselves to create interesting embellishments.
Lazy Daisy Stitch Patterns
Lazy Daisy stitch can be found in many of the Wandering Thread Embroidery Patterns.
Clockwise from top left: Alaska Flower Pattern, Hot Springs National Park Pattern, Wildflower Meadow Pattern, May Wreath Pattern
karen
easy to learn with the steps..thanks much
Amanda Watson
You are very welcome!
Ninia James
Thank you. I’m feeling very inspired now xx
Julie
Thank you, this will be just the job to put on a plain matinee coat.
Elizabeth
Thank you. Just what I was looking for. Very easy to follow.
Marie
Now I understand how to do it! I was so confused as I hadn’t done embroidery in a long time and wanted to pick it up again. It is so relaxing.
rubi
sooo much easier with this, thanks:)
Simple Hand Embroidery Designs for Pillow Covers - The Creative Folk
[…] Check out the free pattern here […]
Linda Macias
Thank you for this tutorial. It was a huge help! I’m working on 28 count linen and wasn’t sure if I went down the same hole each time or in a hole right next to it. You answered this for me. Thanks again! ❤
Amanda
So happy you found the tutorial helpful!
Amanda
So happy that you found the tutorial helpful!
Precious
THANK YOU SO MUCH the other tutorials i saw didnt do the circle thingy in the middle helped me alot with my school project
Amanda
Happy to hear that you found the tutorial helpful!