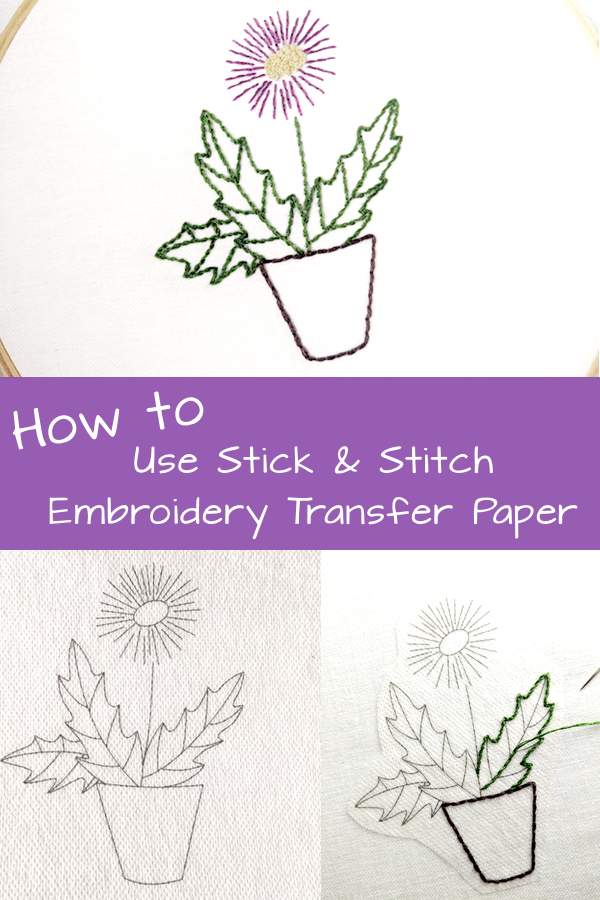
While there are a number of tried and true methods for transferring embroidery patterns, stick & stitch embroidery transfer paper may just have them all beat. A relatively new product, this sticky-backed, dissolvable, printable paper turns transferring patterns from a chore to a breeze!
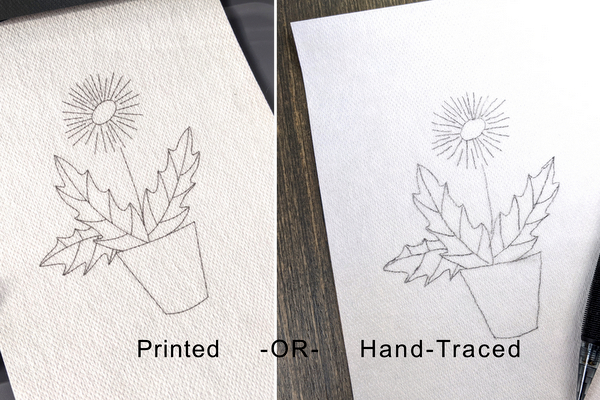
1. Print or trace the pattern onto a sheet of stick & stitch transfer paper.
- Stick & stitch paper can be traced on by hand, or printed on using an inkjet or laser printer. The pattern goes on the rough (non-sticky) side of the paper. If using a printer, double-check how to load the paper so it doesn’t print on the wrong side (I’ve made this mistake more times than I care to admit).
- If tracing by hand, use a light-colored pen or pencil and don’t press too hard. Remember that you will need to wash the transfer paper off the finished piece and a dark pen could bleed onto the fabric and thread. This is especially important when stitching with white or very light-colored thread. To be on the safe side, do a test using the writing utensil you plan to use and make sure it washes off completely along with the transfer paper.
- If using a printer, make sure the setting is for plain, not photo, paper. Some printers use extra ink when set to print photos which could bleed or fail to wash out completely. Again, do a test to make sure the ink setting is not too dark.
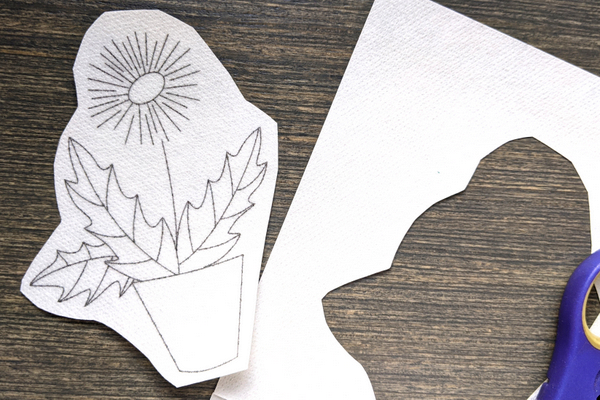
2. Trim the stick & stick paper to roughly the shape of the pattern.
If you’ve printed a whole sheet of paper and the pattern is only on a portion, cut off the extra paper around the edges of the pattern.
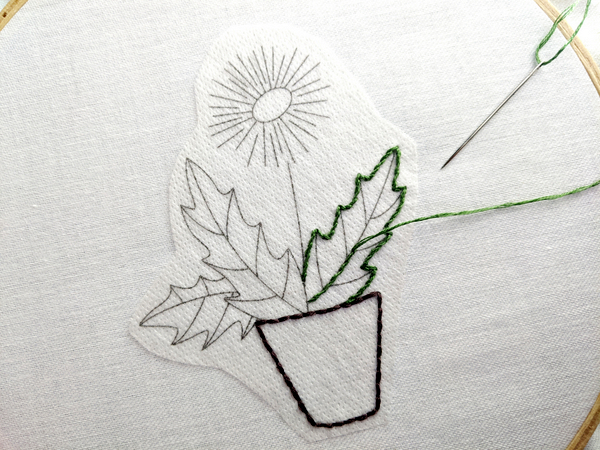
3. Adhere the stick & stitch pattern to the fabric
Lay the fabric flat on a hard surface, remove the backing from the transfer paper, place the pattern on top, and press firmly. Take your time and make sure it is well adhered to.
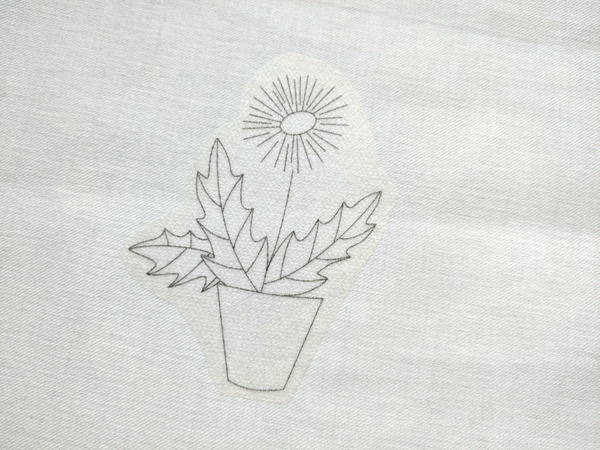
- Smooth fabric works best with the sticky backing, but any fabric is suitable for stick & stick, even if it needs extra help from pins or stitches. In fact, a textured fabric that is difficult to mark with a transfer pen is the perfect candidate for a stick & stick sheet. On the flip side, a thin slippery fabric is also great for working with stick & stitch because it acts as a stabilizer making it easier to stitch.
- If the pattern is not sticking well, add a few straight pins to the edges, or make some long running stitches to hold the pattern in place. Before washing, simply remove the pins or snip the stitches.
- You can remove and re-stick the pattern, but it won’t be as sticky the second time around so try to get it right in one go.
4. Stitch over the top of the transfer paper.
Once the pattern is firmly adhered to the fabric, stitch as usual.
- A little bit more pressure is needed to push the needle through the transfer paper and fabric. If this bothers your fingers, try using a thimble.
- The needle can become a little gummy when stitching though the sticky paper. This happens more often in warm, humid climates. An easy solution is to wipe the needle periodically with rubbing alcohol.
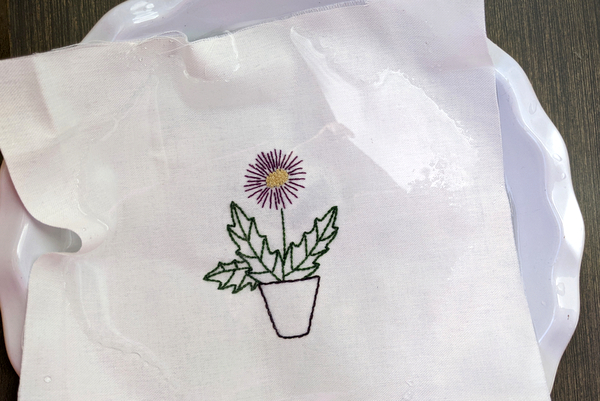
5. Wash away the pattern
- Place the finished piece in a shallow bowl of lukewarm water. Make sure the water completely covers the fabric. Leave it for 5-10 minutes.
*Cold water is okay to use, but it takes longer to dissolve the paper. Additionally, if the fabric has not been pre-washed, be careful when using water that is too warm as it could cause the fabric to shrink. - Shake the fabric in the water to remove any loose bits of semi-dissolved paper. I sometimes use my fingers to gently push away any stubborn bits.
- Give the fabric one final rinse and then lay flat to dry.
- If any ink is left behind or still visible from the pattern (see notes on using ink to transfer by hand), dab a tiny spot of soap on the spot and rub very gently.
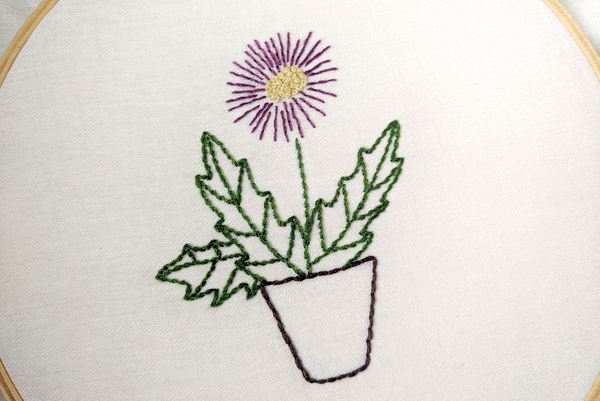
What patterns work with stick & stitch transfer paper?
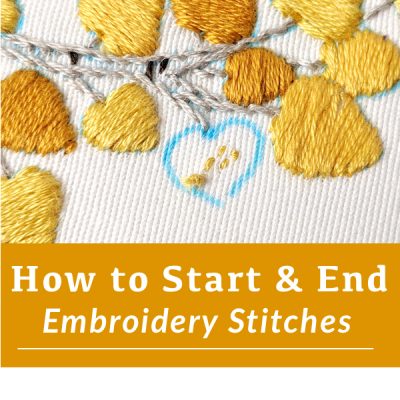
With no tracing, ironing, or messy carbon paper involved, stick & stitch transfer paper is a great option for any embroidery pattern! Want to try it out? Get yourself a package of my favorite brand of stick & stitch transfer paper, and then try it with one of my embroidery patterns. You can find both paid and free digital patterns in my pattern shop!
More ways to transfer: How to Transfer Embroidery: 3 Simple Methods
*Some of the items on this page are part of our Amazon affiliate store. Wandering Threads Embroidery is paid a small percentage if you click through and purchase an item. The prices are the same as buying directly from Amazon and the funds help cover the cost of running this site. Thanks for your support!
Nancy Rush
I am having a terrible time pushing the needle through the paper and dishtowel fabric. Is there any product that can make it easier? I have used soap and will try the Sewer’s Aid when it arrives. Disappointment in how difficult it is to embroidery. The line drawings come out perfect. It is the sewing that causes the stress. I would appreciate your help.
Sileka
The only advantage this has over tracing paper is its thickness. However, having to deal with glue on the needle (which transfers to the fabric as you see) is not with the minor convenience of being more careless while stitching an embroidery outline. (I see an outline then remove the tracing paper to do the fills.)
VB
Heard about this product, looking forward to trying it on my hand embroidery. Thank you for the information.