I first discovered Scroll Stitch while searching for a stitch to represent water. I love the way this simple knotted line stitch creates a gently curved look reminiscent of ocean waves. Far from simply a stitch used in watery landscapes, scroll stitch makes an excellent outline or filler stitch. With numerous variations and a super simple technique, scroll stitch might just become a new favorite
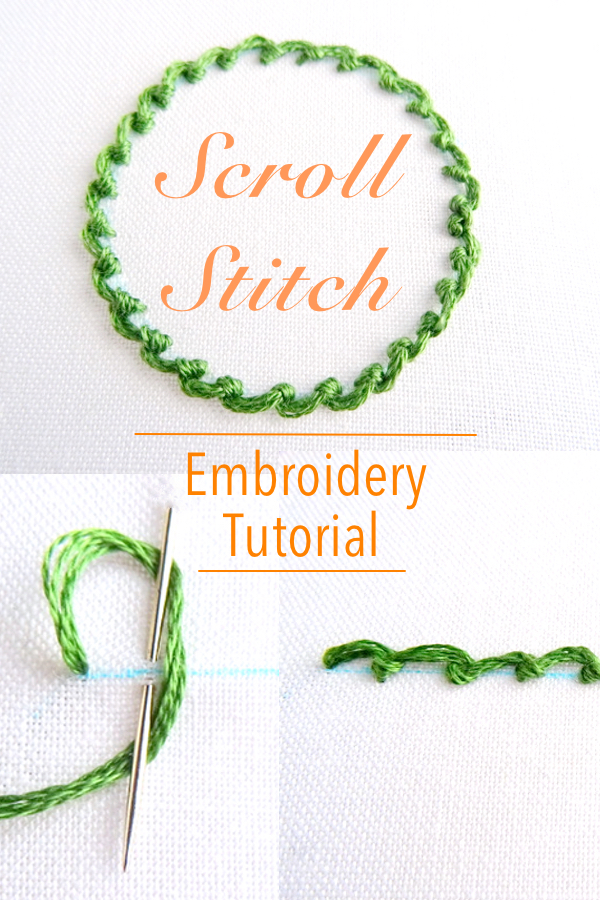 Scroll stitch can be worked on a straight or curved line. Let’s use a straight line to start. Bring the thread to the front of the fabric. Move one stitch length away and take the needle down and back on either side of the line.
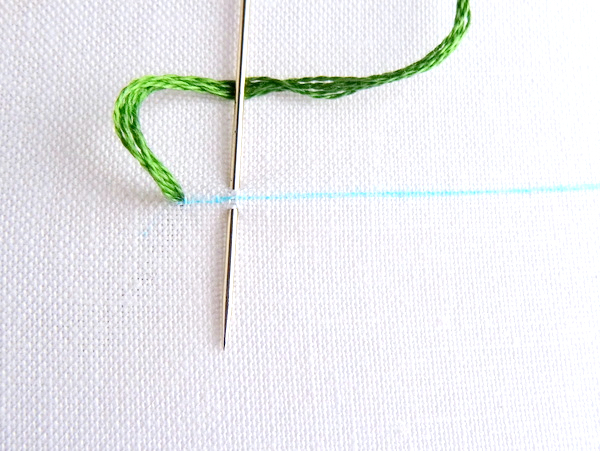
While keeping the working thread behind the needle, wind it under the needle to create a loop.
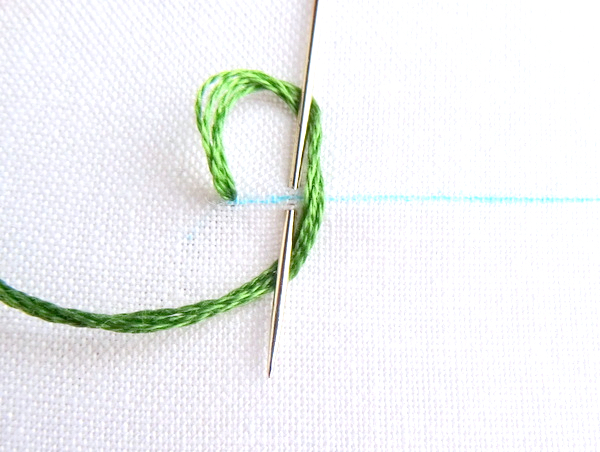
Pull the needle all the way through and admire the tiny little knot you just made. Be careful not to pull too tight or you will no longer have a scroll shape on the top. On the flip side, you don’t want the top curve too loose, so you may need to hold it in place while pulling the needle through.
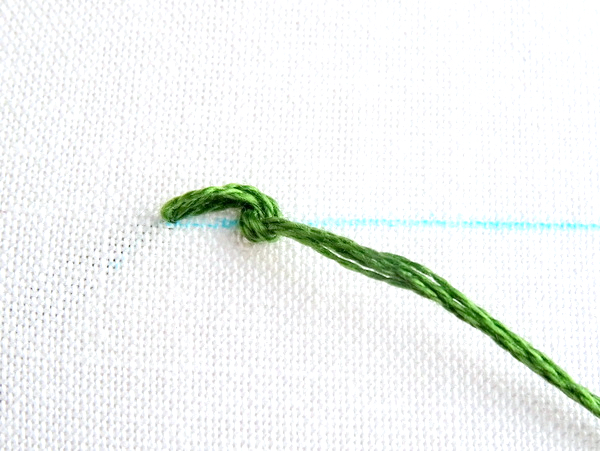
Continue looping and stitching until you reach the end of your line. Easy right?
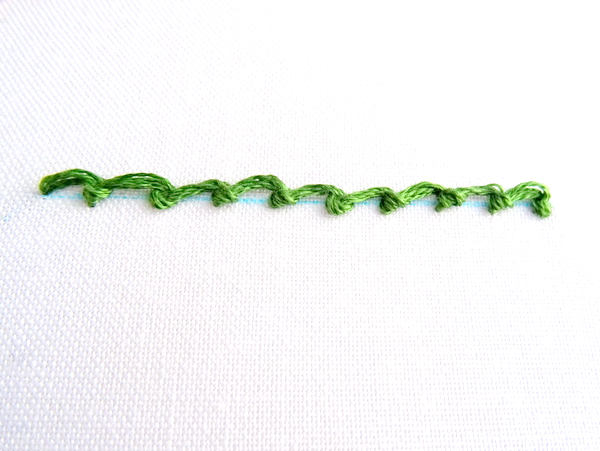
Scroll Stitch Variations
Changing the stitch length is a simple way to alter the look of scroll stitch. Long stitches create a line of widely spaced knots perfect for borders and outlines.
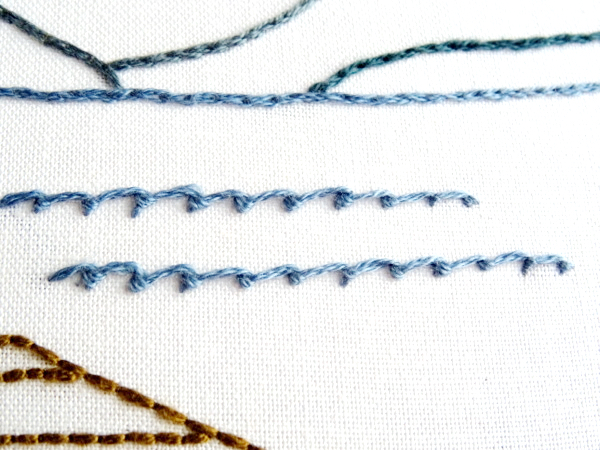
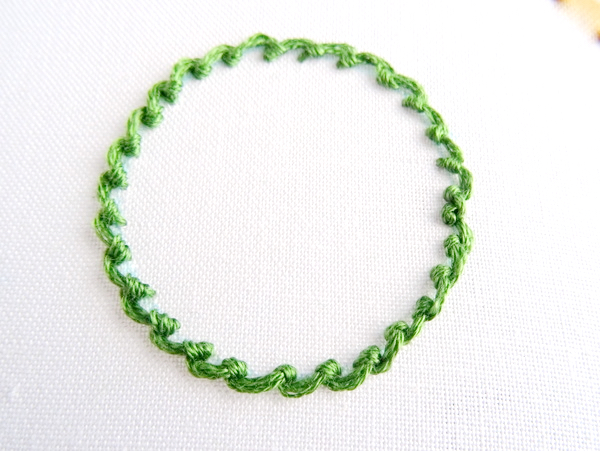
While smaller stitches make a more heavily textured look. Scroll stitch takes curves well and can be worked along a curved line or even in a circle.
Scroll Stitch Patterns
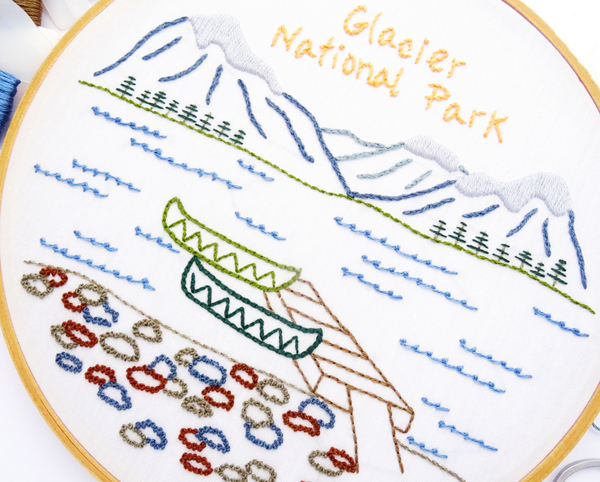
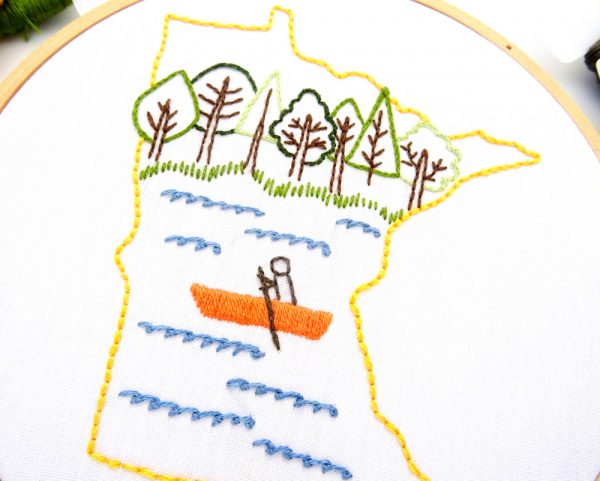
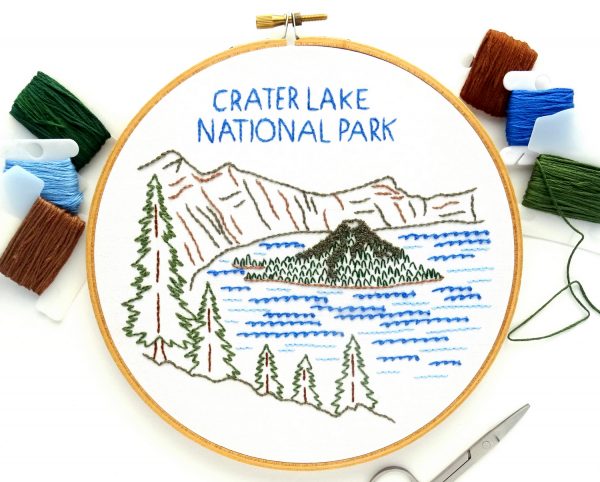
As mentioned above, I love to use scroll stitch to represent waves in the water. Worked along a straight line, this simple stitch creates a wavy line reminiscent of a gentle water current. Here are a few of the Wandering Threads patterns that use scroll stitch:
Glacier National Park
 Minnesota State Pattern
Crater Lake National Park Pattern

dani
great instructions!
Barb
Thanks, with this scroll stitch, I might even be able to learn to embroidery