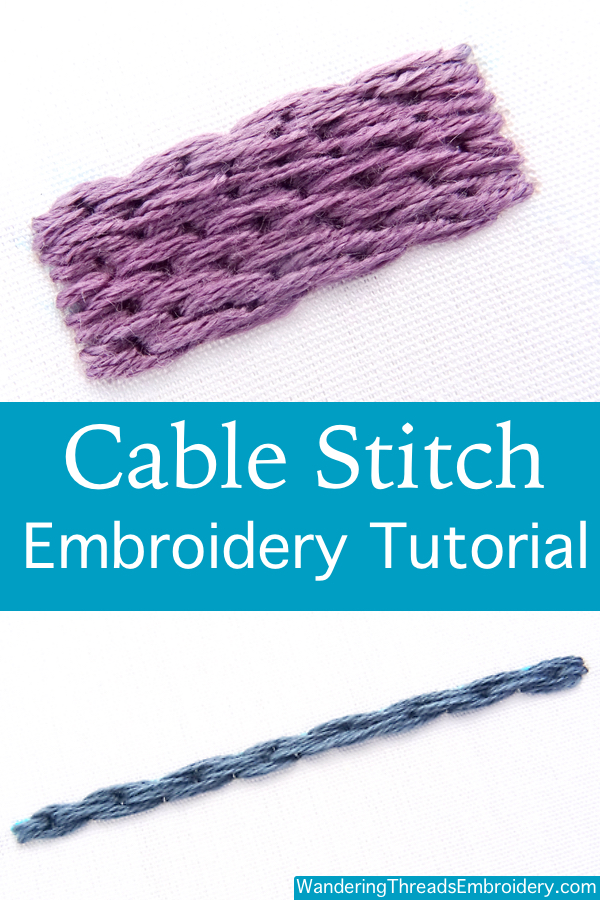
Cable Stitch (also known as side to side stem stitch) is a simple stitch that alternates stem and outline stitch to create a brick-like texture. It is commonly used to outline objects, make borders, or worked together in rows to fill a space with an interesting texture.
Single Cable Stitch
If you are already familiar with stem and outline stitch, cable stitch will be a breeze. If not, it will still be a breeze because these are both simple stitches to master! For a lesson on Stem and Outline stitches, take a look at these embroidery tutorials:
Basic Line Stitches (stem stitch tutorial)
Outline Stitch Tutorial
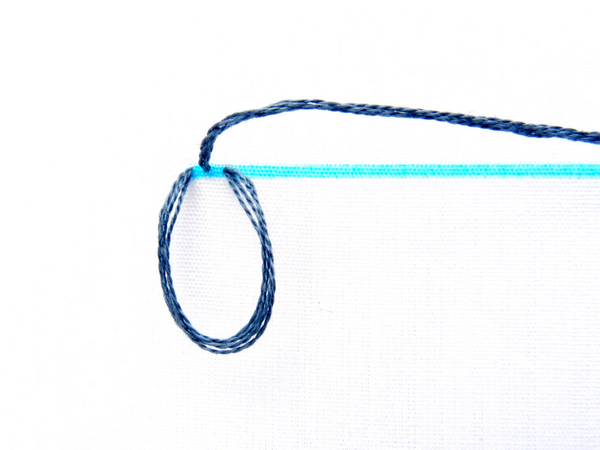
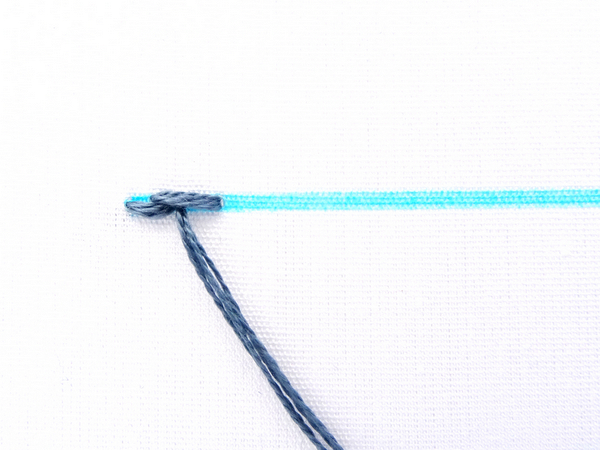
Begin by drawing a line and making a single stem stitch. You will be working from left to right. Remember, the key to stem stitch is to keep the working thread UNDER the line.
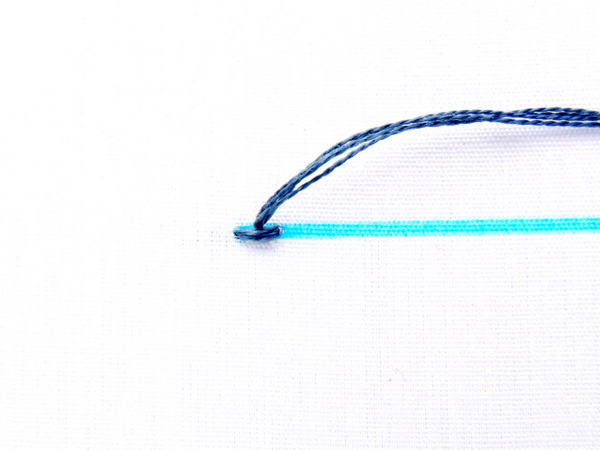
Once you have completed the first stem stitch, bring the thread back up in the same hole where the first stitch ended. This time, keep the working thread ABOVE the line, making a single outline stitch.
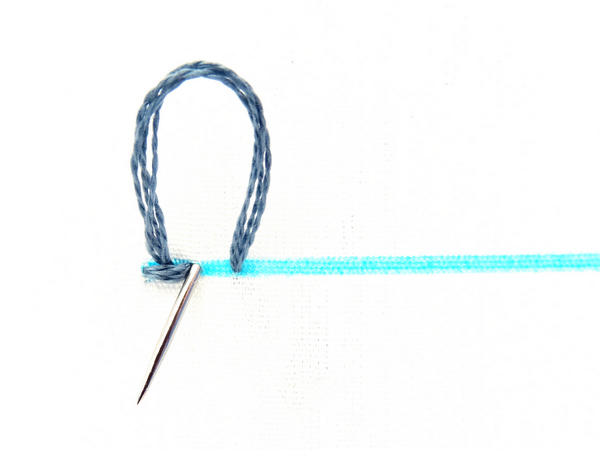
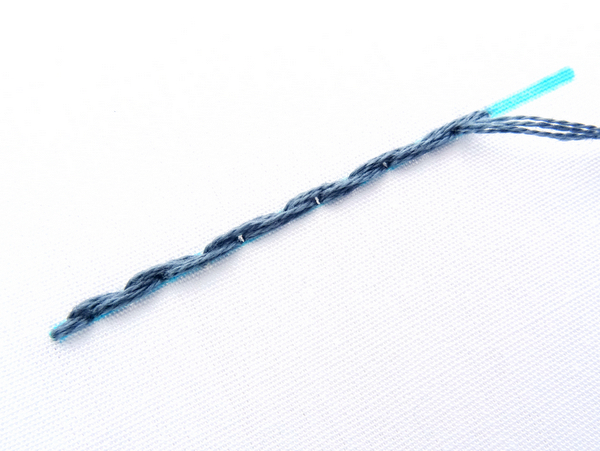
Continue working in this fashion alternating stem and outline stitch until you reach the end of the line. I like to keep track of my stitches by chanting in my head, “stem, outline, stem, outline”. But if you lose your place simply look back at the last stitch to determine if the loop is on top or below the line.
Cable Stitch Worked in Rows
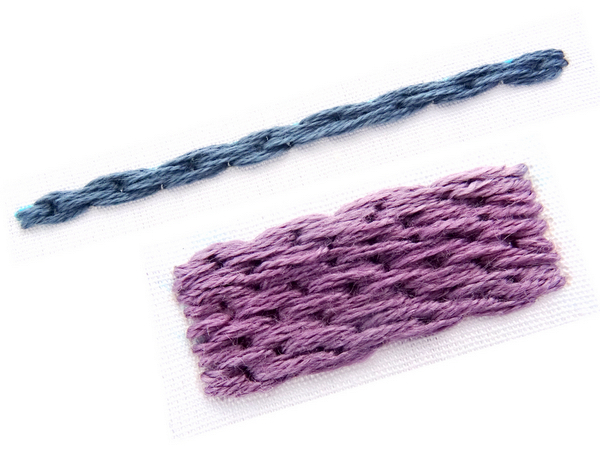
While cable stitch makes a great outline or border stitch, the beauty of this stitch really comes through when worked in rows. I like to use cable stitch as a filler for geometric shapes or stitched in tight rows to create thick bands of texture.
There are a few things to keep in mind when using the stitch in this manner. First, to create a brick-like texture the order of the stitches in each row needs to alternate. The easiest way to achieve this is by bringing your thread back to the starting point and creating the second row directly underneath. I simply flip my work over, weave the thread through the back without going through the fabric) and then pop the needle back up at the start of the line.
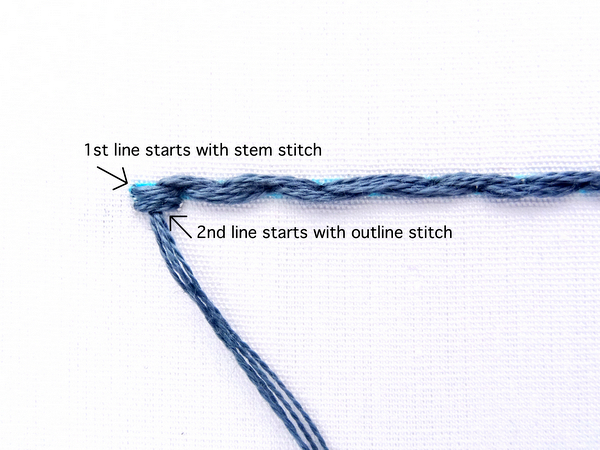
Second, take a look at the first stitch in the line above and determine if it was a stem or outline. Since I started with stem stitch (thread below), the first stitch in my second line will be an outline stitch (thread above). Finally, try to keep the stitches even in length throughout the rows so the alternate stitches line up.
Cable Stitch Patterns
The Desert Garden Embroidery Pattern uses rows of cable stitch to create textural patterns on the plant pots.

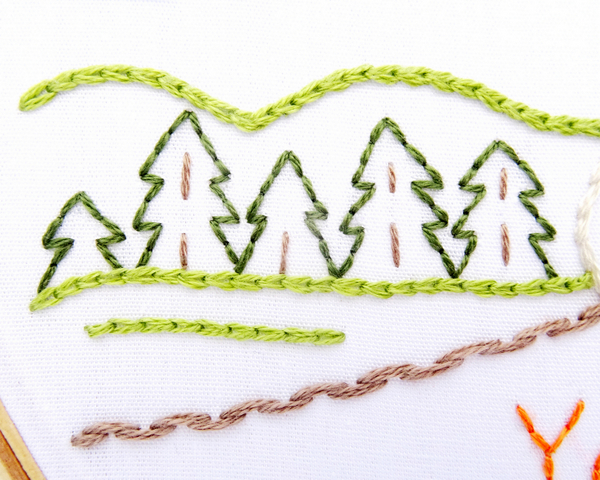
A single line of cable stitch in the Yellowstone National Park Pattern makes an interesting border.
Martha Pichotta
Do you have a book with all your stitches I can buy?
Amanda
Not yet, but it is something I would love to offer in the future. Thanks for asking 😉