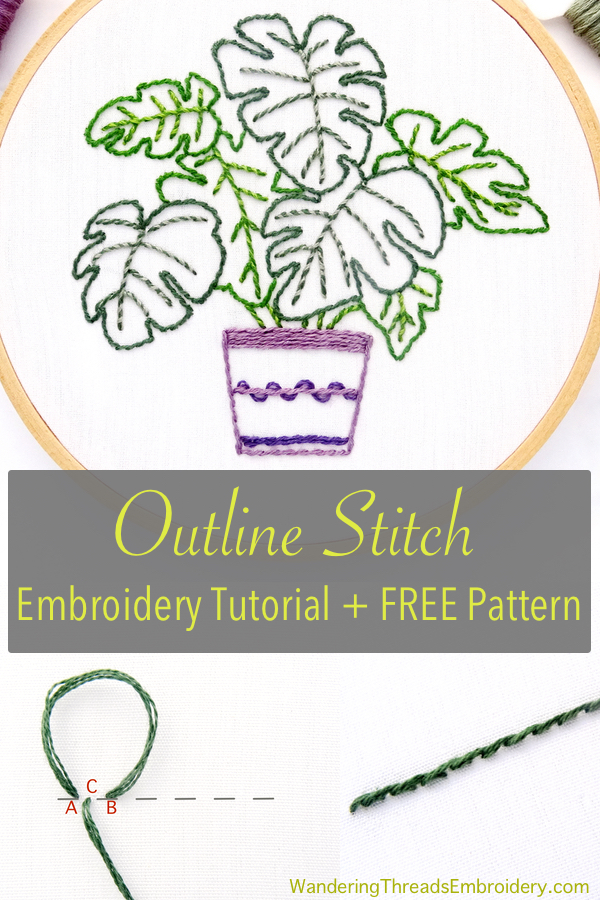
Outline Stitch is a basic embroidery stitch that is commonly used – as you might have guessed – for outlining objects. This simple stitch creates a smooth, twisted rope-like line perfect for curves, circles, or any shape that you want to highlight with an outline.
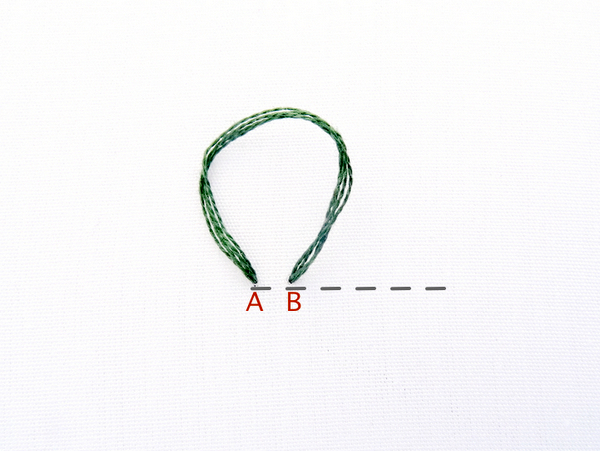
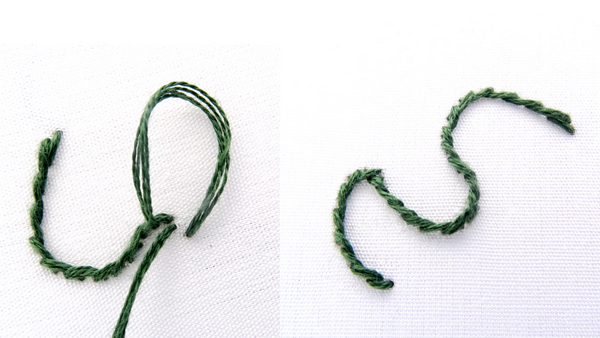
Start your outline stitch by bringing the thread up at the beginning of the line(point A). For this example, we are stitching from left to right. Pull the thread all the way through and insert it again one stitch length away (point B). This time, don’t pull the thread all the way through, leaving a small loop.
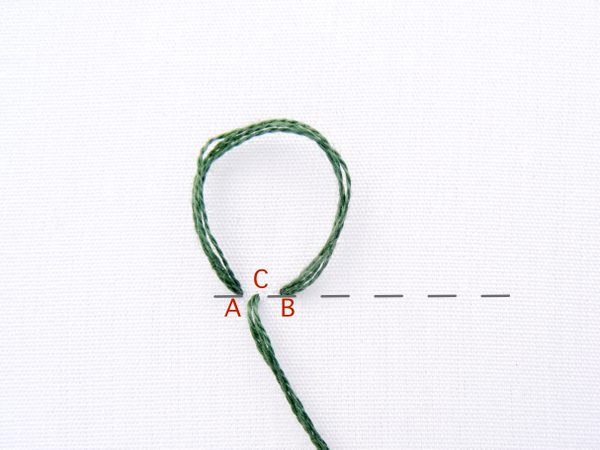
With the loop positioned above your stitching line, bring the needle and thread back up halfway between points A & B (point C). Pull it all the way through to create a stitch. For those following the diagram: Bring the thread up at point A, move one stitch length and bring it down at point B. Next, come back up again at point C while making sure the working thread is ABOVE the line.
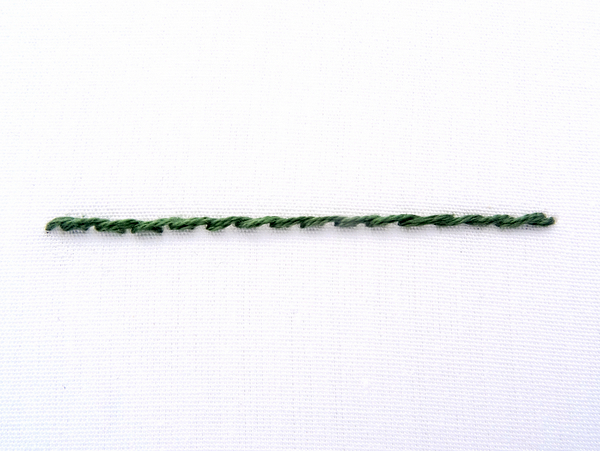
As you continue stitching in this fashion, a twisted line will form.
Curved Outline Stitch
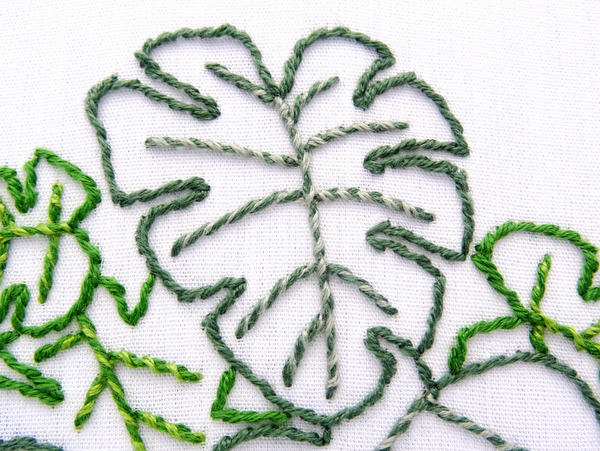
When using outline stitch to create a curved line, reduce your stitch length to ensure a smooth curve.
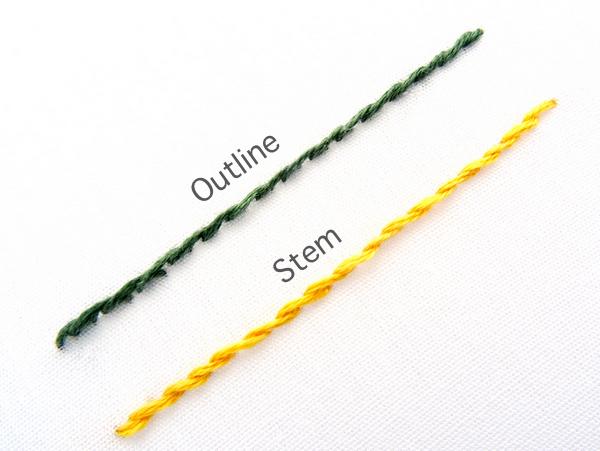
Outline Vs. Stem Stitch
Outline and Stem Stitch are very similar. So similar, in fact, that many people get them confused. While both stitches create a twisted line, the direction of the twist is opposite and, therefore, some patterns look better when using Outline while some look better when using Stem. Often, it boils down to personal preference.
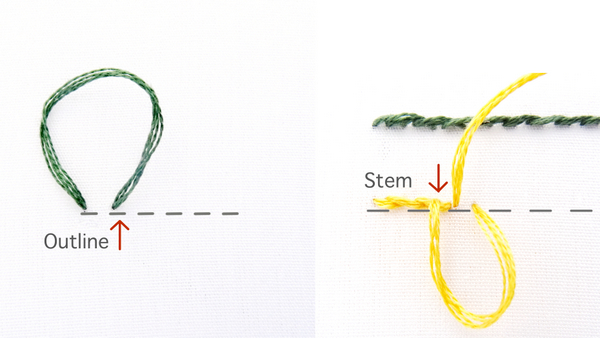
When stitching, the key to remembering the difference is simple. For outline, the loop of working thread stays on the top, and for stem stitch, the loop of working thread stays on the bottom.
Want to see the full instructions for Stem stitch? Head on over to my Basic Embroidery Stitches Tutorial.
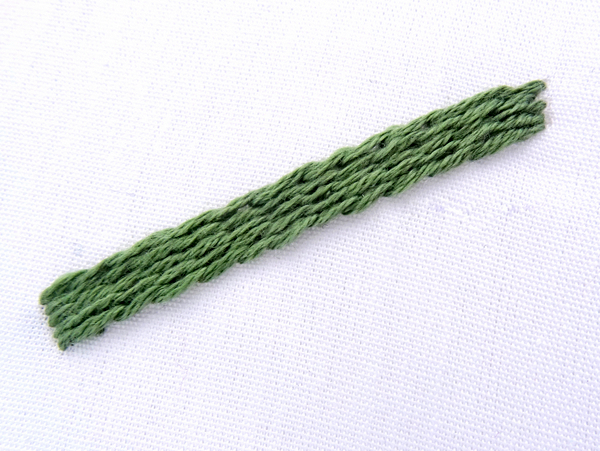
Outline Stitch as a Filler
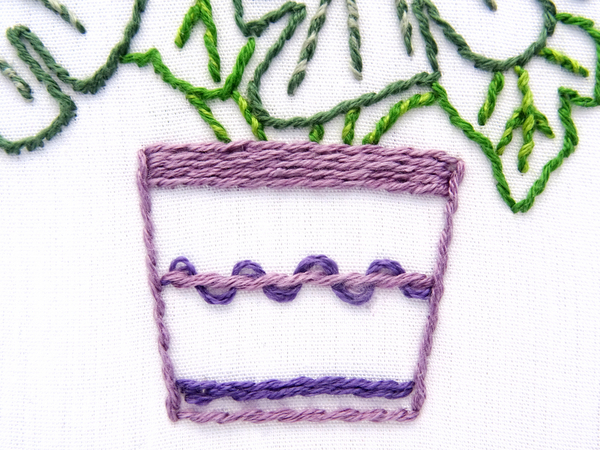
Like all of the basic line stitches, Outline stitch can be worked in rows to fill in objects or create a thick band of stitches. Simply position the lines of stitches in close rows to create this look.
FREE Digital Pattern!
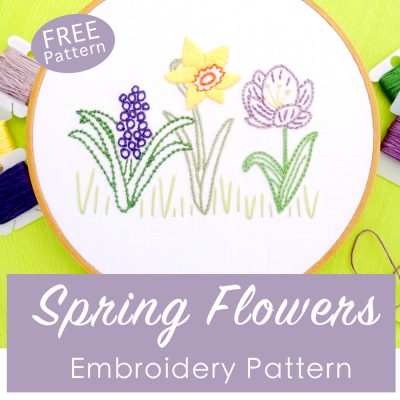
Want to practice your new stitching skills? You are in luck! I have created an entire pattern using only Outline stitch and its variations. This simple Philodendron plant pattern features curved and straight lines, lines worked in rows to create a thick band, and lines woven with a second color for a variegated look.
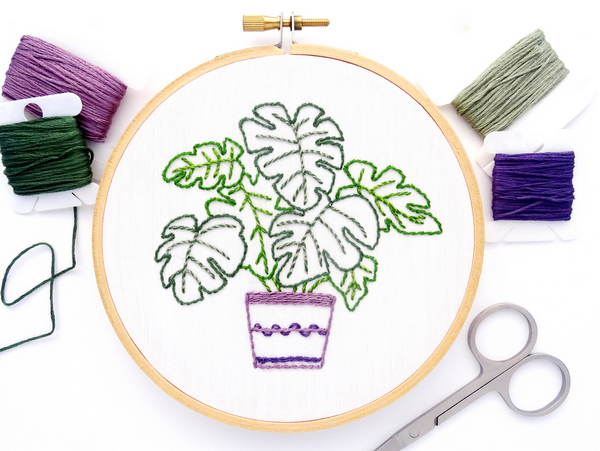
If you are not familiar with the technique of Whipped & Woven stitches, head on over to the Whipped & Woven Embroidery Stitches Tutorial.
Download Your FREE Pattern!
To download your free pattern, including a material list, tutorial for transferring the pattern, stitching instructions, and thread color suggestions, simply click on the link below.
FREE Philodendron Pattern
Robin
I’m having a problem downloading this cute pattern. I’m told more than once it is corrupt or broken. Can you please look into this? I really would like the pattern. Thanks
Amanda
I checked on the pattern and didn’t find any issue with corrupt files. There may have been some sort of glitch in the system when you tried to download it. To make it easier, I went ahead and sent the pattern to you via email. Let me know if you have any questions!
Free Define Sew Hand Embroidery Tutorial and Free Sample – Needle Work - Beadiebuddysbonanza
[…] Click on right here for the tutorial and free sample: Define Sew Tutorial […]
Jeanette Bennett
Someone will probably tell you that you have the names backward but the truth is this stitch has gone by so many names. I downloaded three embroidery books from the Victorian and Edwardian periods from Project Gutenberg and none agreed on what to call this stitch. It’s ancient and has been found all around the world. For most of its life, it was probably just called “That Stitch.” Sadly most embroidery sites don’t even show this venerable stitch so thank you for helping keep it alive.
Amanda
I have found so many stitches with different or conflicting names. I suppose that’s what happens after so many years. No matter what you choose to call it, I love outline stitch! Gald you feel the same 🙂
Carol
Would you do the fill first, and then outline? Or do the outline and then fill it in?
Amanda
While you can do it either way, I personally find it easier to stitch the outline of the leaves first and then the inner detail lines.