You got the pattern, you learned the stitches, and you spent weeks perfecting each tiny little detail. Now what? How do you display all that hard work? Well…you know that trusty wooden hoop that you used for stitching? It also makes a great frame! With a few simple steps, you can learn how to finish an embroidery hoop so it can be displayed and enjoyed for years to come!
You Will Need…
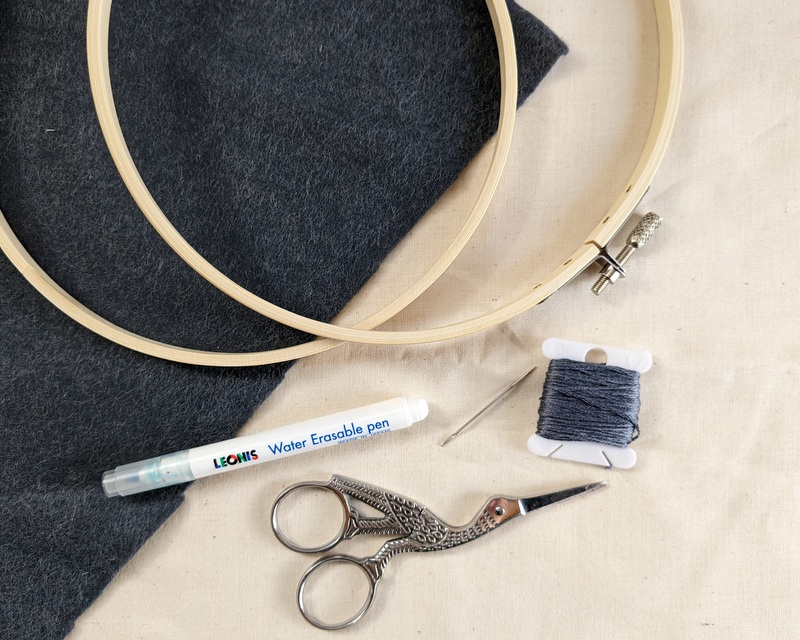
- A square of felt at least as big as your hoop
- Embroidery floss the same color as the felt
- Embroidery needle
- Scissors
- Marking pen or pencil
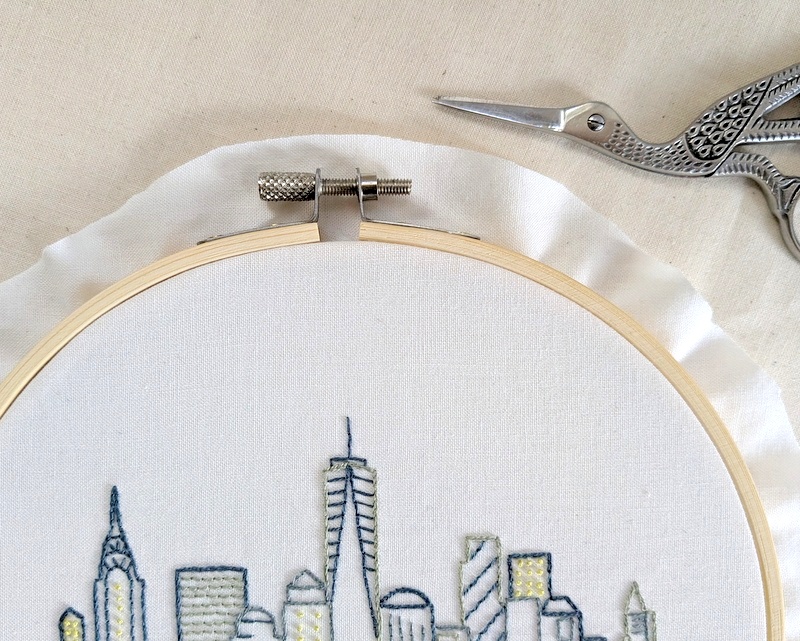
Using the inner ring of the embroidery hoop, trace a circle on the felt. Cut out the circle and set it aside.

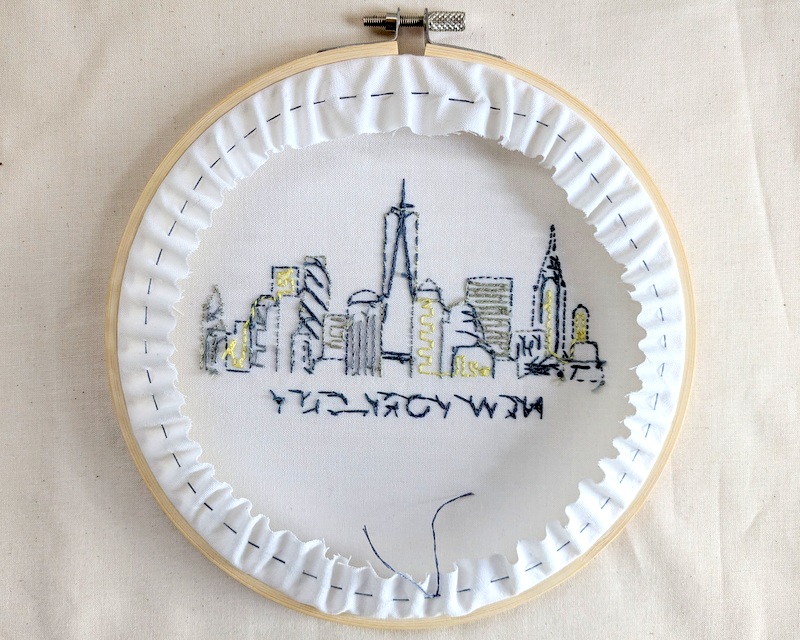
Place your finished embroidery in the hoop, stretch it smooth, and tighten the screw. Trim the excess fabric around the edges roughly an inch larger than the hoop. Don’t worry about making it a perfect circle, because you won’t see it in the end.
Cut off a long piece of sewing thread. Make sure it’s long enough to stitch all the way around the circle. Leaving a 4-5-inch tail at the beginning, stitch around the edge with Running Stitch.
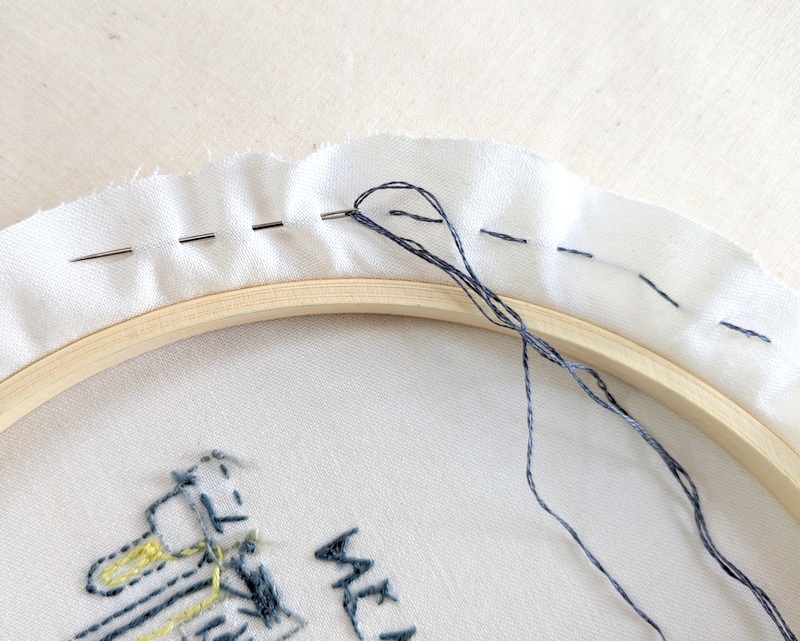
When you’ve stitched all the way around grasp both ends of the thread and pull until the fabric gathers together. Tie a knot and cut off the excess thread.
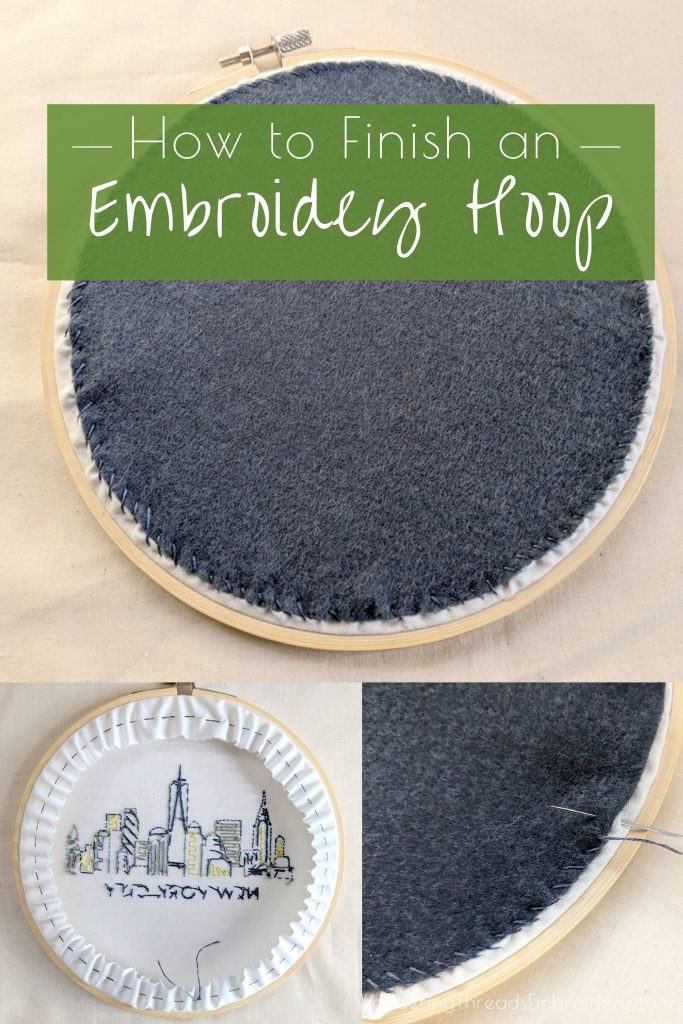
You could stop here and call it done. Many of the embroidery pieces that I keep for myself are finished in this manner. The running stitch is just enough to keep the excess fabric out of the way for displaying on the wall. However, if you’re going to give the piece as a gift, or you simply want a more polished look, taking the time to sew on a backing piece really adds a nice finishing touch.
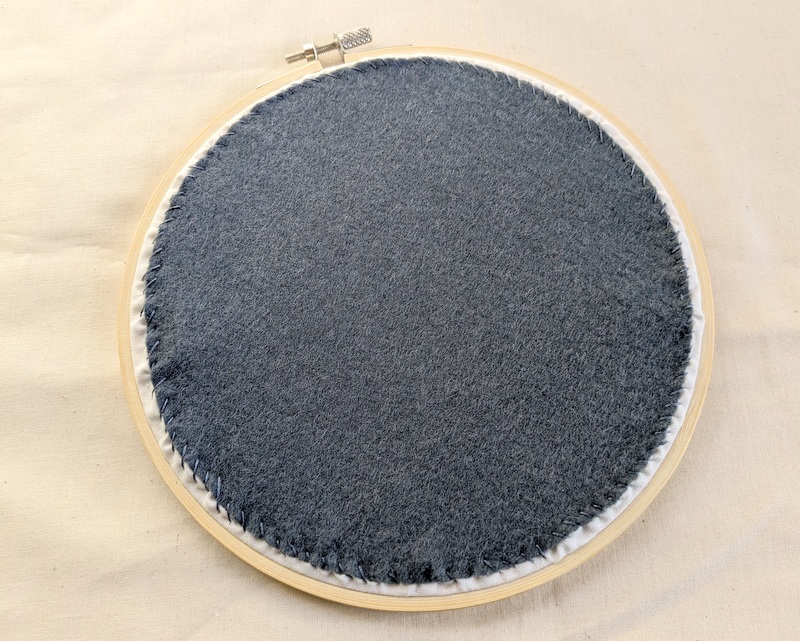
Position the felt circle that you cut out earlier over the back and sew it into place with a whip stitch. I like to use a coordinating color embroidery thread so it blends into the felt.
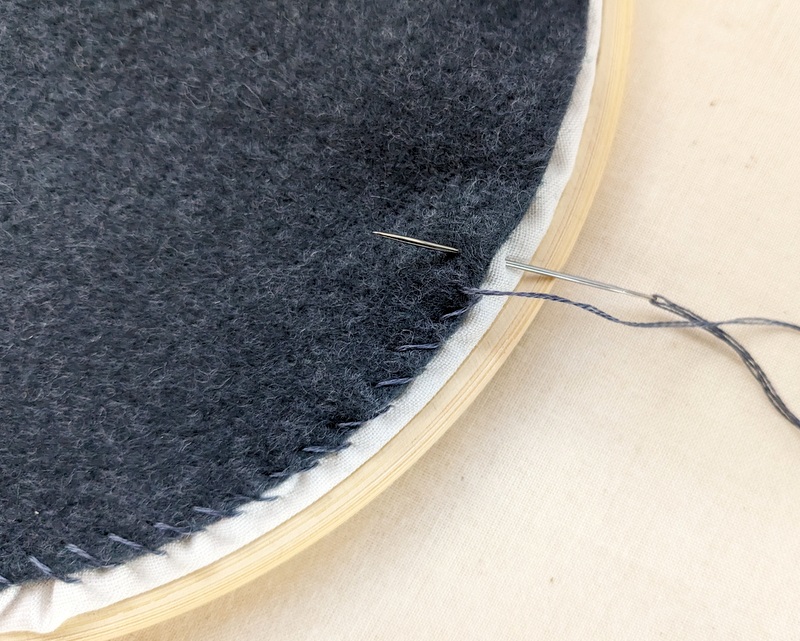
Continue sewing all the way around, tie off the thread and you are done. Congratulations, you just learned how to finish an embroidery hoop!
Wait, There’s More!
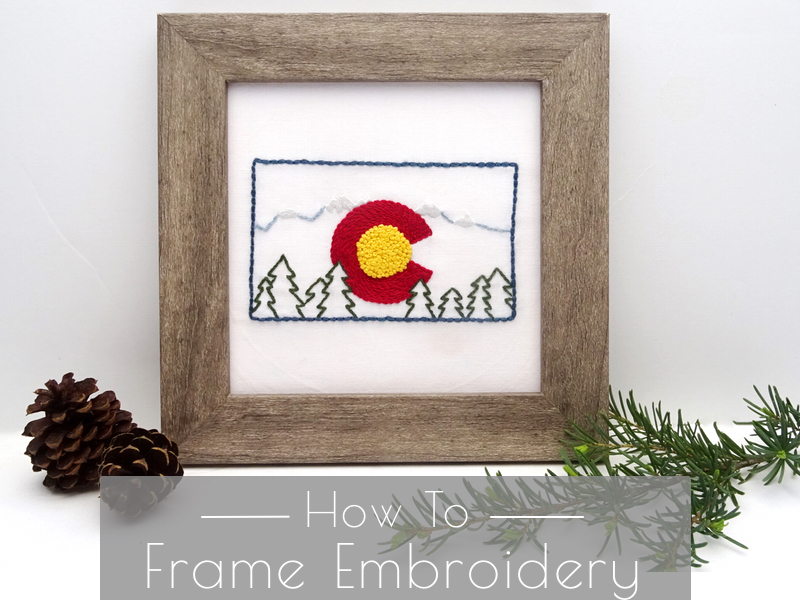
Want to learn how to frame embroidery in a traditional picture frame? Learn how by visiting my post: How to Frame Embroidery: The Easy Method.

Hanim
Tq so much for these info of tidying our work..brilliant
Delia chiriboga
Gracias! Me encantó lo delicado del trabajo de termino!
Mery
Thanks!
Lauren
Thanks for sharing how to finish an embroidery hoop. I really appreciate it!
Trudy
Always wanted to know how and what to do to finish off this kind of project
Thanks,
Trudy
The Ultimate Guide to Embroidery at Home: Resources for New & Returning Stitchers | EGA
[…] How to Finish an Embroidery Hoop • Framing Embroidery in a Hoop • Finish Work: How to Frame a Piece of […]
Rosa Maria Vianna Guedes
Thanks for sharing with us so great work! It is ver inspirational.. For sure this finished work is Sensational .
Dorothy
What a great idea for finishing off the back of the embroidery ? on a frame.
I do embroidery the traditional way.
The Crewel embroidery as well.
But I have done rugs this way with punching, and what a bright idea doing it this way as well. It’s much faster and just as pretty. Your idea for finishing the back is brilliant. Thank you for your Tutorial.
DottieWoodrum
That’s Sew Cool – HayHays Blogs
[…] How to finish an EMBROIDERY HOOP. (2020, February 21). Retrieved March 09, 2021, from https://www.wanderingthreadsembroidery.com/how-to-finish-an-embroidery-hoop/ […]
Sonal
Super
Riya Sen
This is a great tutorial! I’m a beginner and this was very helpful.
Donna
Thanks so much for this step-by-step tutorial. I’m a beginner but I know I can do this! I feel empowered. The close-up pictures really help.