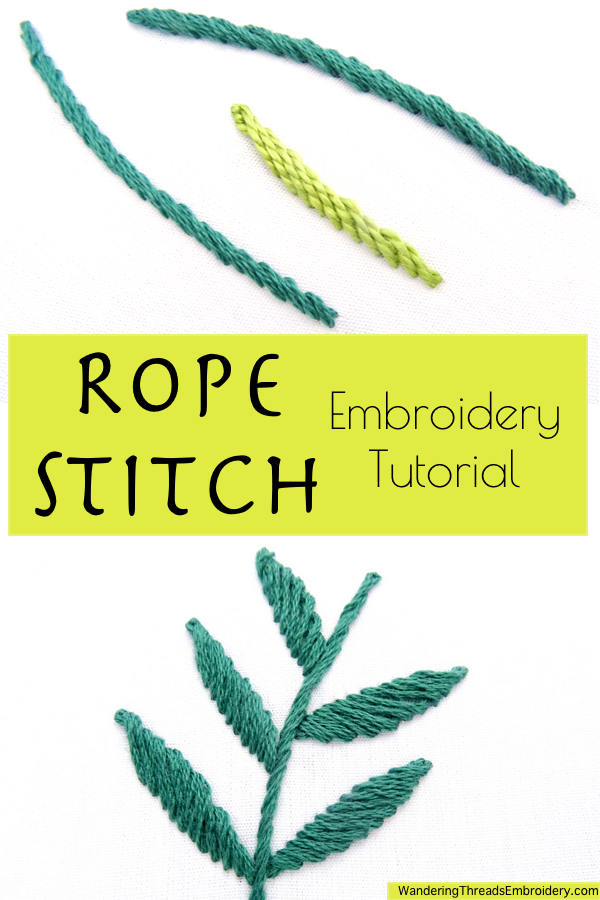
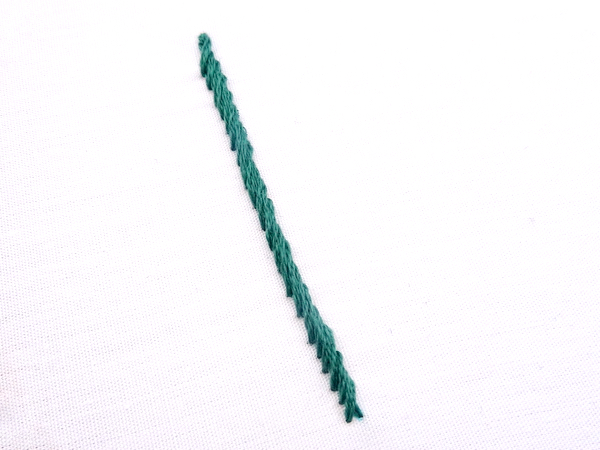
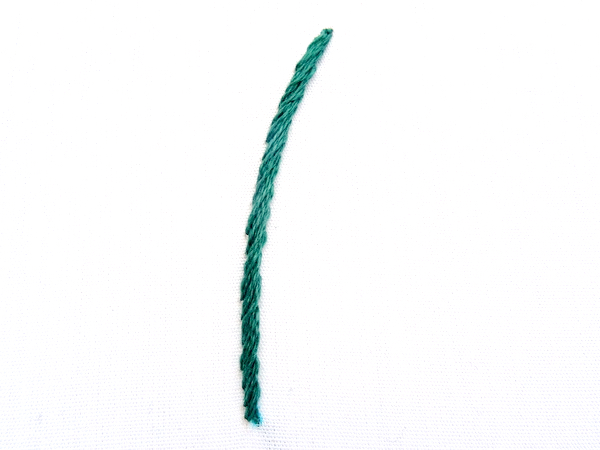
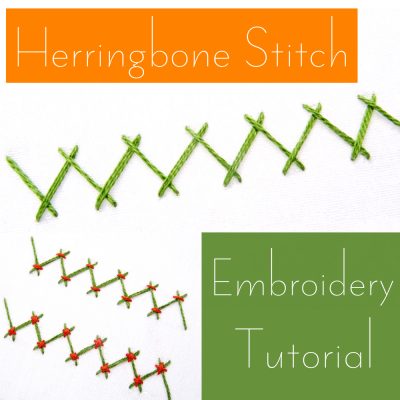
Rope stitch creates a thick twisted line that resembles a rope or cord. It is commonly used for borders, curved outlines, or to stitch stems and thin leaves. A member of the chain stitch family, rope stitch is formed by working twisted chain stitch close together along a line. If you are already familiar with twisted chain stitch, great! If not, follow along below and you will soon be stitching like a pro.
Rope Stitch Step-By-Step Instructions
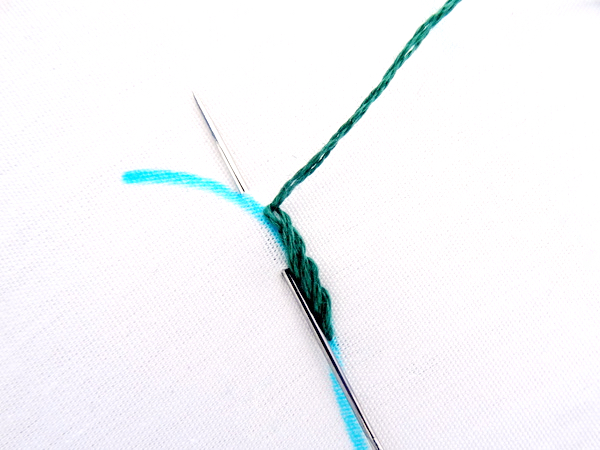
Rope stitch is worked from right to left or bottom to top. Start by drawing a straight or gently curved line to work from. Bring the needle up at the beginning of the line (Point A). Pull it all the way through and then re-insert to the left of the line (Point B). Bring the needle back out on the line one stitch length away (Point C) without pulling the thread all the way through.
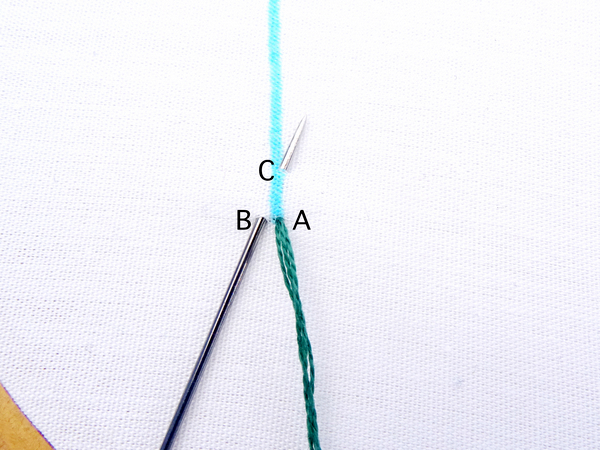
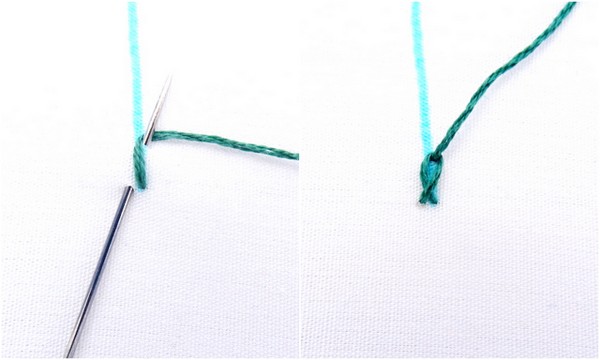
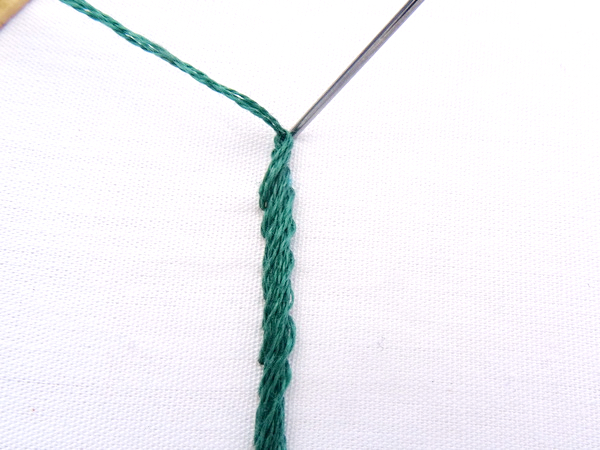
Wrap the working thread around the needle in a clockwise direction and pull the needle through. You now have a single twisted chain.
This is the point where the instructions differ from twisted chain stitch. Instead of starting the second stitch at the top of the twist, we are going to start it at the bottom, to the left and just a little bit above point B. Insert the needle here (Point D) and then bring it out one stitch length away on the line (Point E).
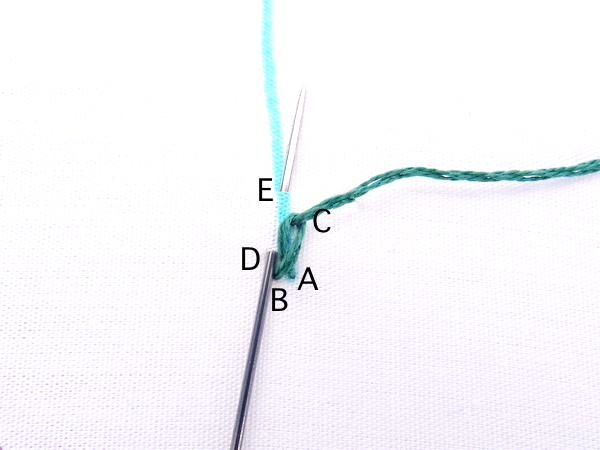
Loop the thread around the needle, pull it through, and admire your work. Continue stitching in this manner until you reach the end of the desired length. To end the stitch, make the final stitch shorter than all the rest, and then insert the needle over the top of the last loop to anchor it in place.
Curves & Thread Choice
Rope Stitch handles curves beautifully, with the exception of tight curves that are better left to other stitches. (Both stem and outline stitch work well for tight curves while achieving a similar twisted rope look). When stitching around curves, the stitches will get longer on the curve and shorter at the end of the curve.
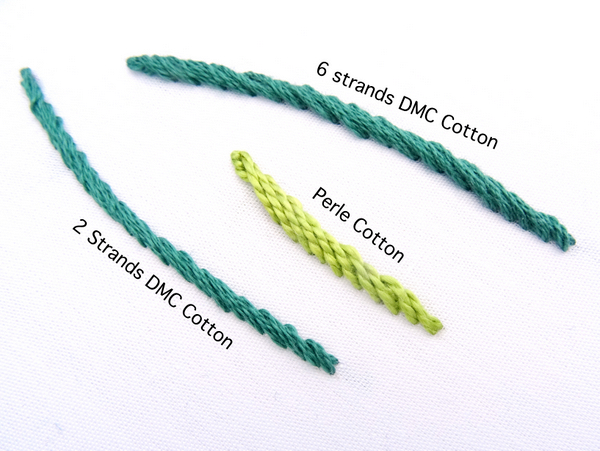
The type of thread you use for rope stitch will greatly impact the final result. For the example above I used three strands of DMC cotton floss which produces a medium weight rope. The more strands you use, the thicker the rope will be. For an even more dramatic rope stitch, try using Perle cotton floss.
Rope Stitch Foliage
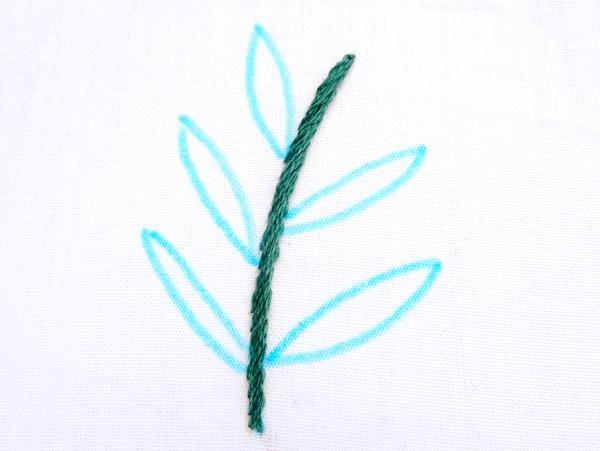
While rope stitch is an excellent choice for borders and outlines, it can also be used to create leaves. Let’s learn how! Start by drawing a slightly curved line and stitching over it with rope stitch. For this example, I am using 3 strands of DMC floss for the stem.
Next, draw some thin leaves staggered along the stem.
Using all 6 strands of DMC cotton floss, begin filling in the leaves. Use the same method as outlined above, but instead of starting the stitch to the left of the line and ending it on the line (see photo 1), you will start the stitch on the left line (point A) and end it on the right line (point B).
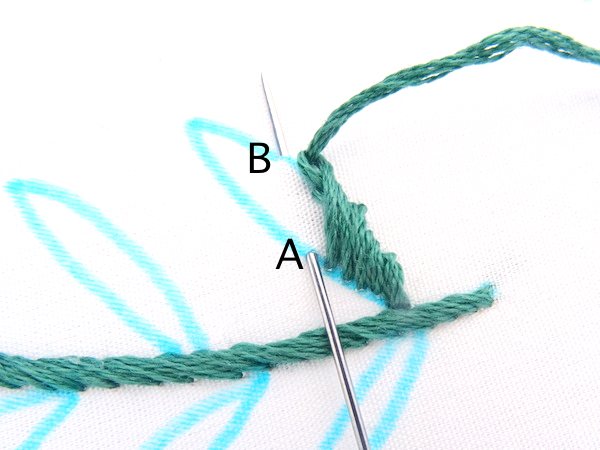
As you work your way up the leaf, the stitch length will increase at the widest point of the leaf and decrease as you reach the top of the leaf. Keep the stitches as close together as possible to achieve a fully filled leaf made up of slanted stitches.

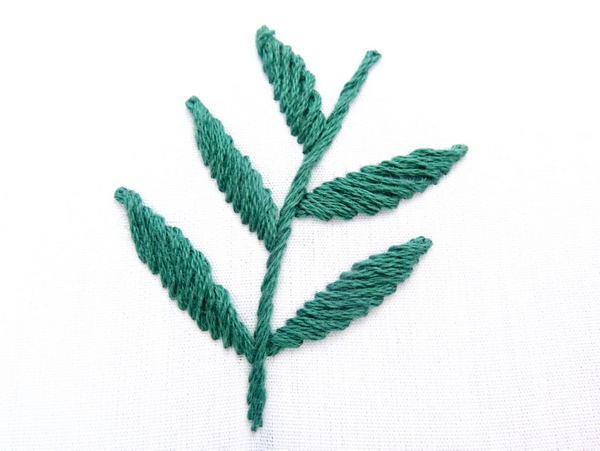
Repeat for the rest of the leaves. You now have a leaf spray stitched entirely with rope stitch!
Using Rope Stitch in Embroidery Patterns
Below are a few Wandering Threads embroidery patterns that utilize rope stitch in various ways.
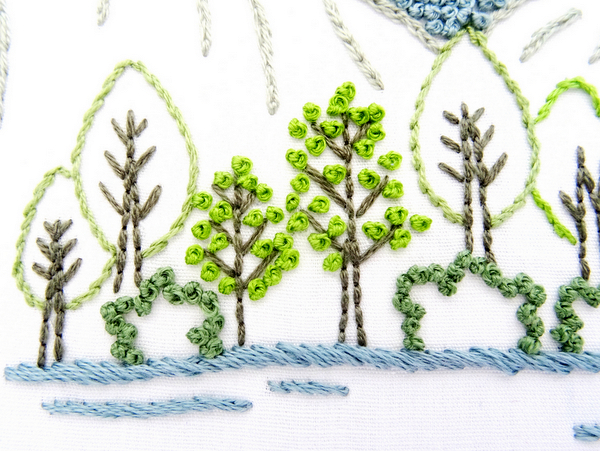
Yosemite National Park
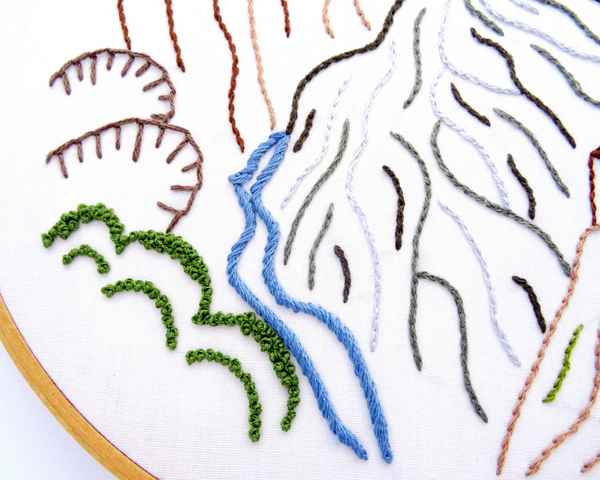
Black Canyon of the Gunnison National Park
Rachel
What are your tips for if you run out of thread and need to use a new piece, but you aren’t finished sewing your line?
Amanda
Good question! This stitch can be a little tricky when it comes to ending and starting new threads. My method is to end the thread in the same manner as if I had reached the end of the line (inserting the needle over the top of the last loop to anchor it in place). Then, with the new thread, follow the same steps as if you were starting a new line by placing point A on the right and a little below where the last stitch ended. Point B would then go on the left side of your previous line of stitches and point C just above. Essentially, the idea is to start the new thread as close to the old line of stitching as possible to create a seamless transition. I hope this is helpful! I’ll try to add a some directions and photos for changing threads to this post soon.
Donna
“Rope Stitch handles curves beautifully, with the exception of tight curves that are better left to other stitches.” This is the kind of info I need and is why I’ll be coming back to your site now that I’ve found you. I also like the question from Rachael above and your answer. I just learned the Hungarian Braided Chain, but could find no where that told me what to do when I ran out of thread and had to start a new thread on the same stitch run. I figured it out myself, but I’m not convinced I do it very seamlessly. I think sometimes experts in embroidery forget that what seems intuitive to them is not at all for someone new to the stitch. Thank you for your great information.
Mary Machamer
Hello, I am working the “Stitch A Day Advent Calendar”, and have delayed the Dec 2 candy cane, as I can’t figure out the stitch. Your directions above are quite clear, but I can’t figure out whether to stitch along the vertical axis of the cane, or to angle the stitches (as you’ve demonstrated with the leaves). In either case, how does one place the silver stripes, as the pattern is now covered with the red?
Many thanks,
lovely pattern!
mary machamer
Toronto, Ontario
Amanda
For the candy cane in the advent calendar, I recommend stitching vertically along the cane. You can then add the white stripes over the top of the red cane. You won’t be able to see the pattern lines, so use your best judgment for placement to give a striped look. In the example, I think I used 7 or 8 small stitches to represent the stripes and tried to space them out evenly along the cane. Hope this helps and don’t hesitate to reach out with additional questions. You can always reach me at Amanda@wanderingthreadsembroidery.com
Mary Machamer
thank you, Amanda, I’ll give it a try.
Mary