Whipped and woven embroidery stitches are a simple way to add embellishment to any embroidery piece. Frequently stitched with contrasting threads, these fun and colorful stitches are used for borders, lines, lettering, and so much more. Best of all, once you learn the basics, whipped and woven embroidery stitches are fast and easy to master.
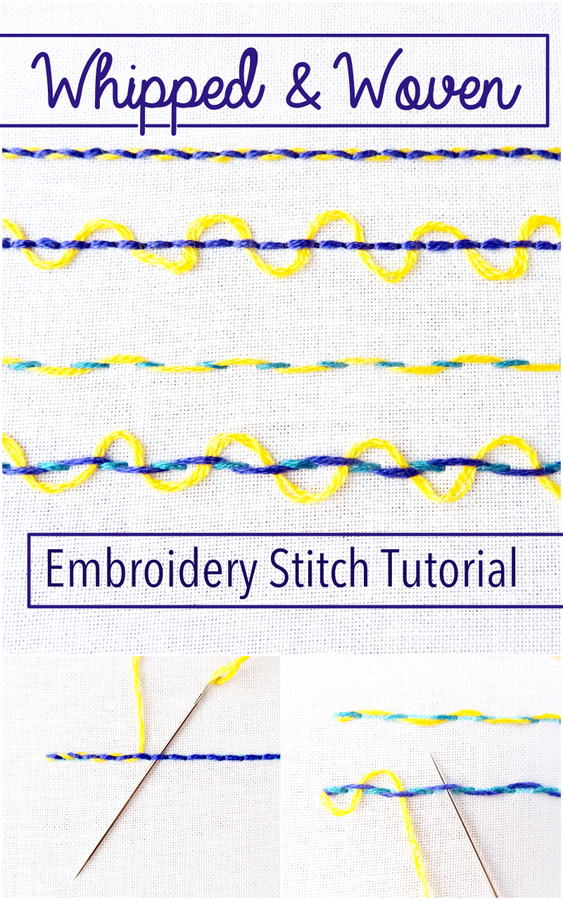
In this lesson, we will cover a few different versions of whipped and woven stitches featuring three basic line stitches. If you need a refresher on embroidery line stitches, visit our Basic Embroidery Stitches: 4 Line Stitches tutorial.
Whipped and Woven Embroidery Stitches: Back Stitch
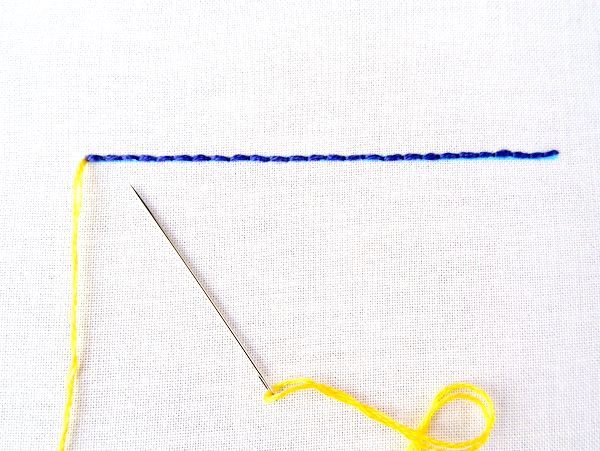
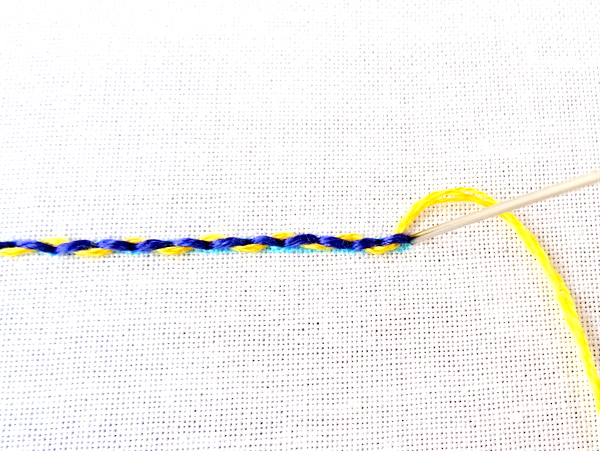
Let’s start with a Whipped Back Stitch. Begin by stitching a straight line with back stitch. Thread a needle with a contrasting color and come up at the start of the line.
Bring the needle through the next stitch without going through the fabric.
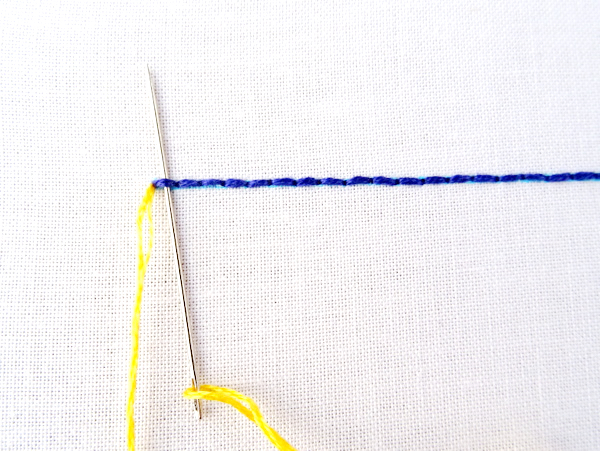
Pull the thread all the way through and continue in this manner, whipping the thread in and out of the back stitch, pulling tight each time.
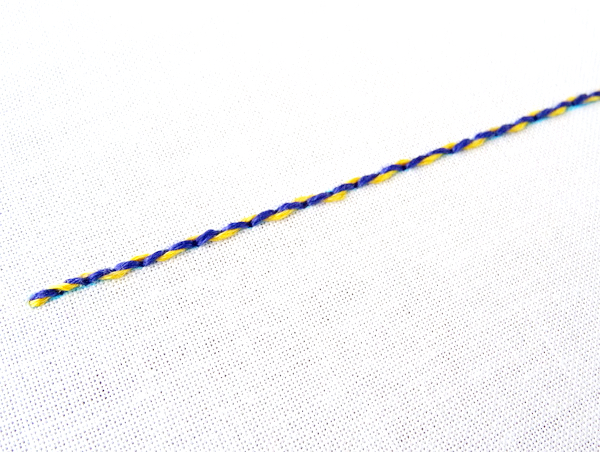
At the end of the line, bring the thread back down through the same hole of the last back stitch and end the thread on the back of the fabric.
Congratulations, you just stitched your first whipped back stitch!
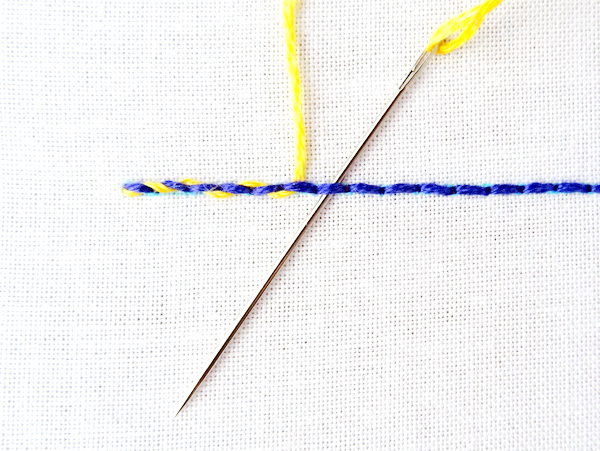
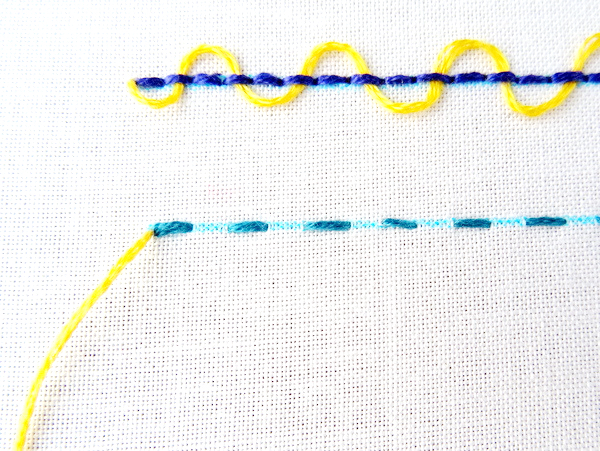
Next, let’s move on to a Woven Back Stitch. Once again, create a straight line of back stitch and then come up at the beginning with a contrasting color thread. This time, skip a stitch and bring the thread through the second stitch. Be sure to only pass through the thread and not the fabric.
Instead of pulling the thread tight like we did for a whipped stitch, only pull it part way through to create a small loop. Continue weaving the thread up and down through every other back stitch, trying the keep the loops as even an as possible. By experimenting with the size of the loops you can create a variety of results.
Whipped and Woven Embroidery Stitches: Running Stitch
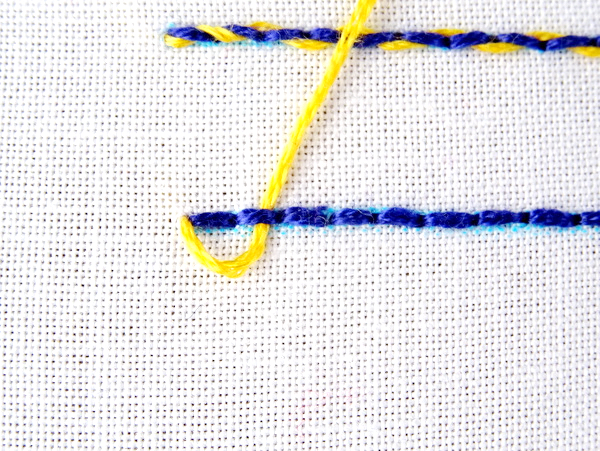
Now let’s try the same method using a running stitch. Make a straight line of running stitch and bring a needle with contrasting thread up at the beginning. Remember, if you need a refresher for Running Stitch, visit our Basic Embroidery Stitches: 4 Basic Line Stitches tutorial.
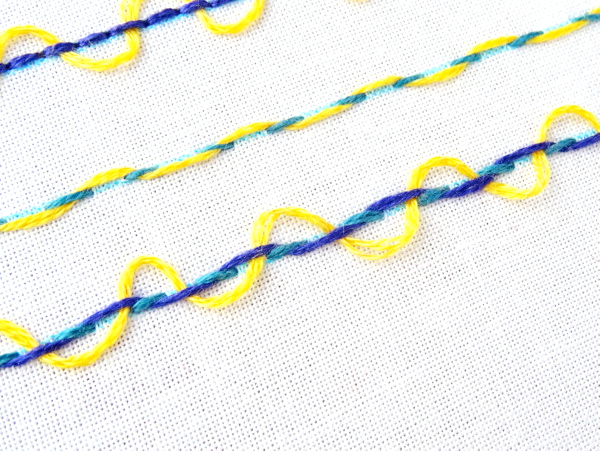
Following the same method used for whipped back stitch, bring the thread up through the first stitch and pull tight. Continue down the line, whipping through the running stitch and pulling the thread tight each time.
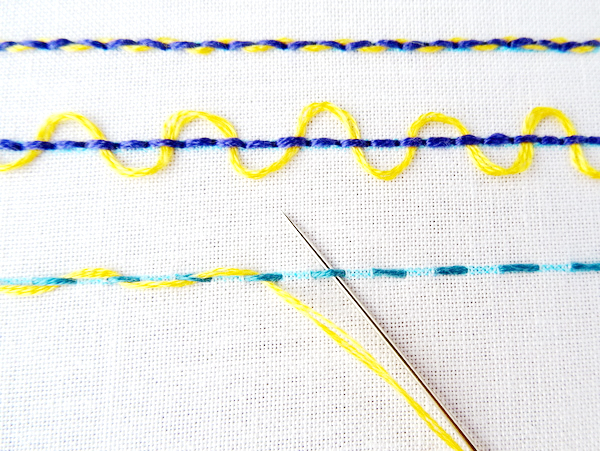
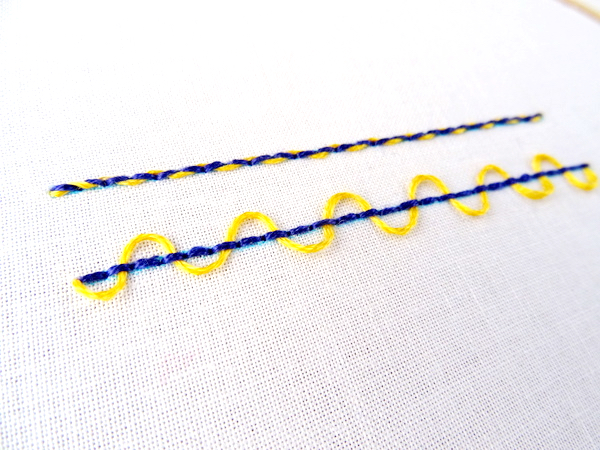
Because of the extra spaces in running stitch, the end result will be quite a bit different than a whipped back stitch.
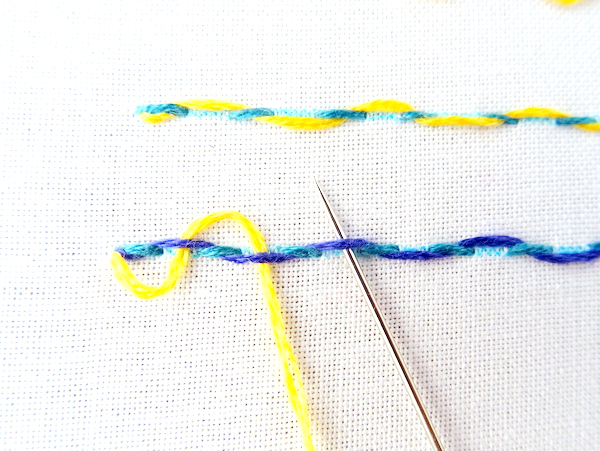
Finally, let’s combine the whipped and woven methods to create a Whipped & Woven Running Stitch. Don’t worry, it only sounds complicated! Start by stitching a line of woven running stitch with two contrasting colors. Next, thread a needle with a third color and bring it up at the beginning of the line. Weave the third color thread through every other whipped sitch without pulling the thread tight.
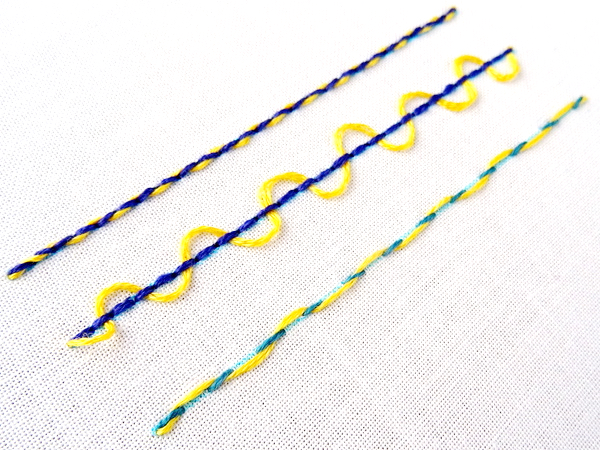
Whipped and Woven Embroidery Stitches: Variations & Patterns
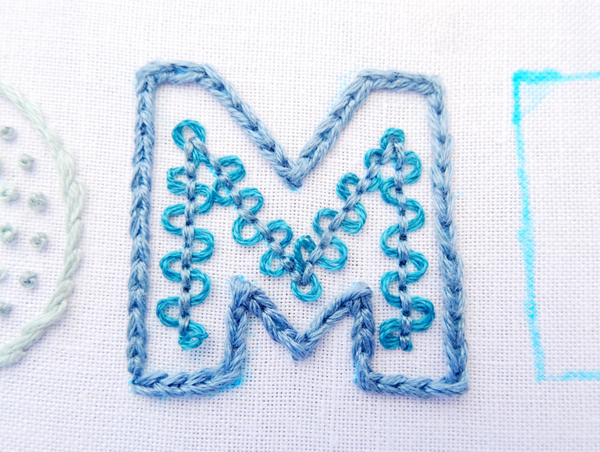
As you can see, whipped and woven embroidery stitches are not only easy to create but are also fun to stitch due to the number of possible creative variations. From stitch type, thread color and loop size there are many ways to embellish your stitches by whipping and weaving. Pictured below is the letter M filled in with woven back stitch. This lesson can be found in the How to Embroidery Large Letters by Hand {Part 2} project.
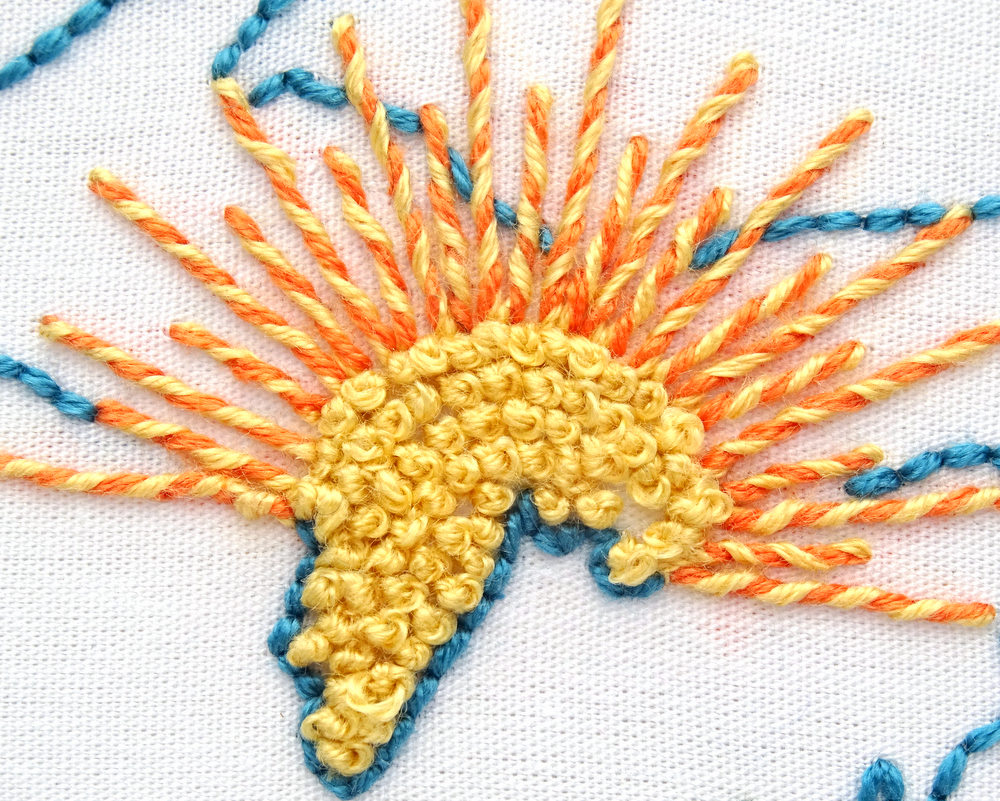
While this tutorial focuses only on back and running stitch, many embroidery stitches can be whipped or woven. Stem, split and chain are all perfect candidates, with tons of options for making the stitch your own. Several Wandering Threads Embroidery patterns recommend whipped and woven stitches to create a variety of effects. The most common is for the rays of the sun, as seen in the Florida, Iowa, Michigan, New Jersey, and North Dakota State Patterns.
dawn
interesting. I had not seen the style of whipped backstitch you did –where the thread you are whipping with never goes OVER the backstitch. The version you did on the sun example seems different – it does go over the backstitch. are those truly the same stitch?