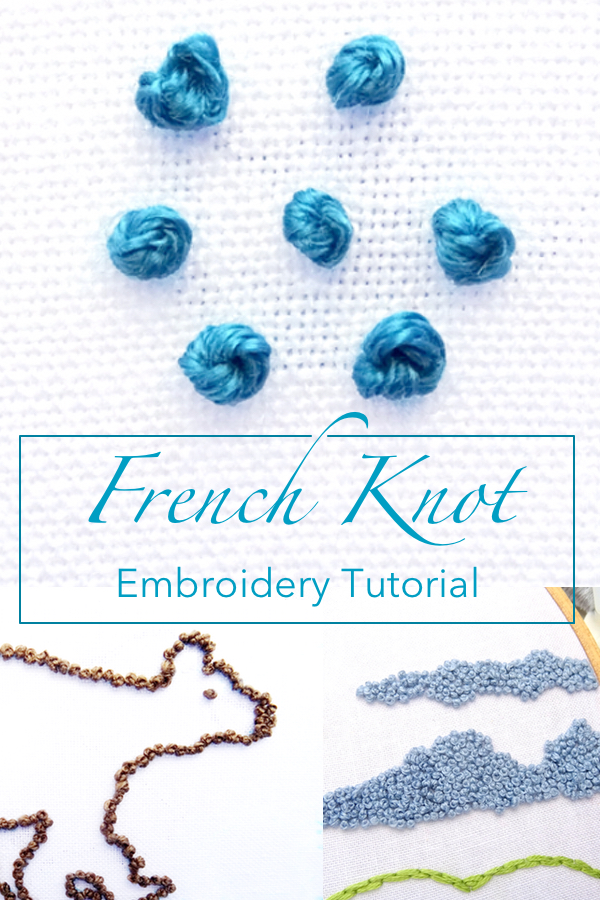
French Knot Embroidery Tutorial
The French knot is a simple embroidery stitch that creates a cute little three-dimensional bump. No two French knots are exactly the same, which is part of what makes them so great. Alone, they make excellent animal eyes, decorative points, and flower centers. Clustered together, a french knot creates a wonderfully nubby texture that can be used in a number of creative ways. While sometimes considered difficult to learn, this tutorial lays out a simple step-by-step method that will have you singing the praises of french knots in no time.
French Knot Embroidery Technique
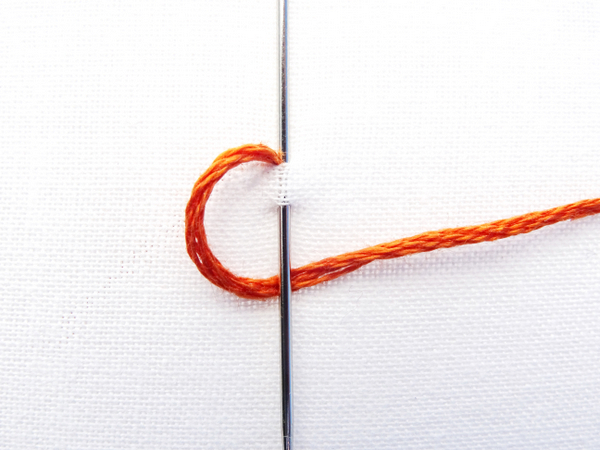
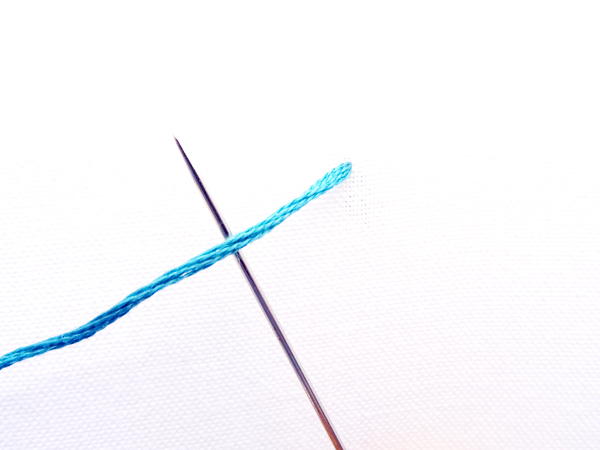
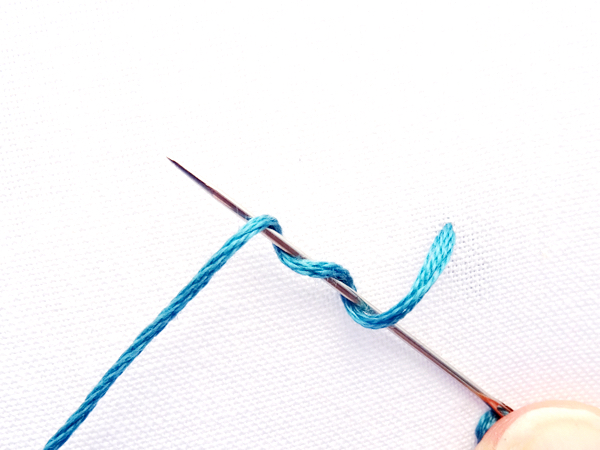
The first thing to know is that a french knot requires two hands to stitch. If you’re filling an area with french knots, lay the hoop on a table top so you have both hands free. Bring the needle up through the fabric to the front. Pull the thread taut with one hand and hold the needle under the thread with the other.
Using the hand holding the thread, twist it around the needle twice.
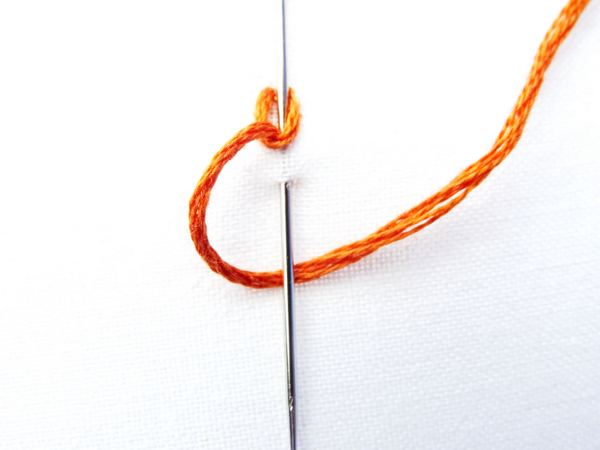
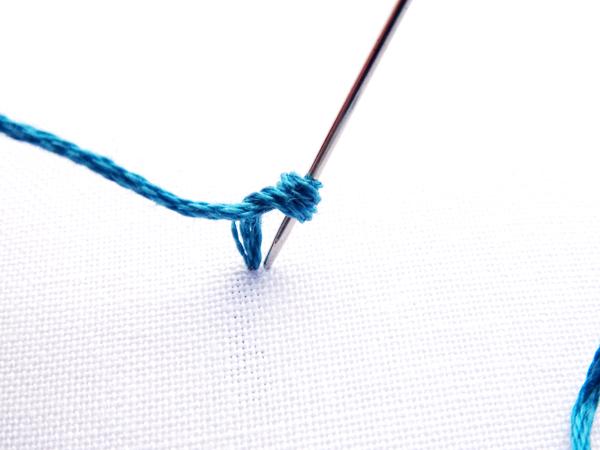
Now comes the tricky part. While keeping a tight grasp on the thread in one hand, with the other hand push the needle down through the fabric right next to where you came out. Don’t put it back in the same hole or you might risk pulling the knot all the way through.
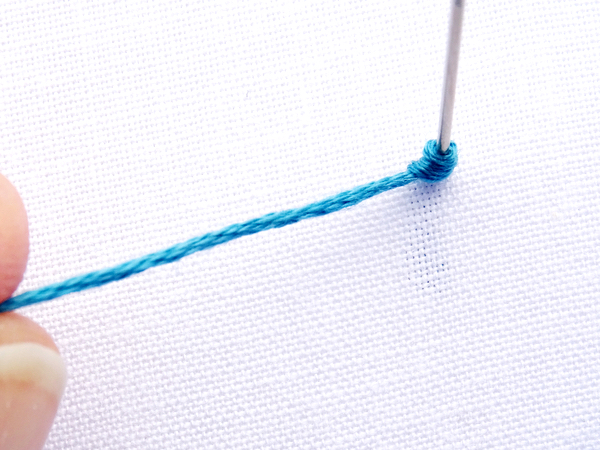
As you push the needle down, keep holding the thread in your other hand.
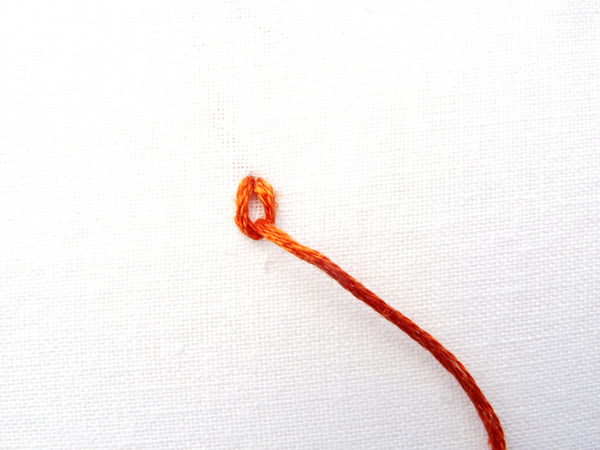
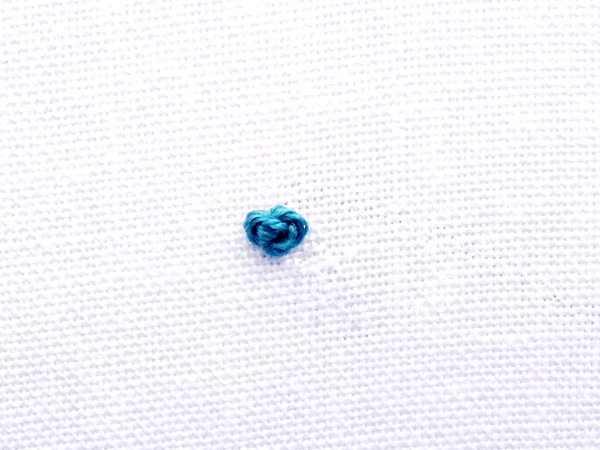
You just created your first french knot!
French Knot Stitch Variations
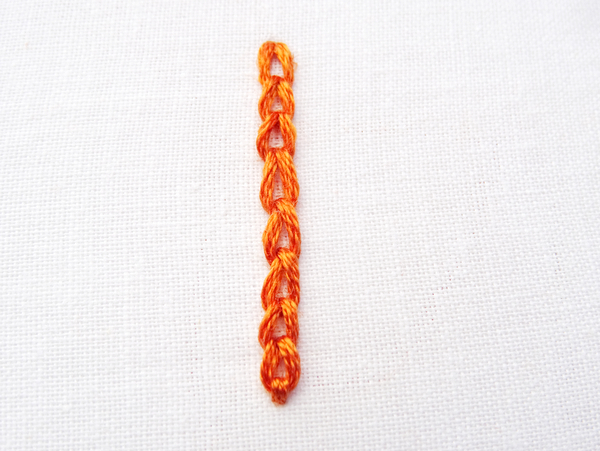
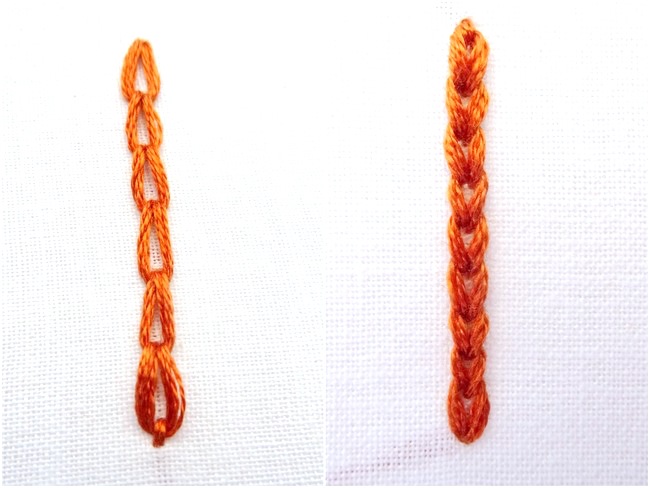
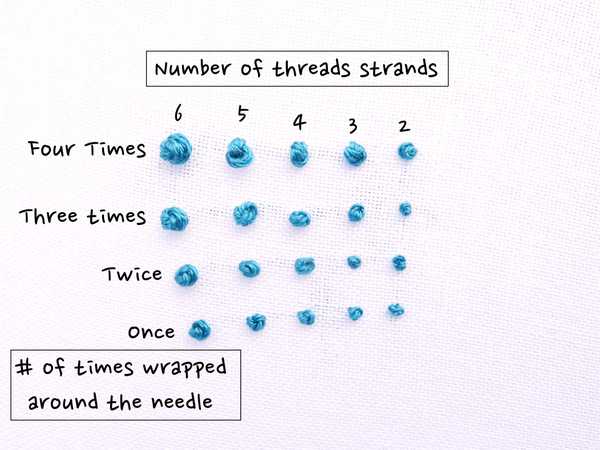
French Knots will look different depending on a few factors. The first is how many times you wrap the thread around the needle. More wrapping equals a bigger knot. The second factor is the thread itself. If you are using a 6-strand embroidery thread, the more strands you use, the bigger the finished knot.
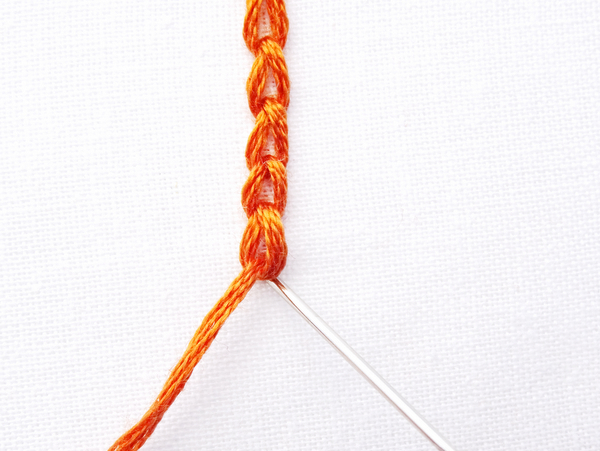
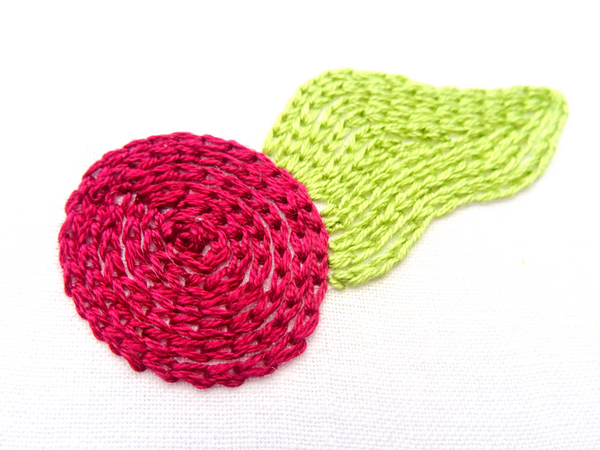
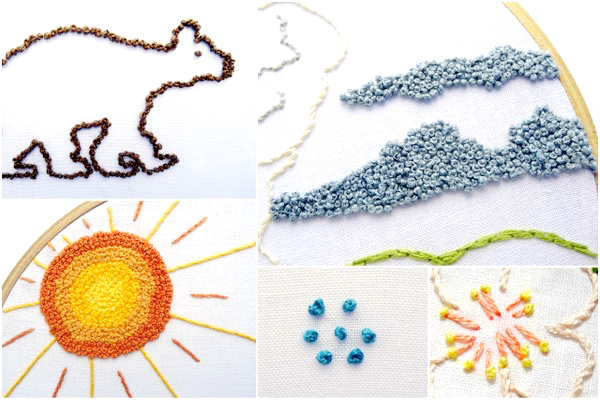
French Knots are great on their own, in loose clusters, stitched tight together to fill a shape, or even as a really cool textured border.
French Knot Patterns
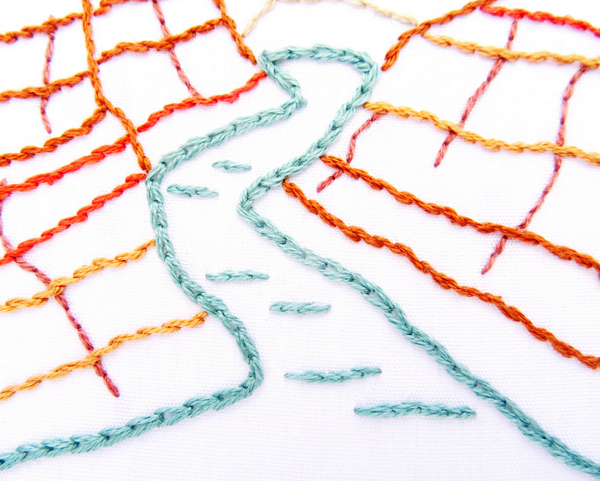
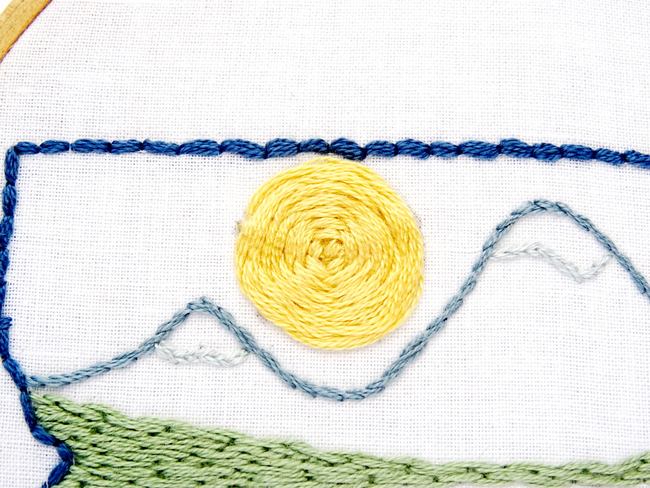
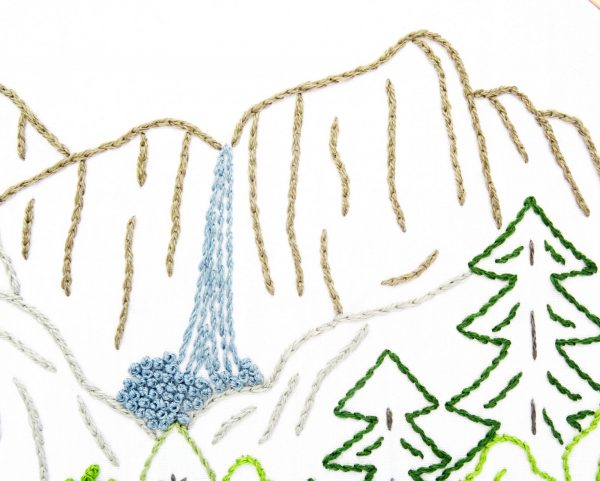
A wide variety of the patterns found here on Wandering Threads Embroidery contain french knots. The Yosemite National Park Pattern uses french knots to portray water bubbles at the bottom of a waterfall.
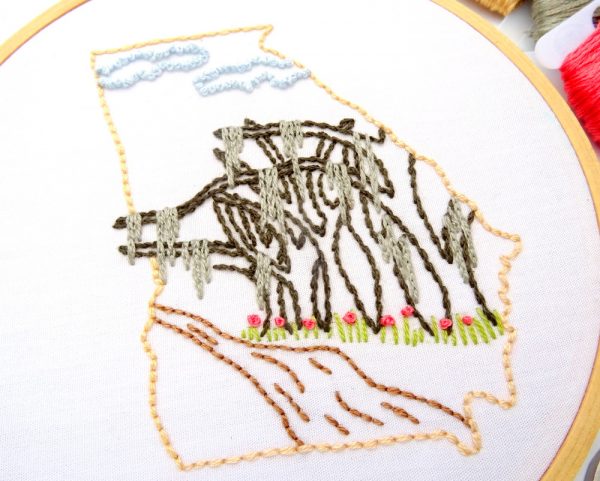
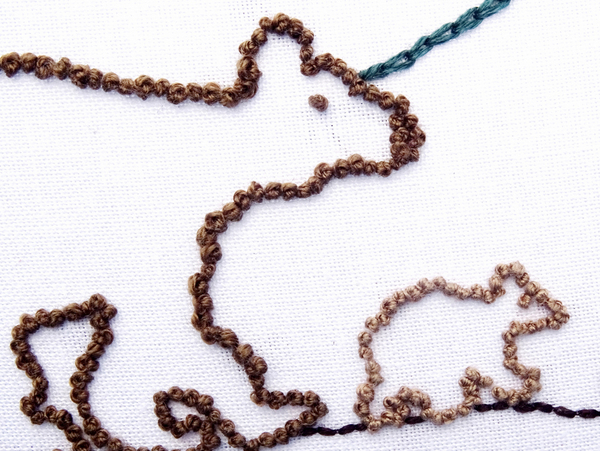
The Great Smoky Mountains National Park Pattern features a family of fuzzy bears outlined in french knots to create texture.
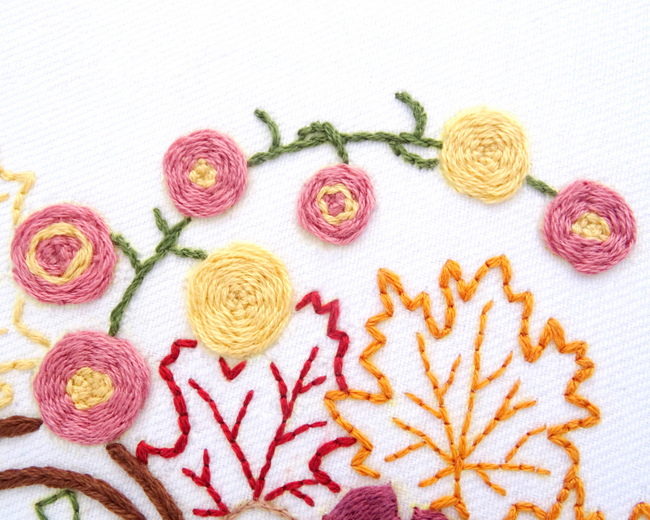
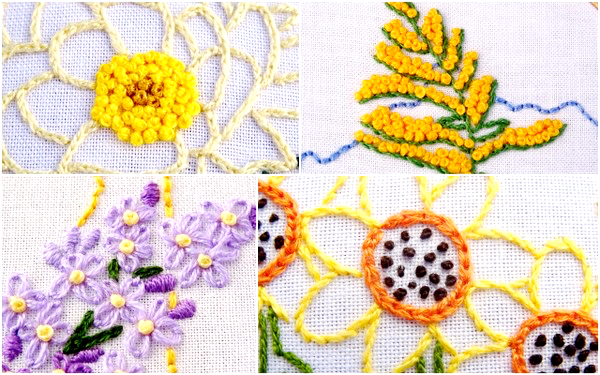
And many of the State Flower Patterns use french knots in a variety of ways. Pictured below from left to right: Arizona State Flower Pattern {Saguaro Cactus}, Kentucky State Flower Pattern {Goldenrod}, Kansas State Flower Pattern {Sunflower}, New Hampshire State Flower Pattern {Purple Lilac}.
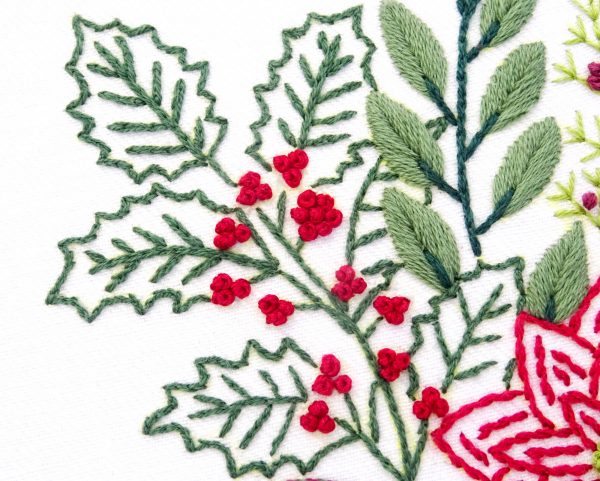
And french knots can be found in many of the holiday patterns as they make great little berries! Pictured below are the holly berries in the Christmas Boquet Pattern.
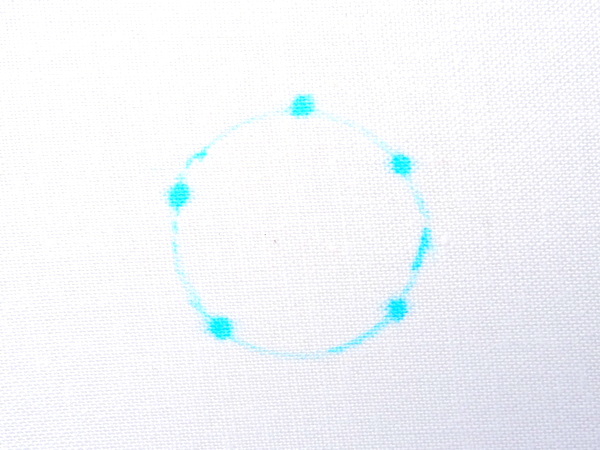
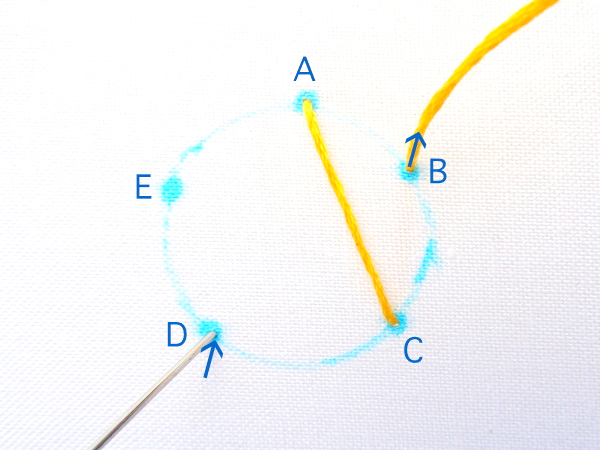
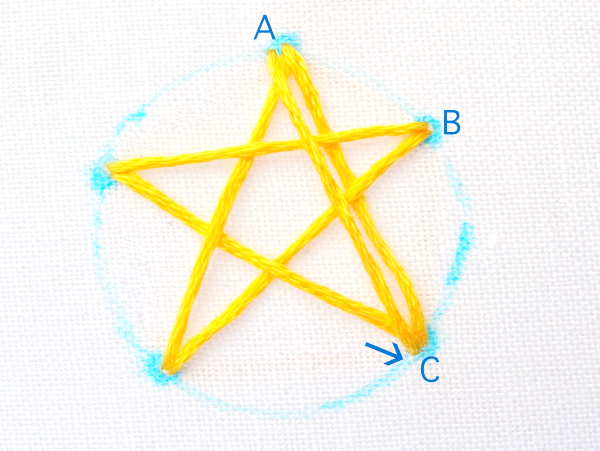
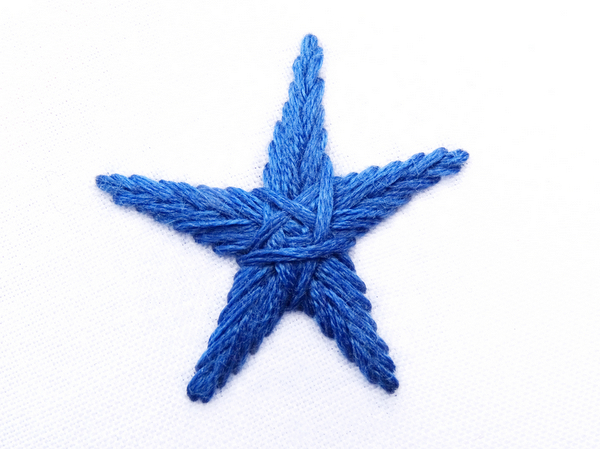
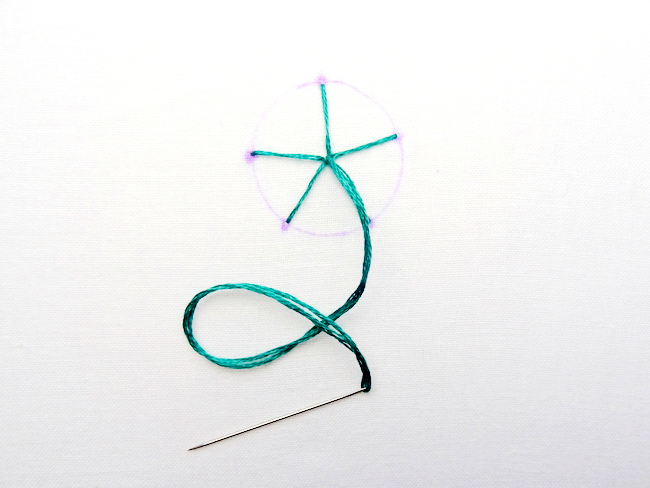
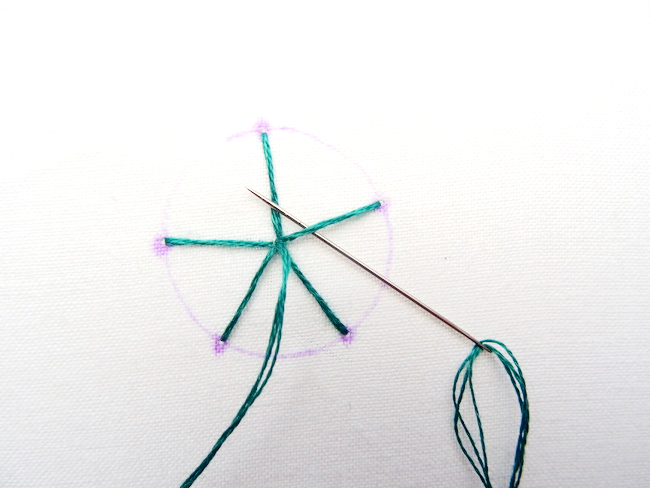
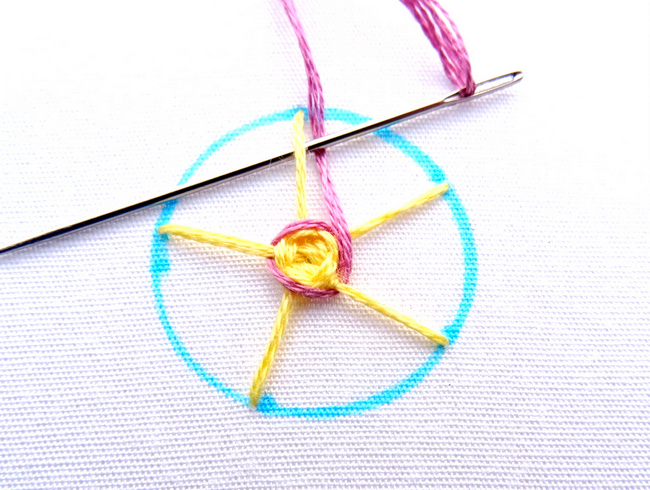
 Start by drawing a circle the size you want your finished star. Mark five even dots around the circle. Try to make your dots even, but don't worry if they are a bit off. I actually prefer my embroidered stars to be a tiny bit off center because I feel it adds character.