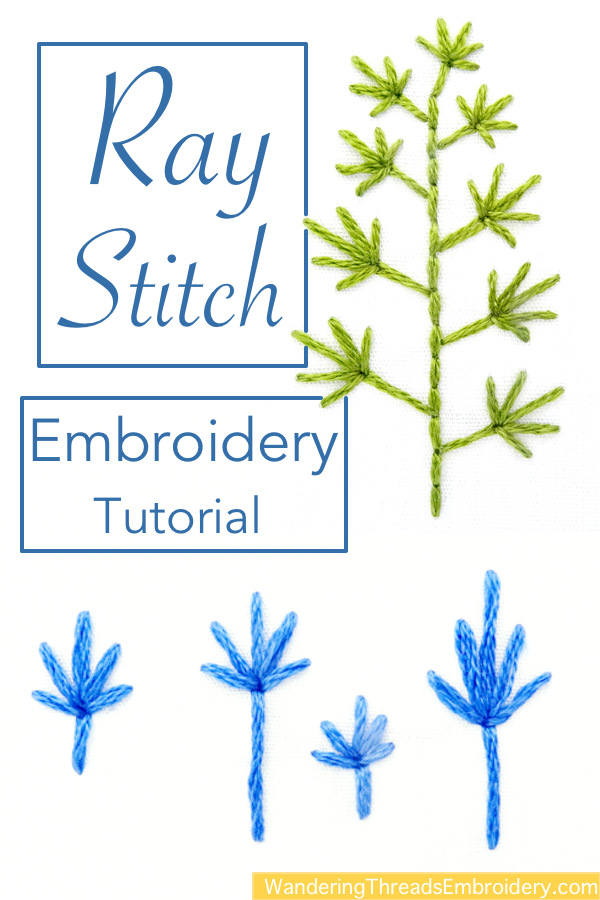
Chevron Stitch Embroidery Tutorial
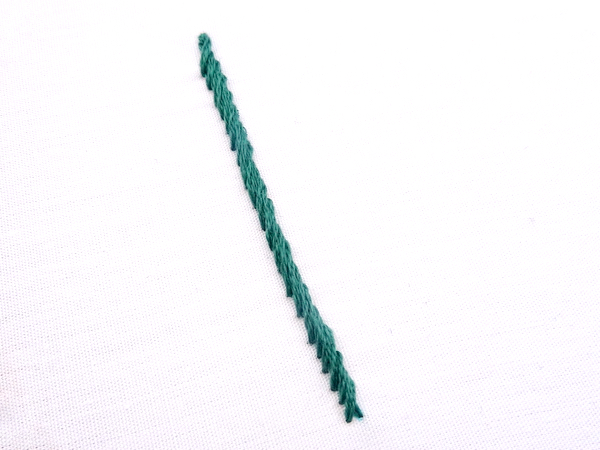
With its unique zig zag pattern, Chevron Stitch makes beautiful borders and outlines. It can also be used as a filler stitch for a variety of shapes. Comprised of diagonal lines capped on the top and bottom by small horizontal lines, this stitch is simple to learn and even easier to incorporate into your embroidery projects. This step-by-step tutorial covers the basic stitch along with multiple variations.
Chevron Stitch Step-by-Step
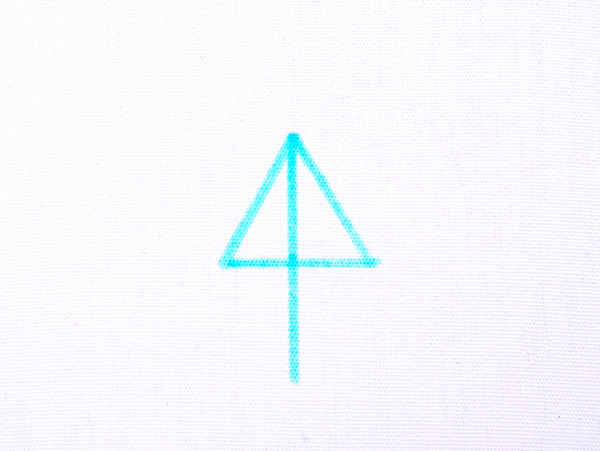
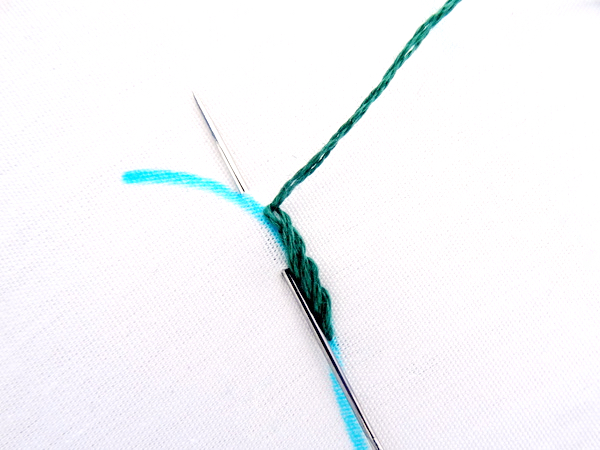
Start your row of chevron stitch by marking two parallel lines. There is no set rule regarding the distance between the lines, but when practicing, I suggest no more than 1/2″ apart.
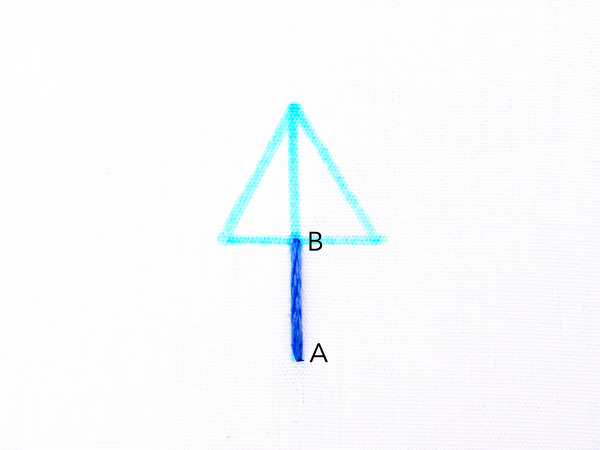
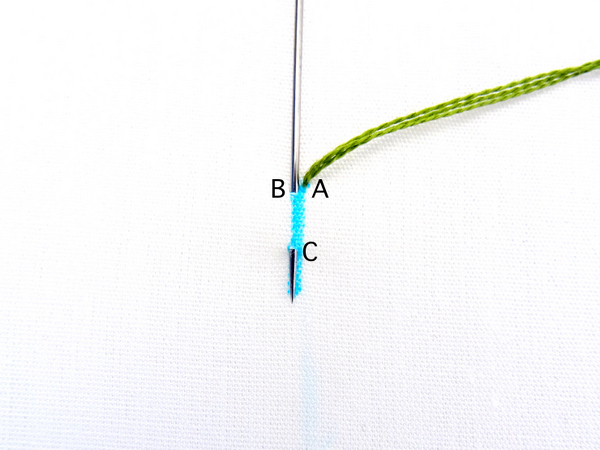
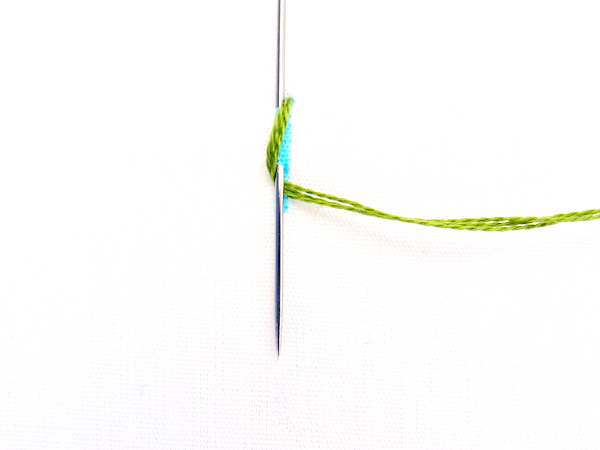
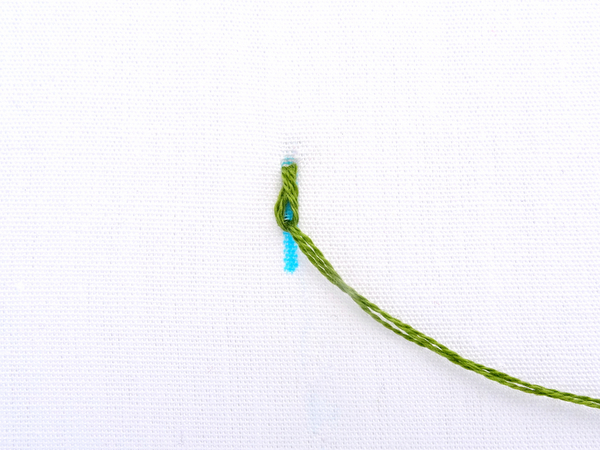
Once you have the guidelines drawn, begin by making a single straight stitch from point A to B. Before pulling the thread all the way through, bring the needle back up in the middle of the stitch (Point C). Make sure the thread is below the line, then complete the stitch.
Next, make a diagonal stitch from point C to point D.
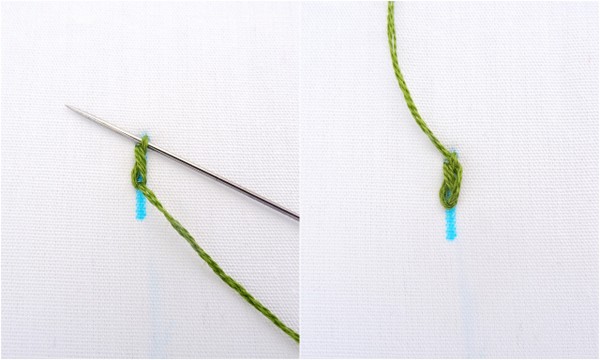
Repeat the first stitch at the top by making a straight stitch from Point E to F.
Once again, before you pull the thread all the way through, bring the needle back up and out through Point D. This time, keep the thread on top of the line before completing the stitch.
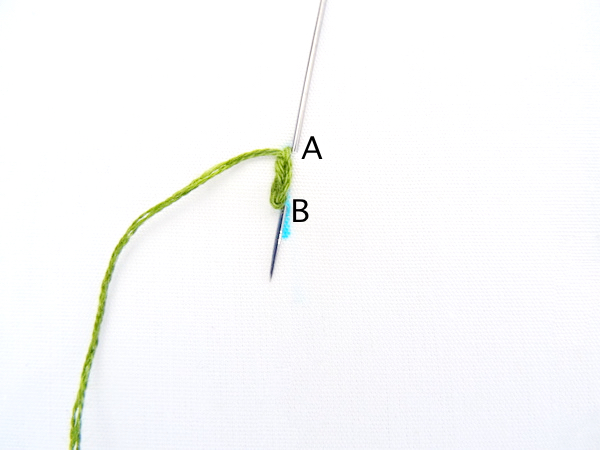
Make another diagonal stitch from Point D to the bottom line.
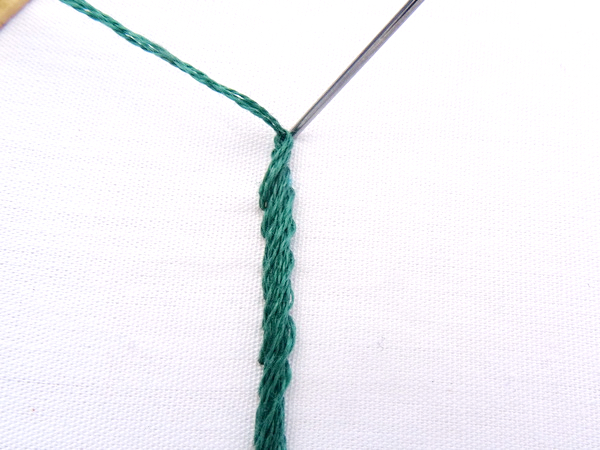
From here, it’s a matter of repeating the steps and continuing to stitch until the end of your line. Make a straight stitch along the bottom line, bring the needle back out through the point where you ended the last diagonal stitch, make another diagonal stitch up to the top line, and then make another straight stitch at the top.
Keep in mind that you want the spaces between the horizontal stitches to roughly equal the length of the horizontal stitches. You can mark out the length of each horizontal stitch to use a guide, but I think you will find that after some practice it’s not too difficult to estimate the length of the stitches.
Chevron Stitch Variations
There are numerous variations for the basic straight line chevron stitch. It can be stitched on a curve…
Used as a filler for an uniform shape…
Or used as a filler for a non-uniform shape….
All of the above variations are stitched following the same steps as those listed for the basic straight line version. For curves and non-uniform shapes, remember to keep the distance between the horizontal lines uniform and use that as a guide to dictate the placement of the vertical lines.
Double Chevron Stitch
Double chevron is perhaps my favorite of all the chevron stitch variations. The method for double chevron is simple. First, stitch a row of plain chevron stitch. Next, stitch a second layer of chevron using a different color thread. Fill in the spaces left by the first row of stitches with the second row.
In the example below, I started the second row (yellow thread) with a small horizontal line on the top and then made a diagonal stitch to the bottom. The bottom horizontal line fills in the space left between the gray lines.
You can stitch the second row on the top of the first, or you can weave the second layer under the first. My example shows the top layer woven under the bottom on the upward diagonal lines only.
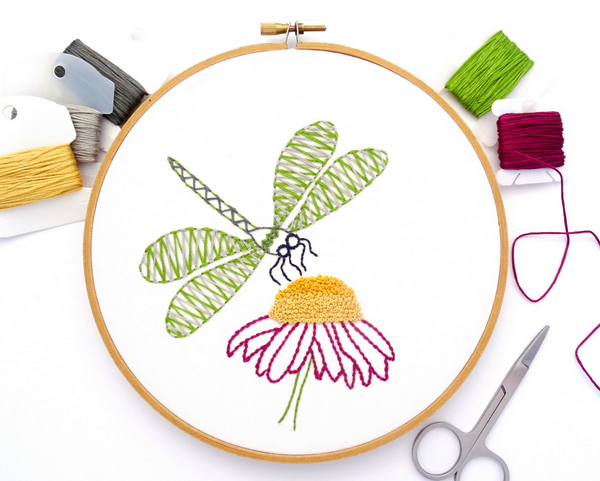
Chevron Stitch Embroidery Pattern
Want to try out chevron stitch in an embroidery pattern? The Chevron Dragonfly Pattern utilizes the stitch to create a beautifully decorated dragonfly atop a blooming flower.